

DIY: Fun Custom Doormat

Is anyone else completely exhausted by this point in December? I am. It might have something to do with deciding to do 12 crafts in 12 days on top of hand-made Christmas cards whilst preparing for a board meeting at work… but that’s just a guess. So when my LAST DIY of the 12 days of Craftsmas rolled around, all I could think was, ‘caffeine me.’ The rest kind of took care of itself and within an hour, I had my very own ‘falalala latte’ door mat!
This project is fun because you can personalize it. Make it funny, make it sweet… whatever suits your mood/home/vibes- just make it! Here are some other ideas I contemplated:
Merry AF
Jesus is the Rizzle for the Sizzle
Smiling’s my favorite
Merry Christmas, ya filthy animal
Happy Festivus
It’s a beaut, Clark!
Or simply a family name, or standard Merry Christmas… always a classic!
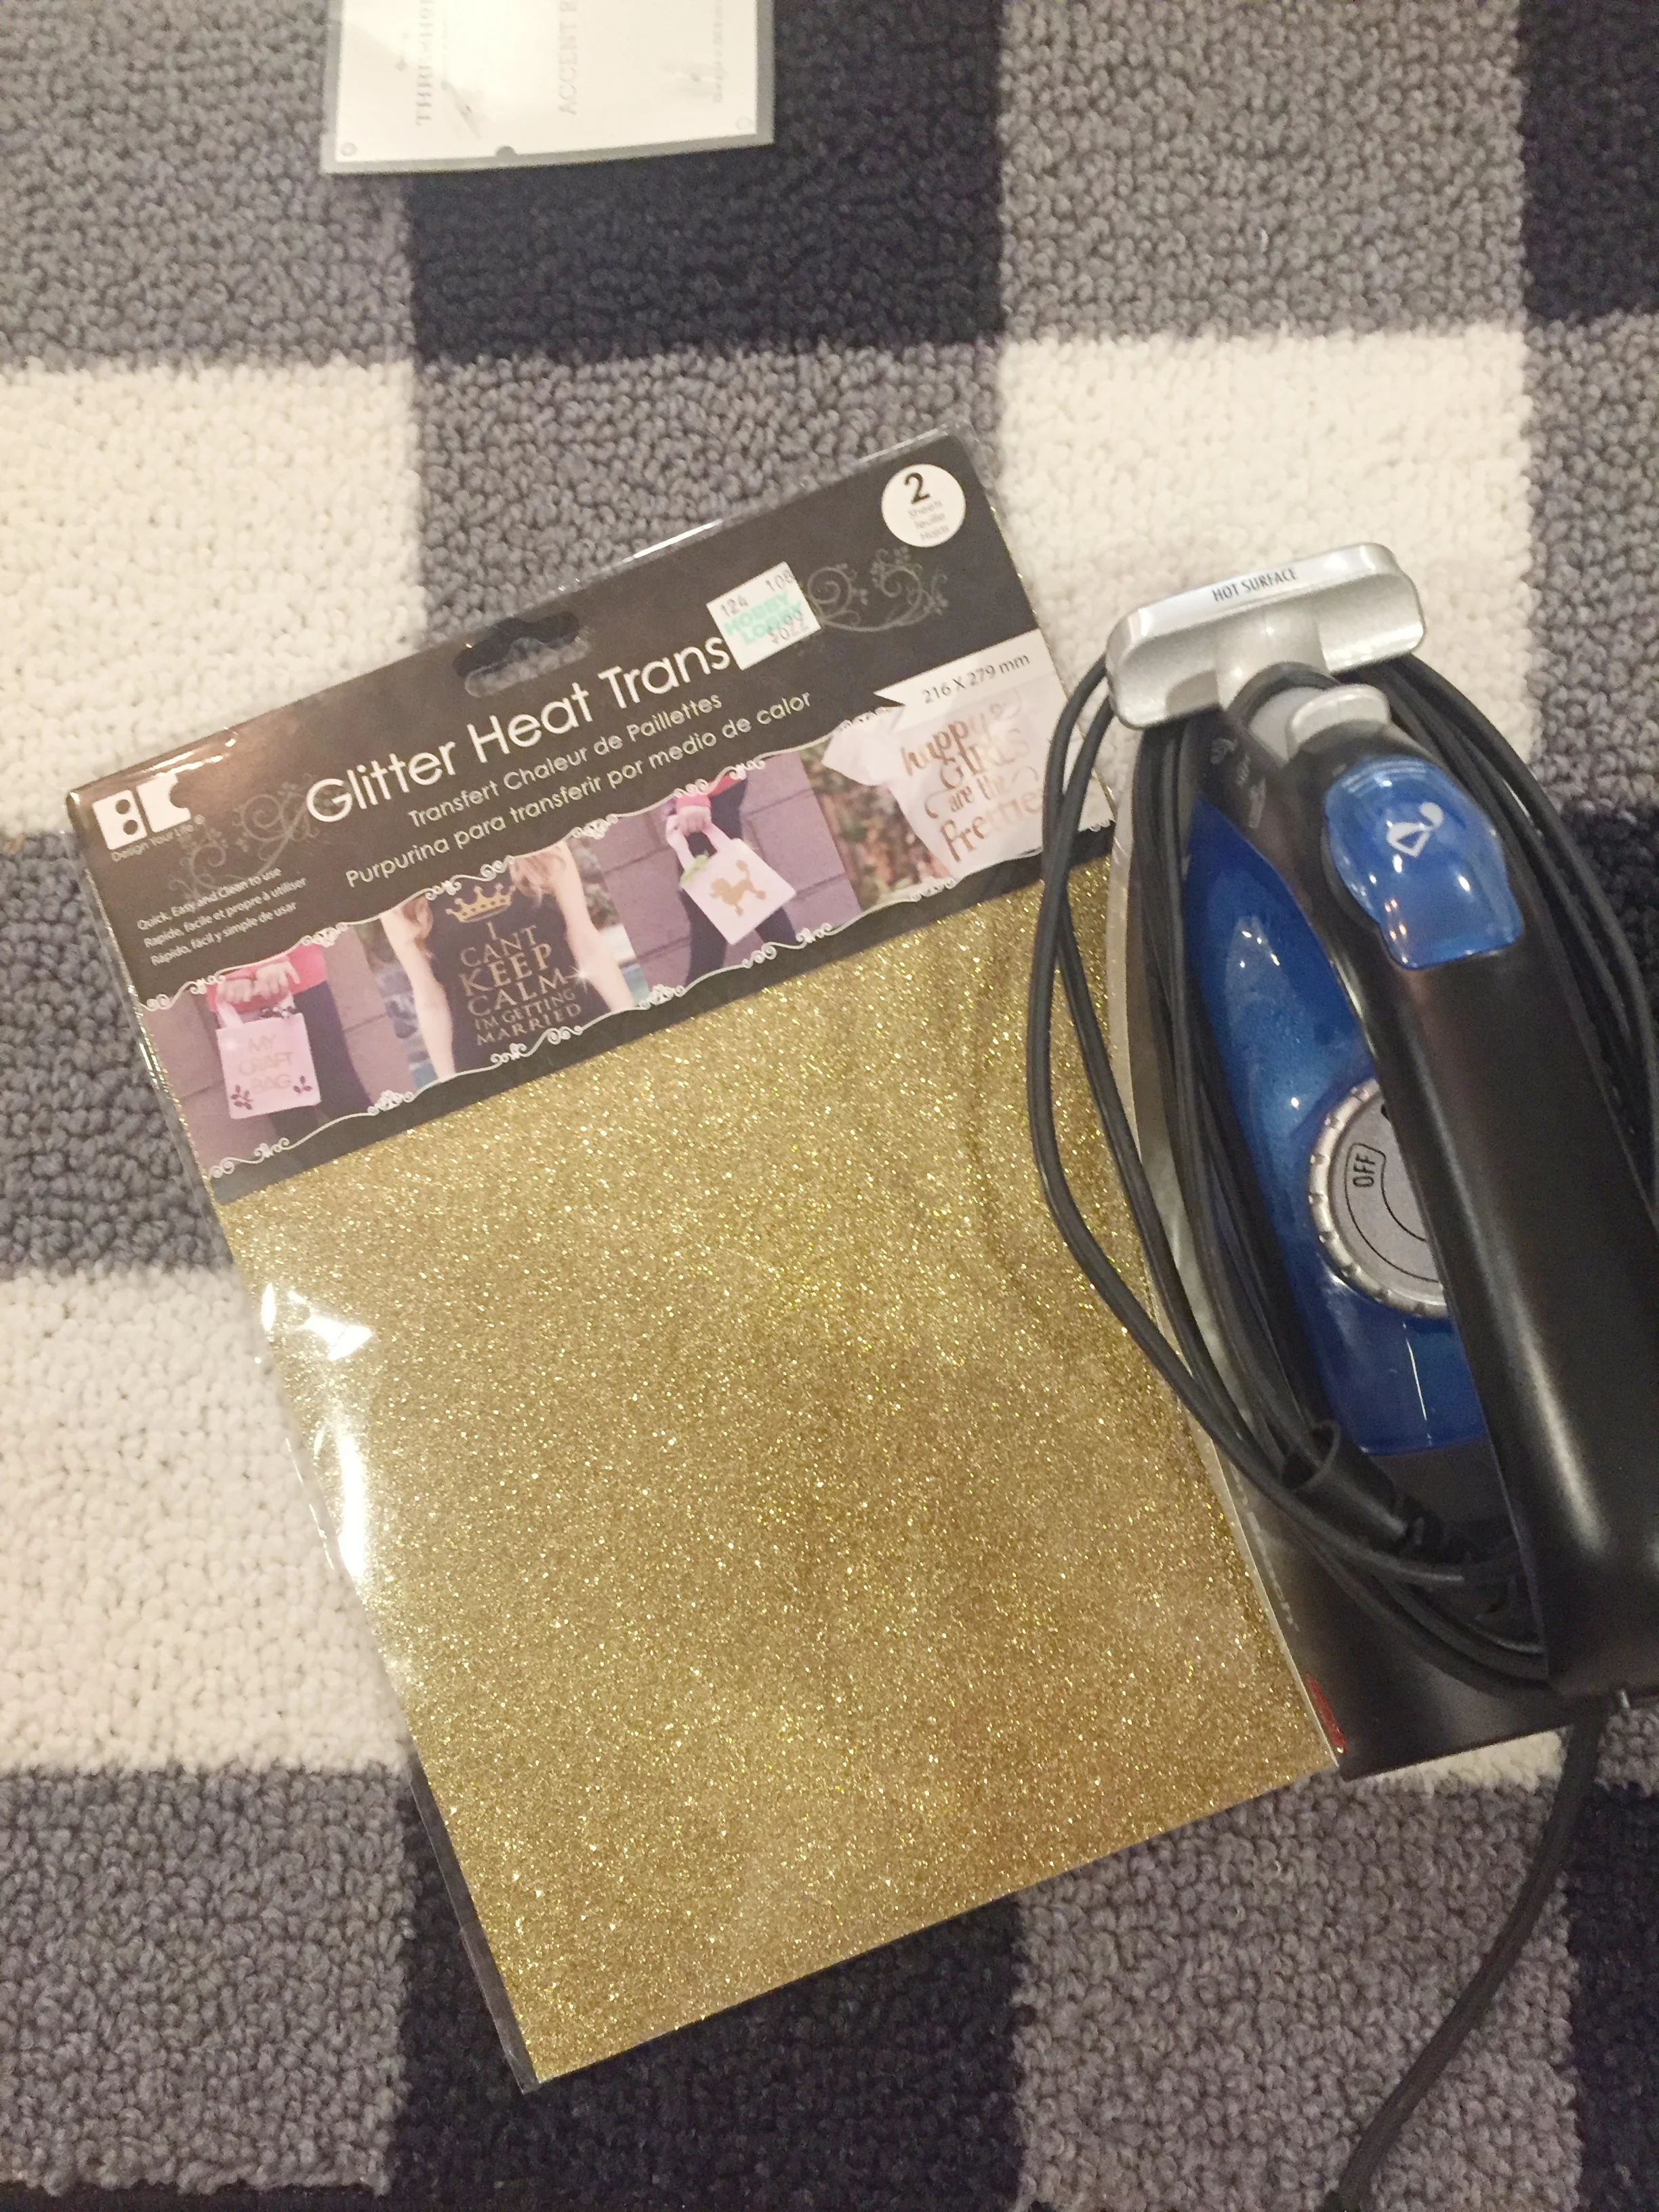
You’ll need:
A doormat (mine was $10 at Target)
Heat transfer in color (or glitter…) of your choice (mine was from Hobby Lobby, doi)
Iron
Computer/printer or stencils
Assembly:
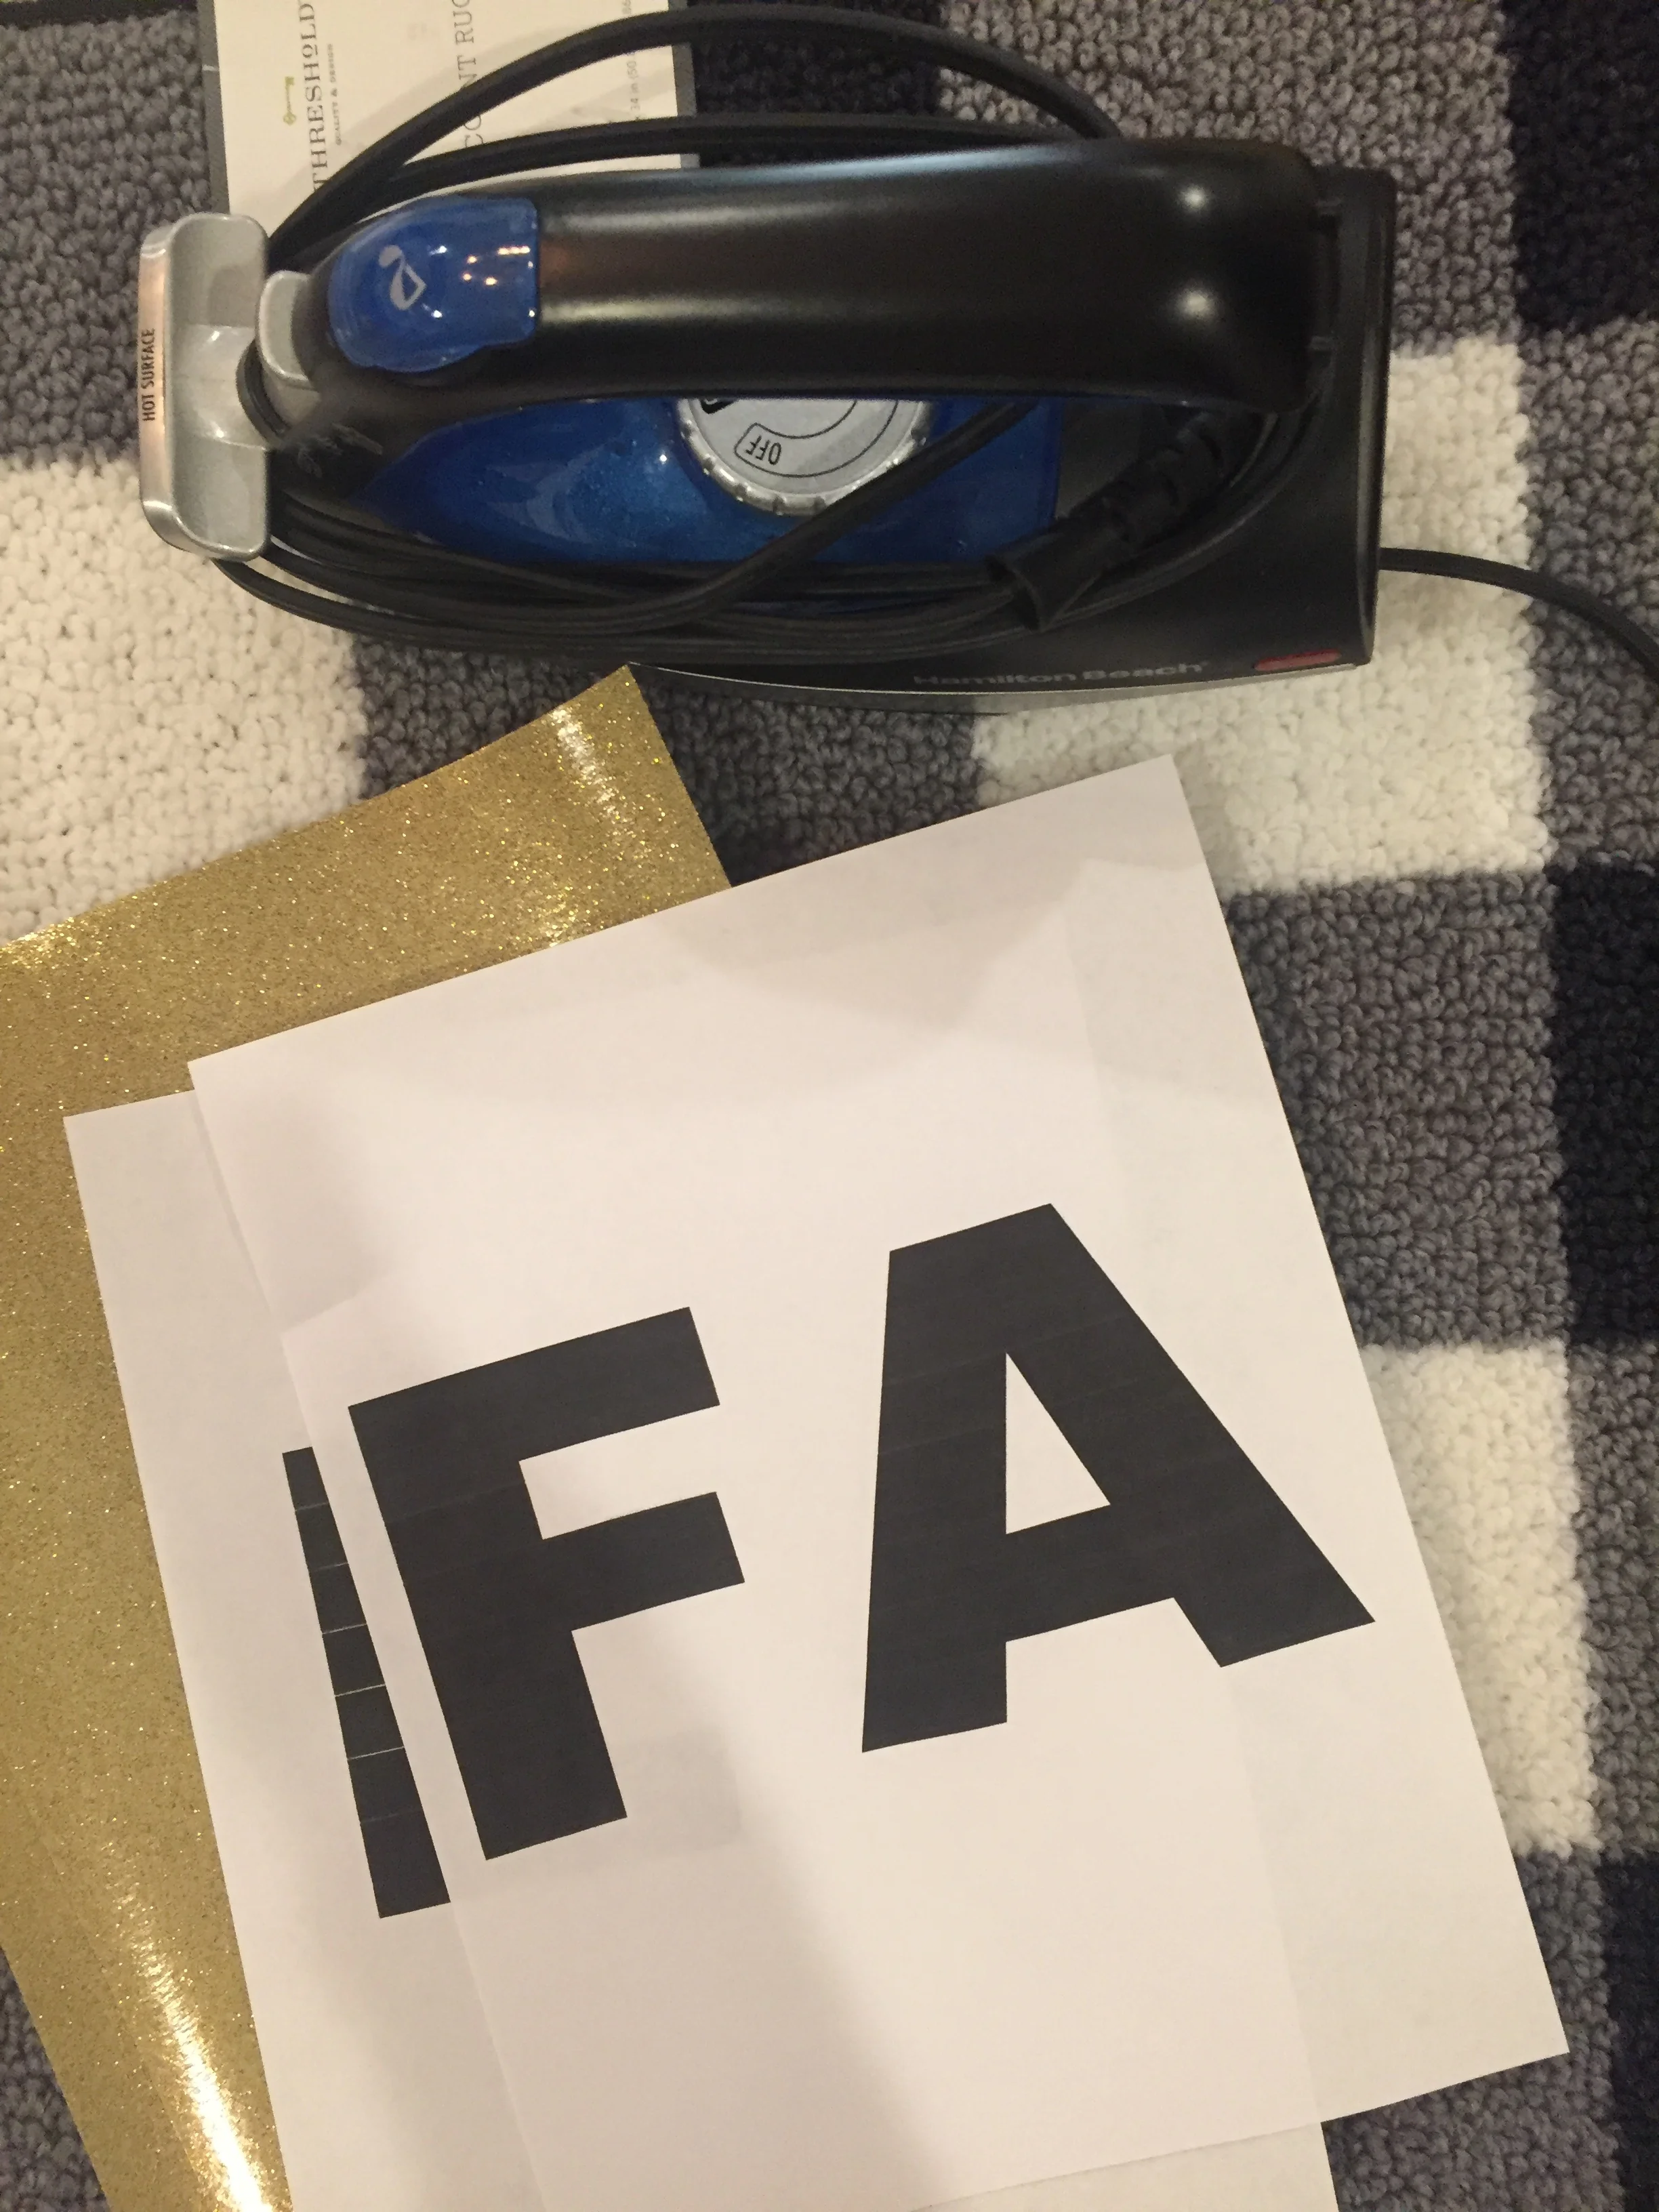
Print out (in thick, large, bold font) the phrase (or design) of your choice
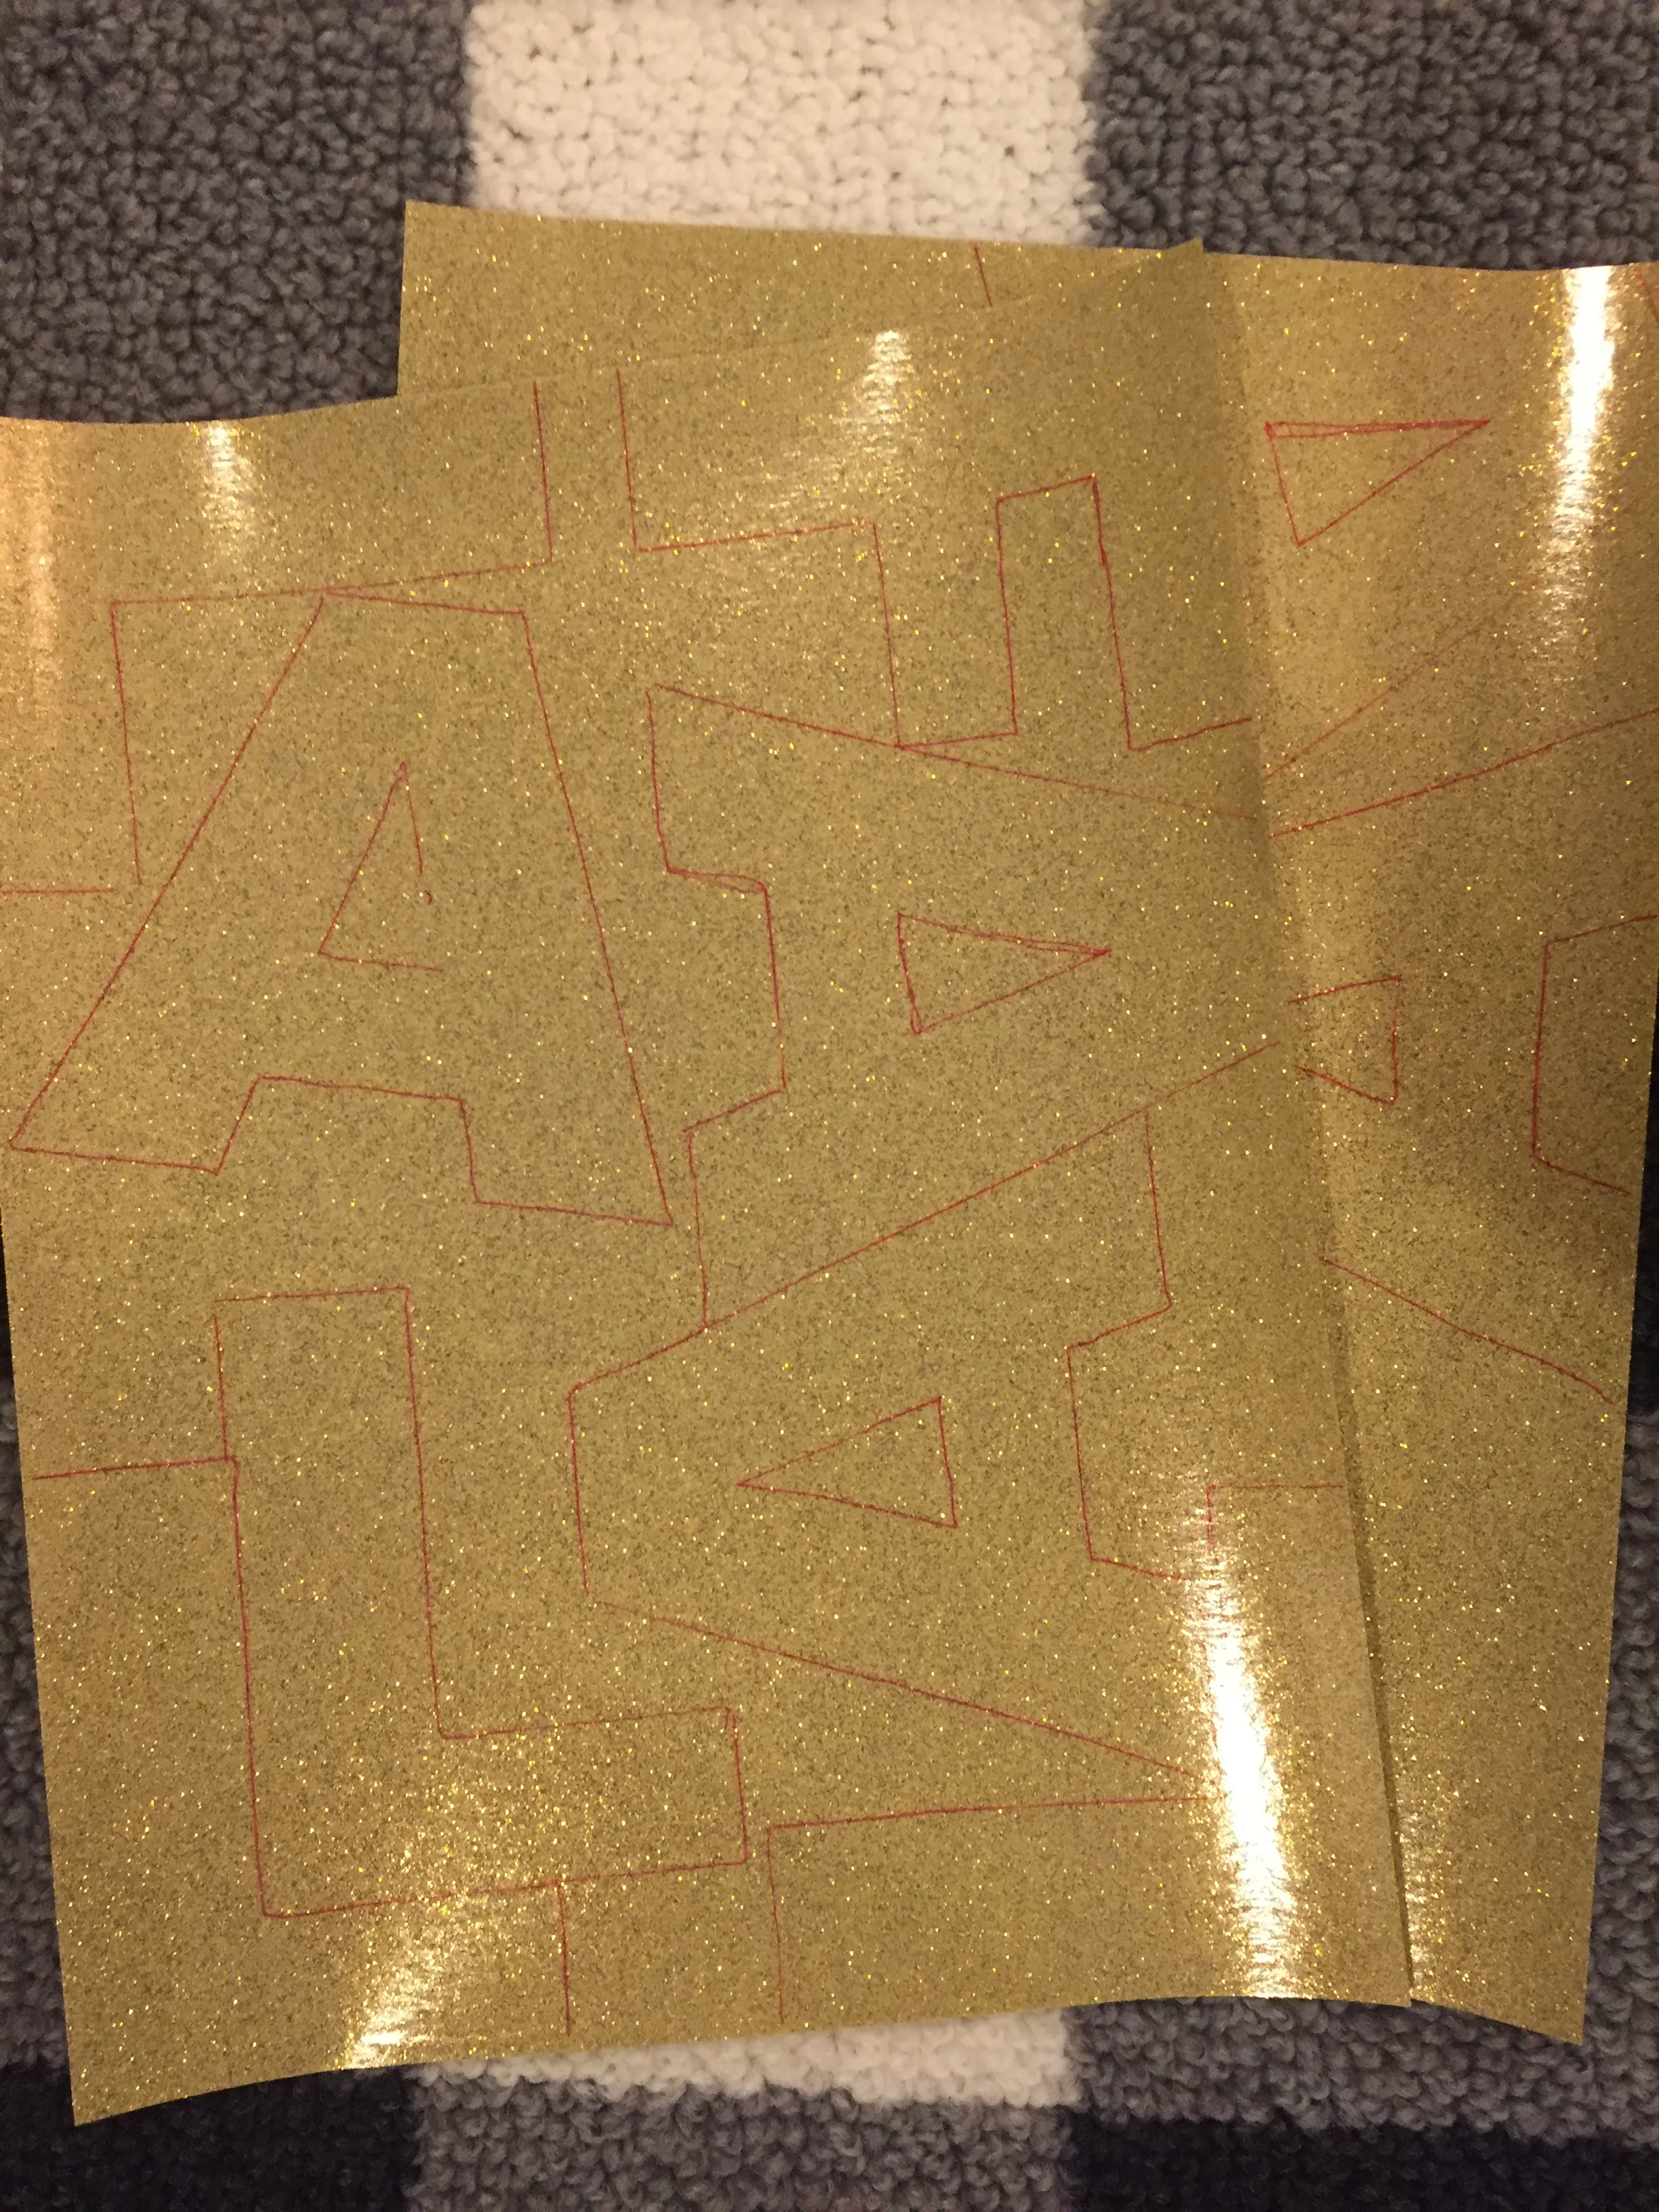
Cut out letters and trace around them BACKWARD on the BACK of the iron on sheet. Don’t be like me and do it wrong the first time- you want to be sure that when you flip it over to iron it on, it’s correct. Alternatively, stencils would work too. A Cricut/Silhouette would be even easier!
Lay out design/letters to determine how you want to space them. Iron letters on to rug using recommended ironing instructions provided by heat transfer material.
Peel off clear plastic layer once material is melted to rug.
tlo pro-tip: if your letters are going to overlap, IRON ON THE BOTTOM ONE FIRST, peel off plastic, then add top one and iron separately. Otherwise you won’t be able to peel the clear plastic off of the one on bottom where they overlap. Don’t ask me how I know this.
VOILA!!
‘How durable is it?’ you ask? I have no idea. We’ll ask the winner of this rug to weigh in and let us know how well it holds up. The good news is that, unless you celebrate Christmas June-January like Hobby Lobby does, this only needs to hold up for a month or two a year.

Toodles! tlo


