

DIY: Embellished Winter Wear

As is probably clear at this point, I would rock anything that Anthropologie sells, if only it didn’t all cost so much dang money. SO. MUCH. MONEY.
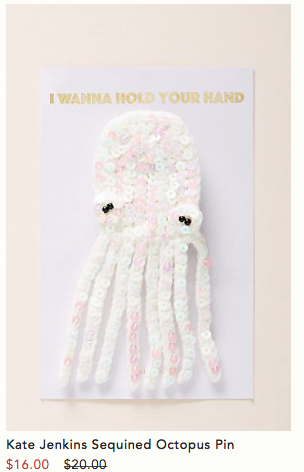
Well OK. Maybe not everything:
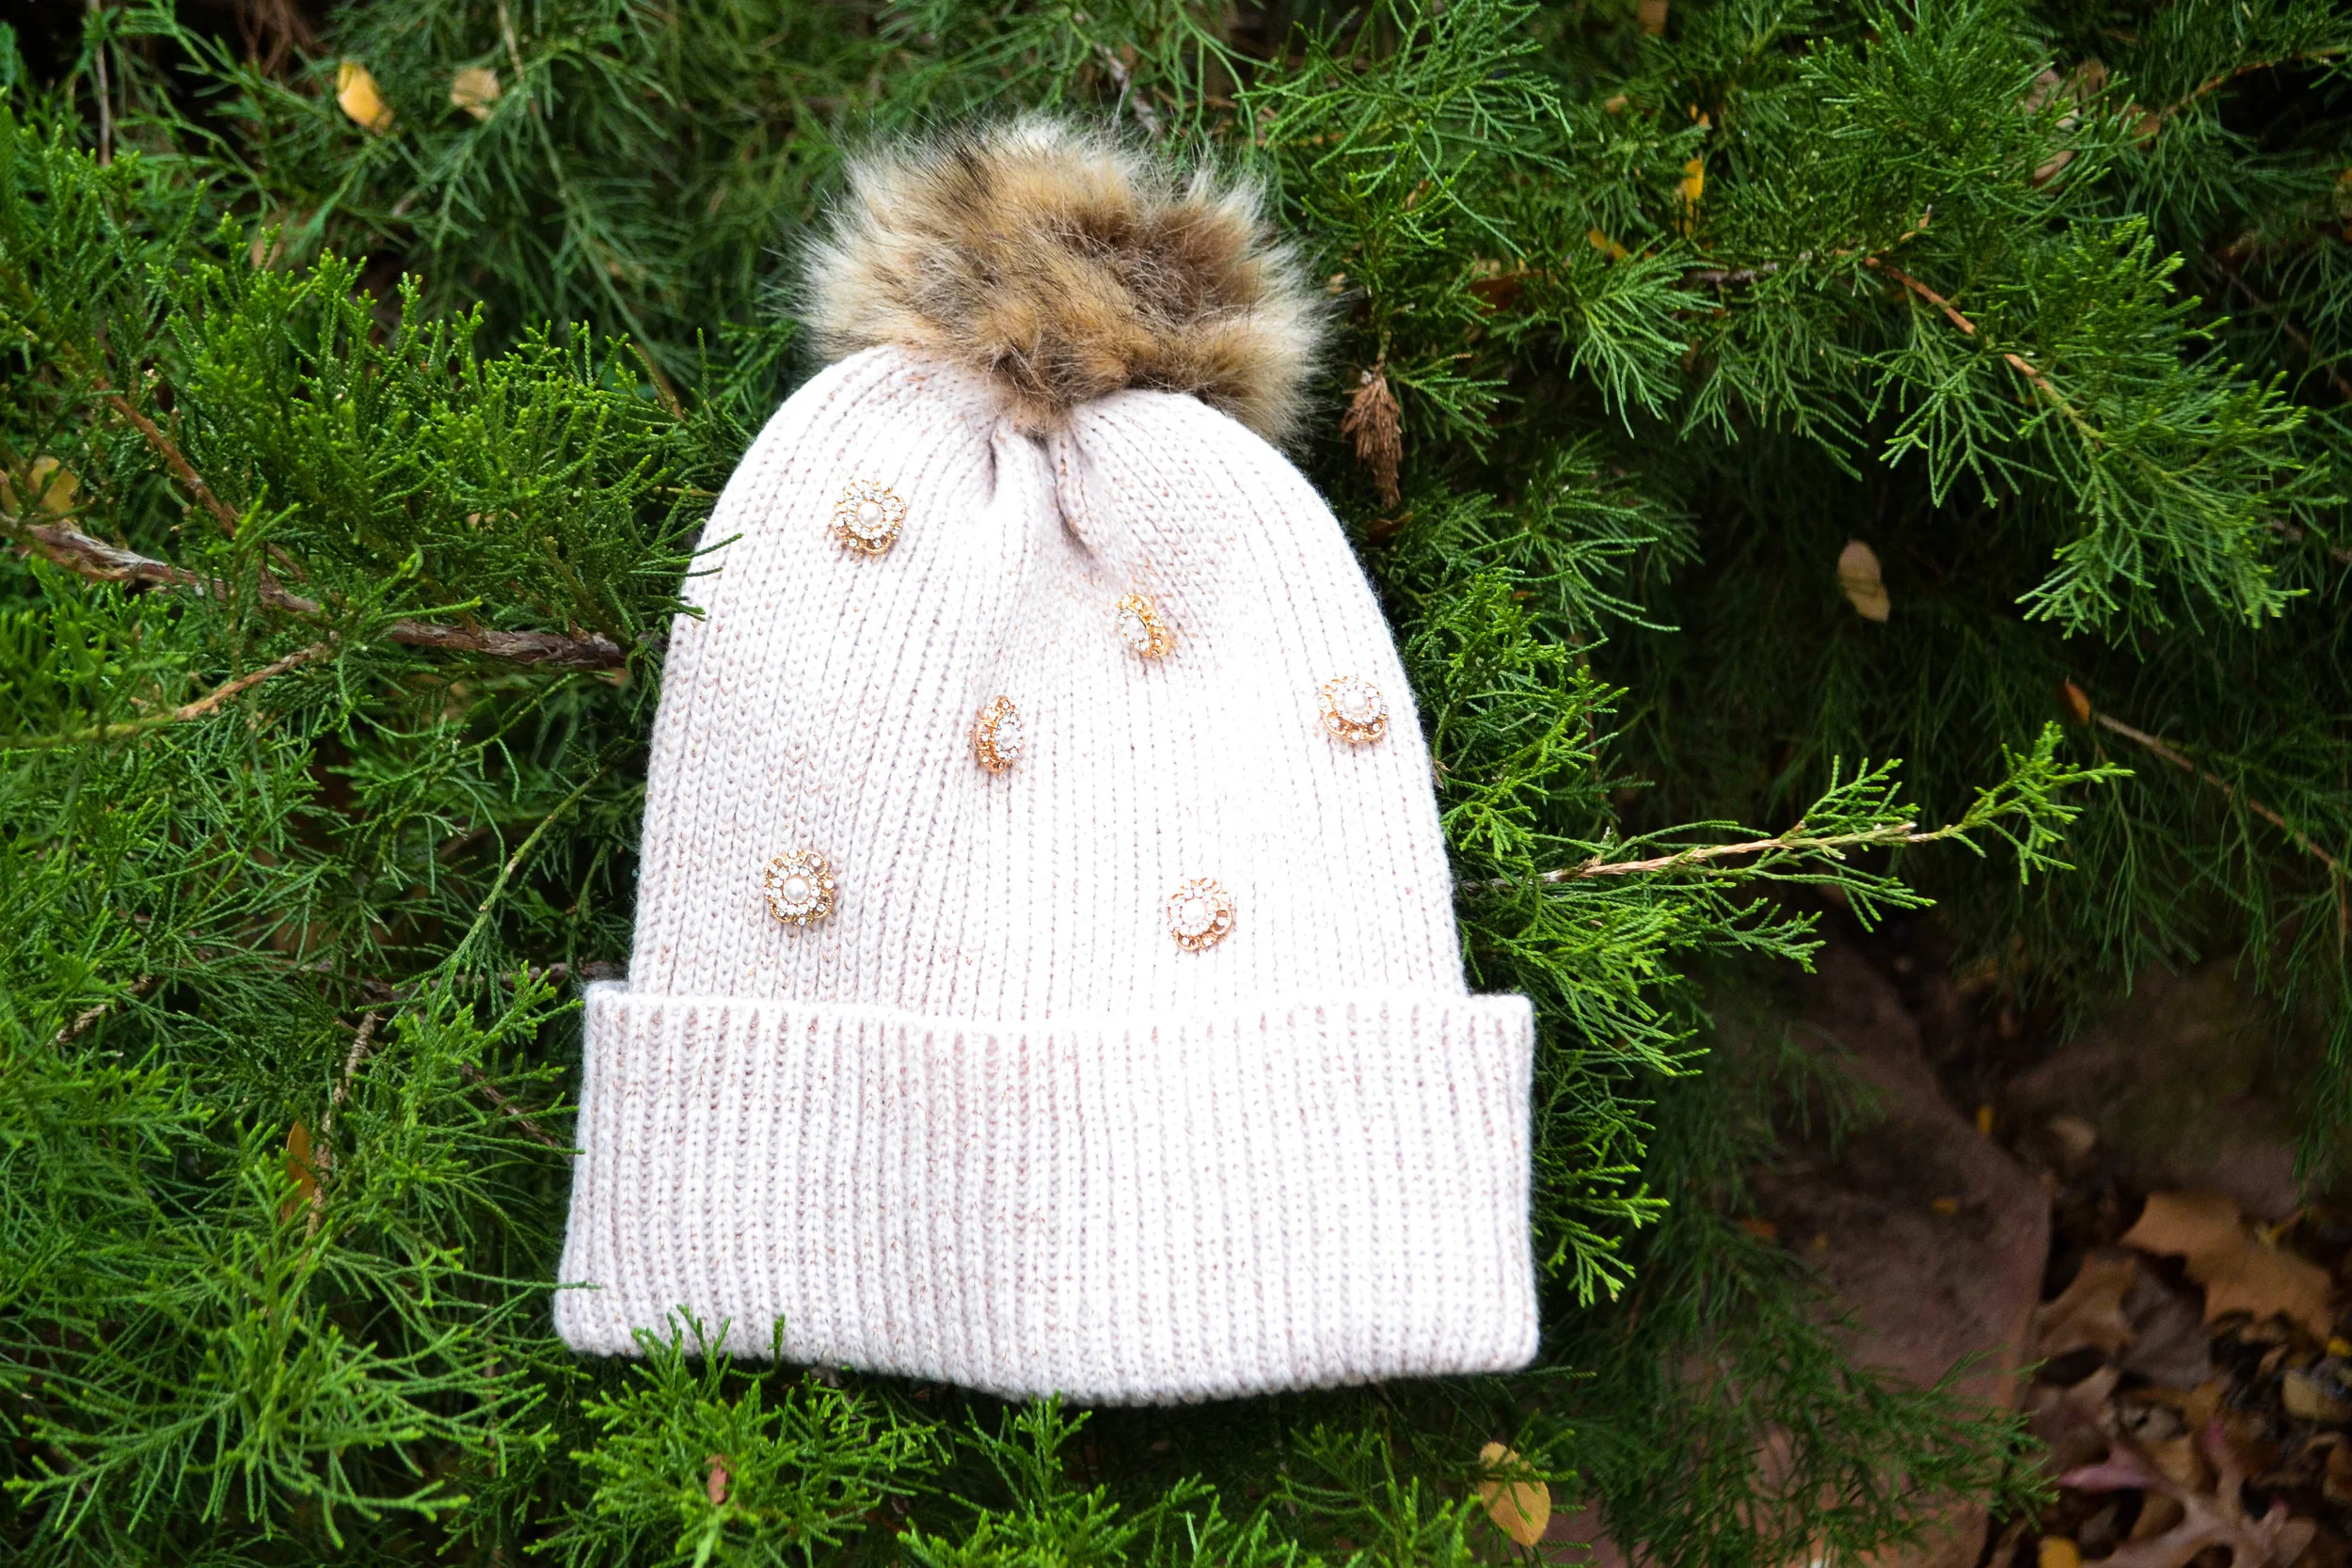
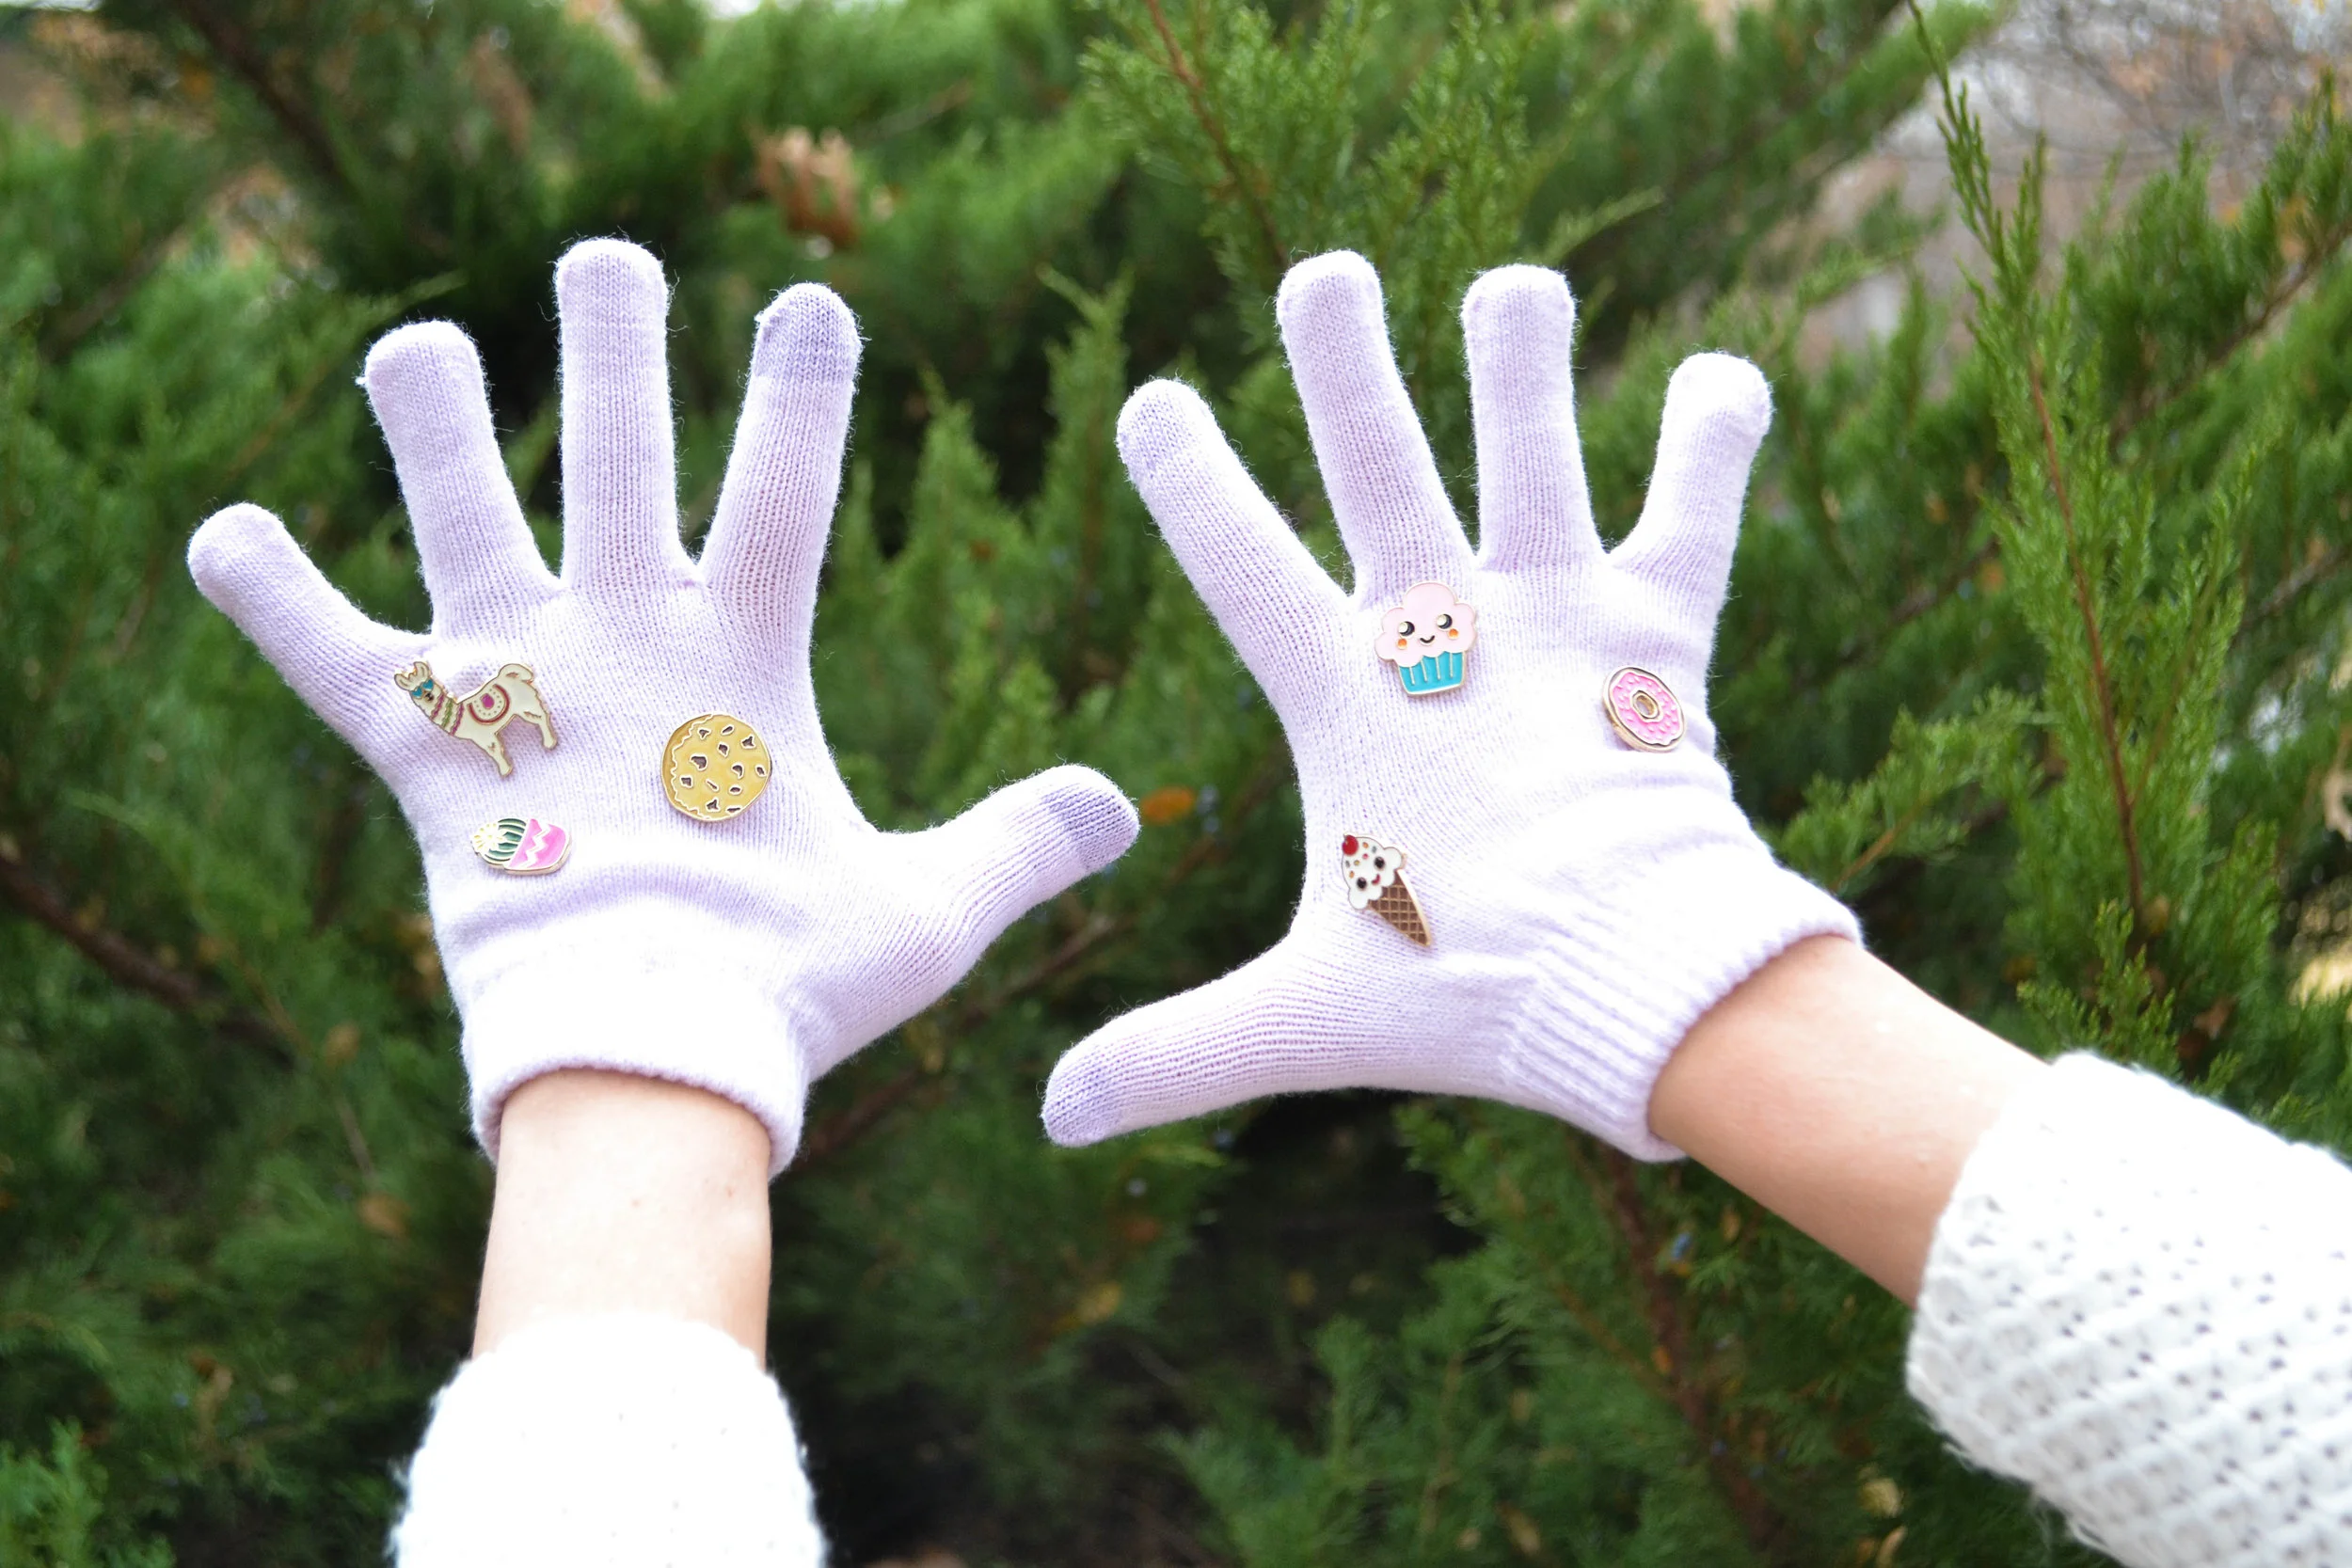
But I regularly peruse their website to see what’s cooking and recently I saw these cute embellished gloves and hat:
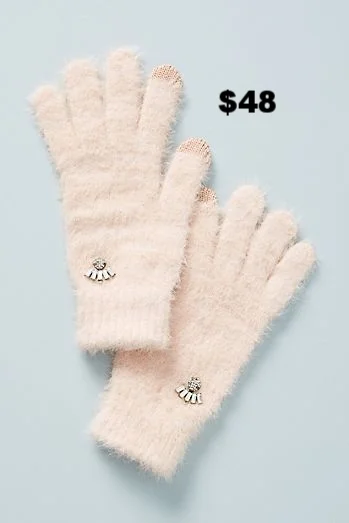

All I could think was, “that is a hat with 3 buttons sewn on it for $58.” I love you, Anthro… but sometimes I think you’re just trying to see how far you can push it before people stop buying things. Clearly that line hasn’t been found yet.
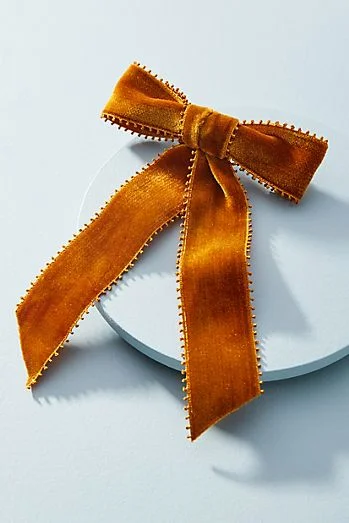
Exhibit A: this hair bow for ONE HUNDRED AND THIRTY EIGHT DOLLARS.
$138. Let that sink in.
I mean, it’s cute. But who is buying this stuff??! And can we share monies??! You could buy gas for 2 months, or have this bow. $138. They’re punking us. This is a punk.
Long story short, I frequently DIY things I see at Anthro. Love the style. Hate the price. So today I did a couple of different embellished winter accessories and they’re so fun and were extremely easy and inexpensive. They’d make great gifts! The beauty is that you can use ANY hat. ANY gloves. ANY buttons. You can tailor this to suit anyone so easily.


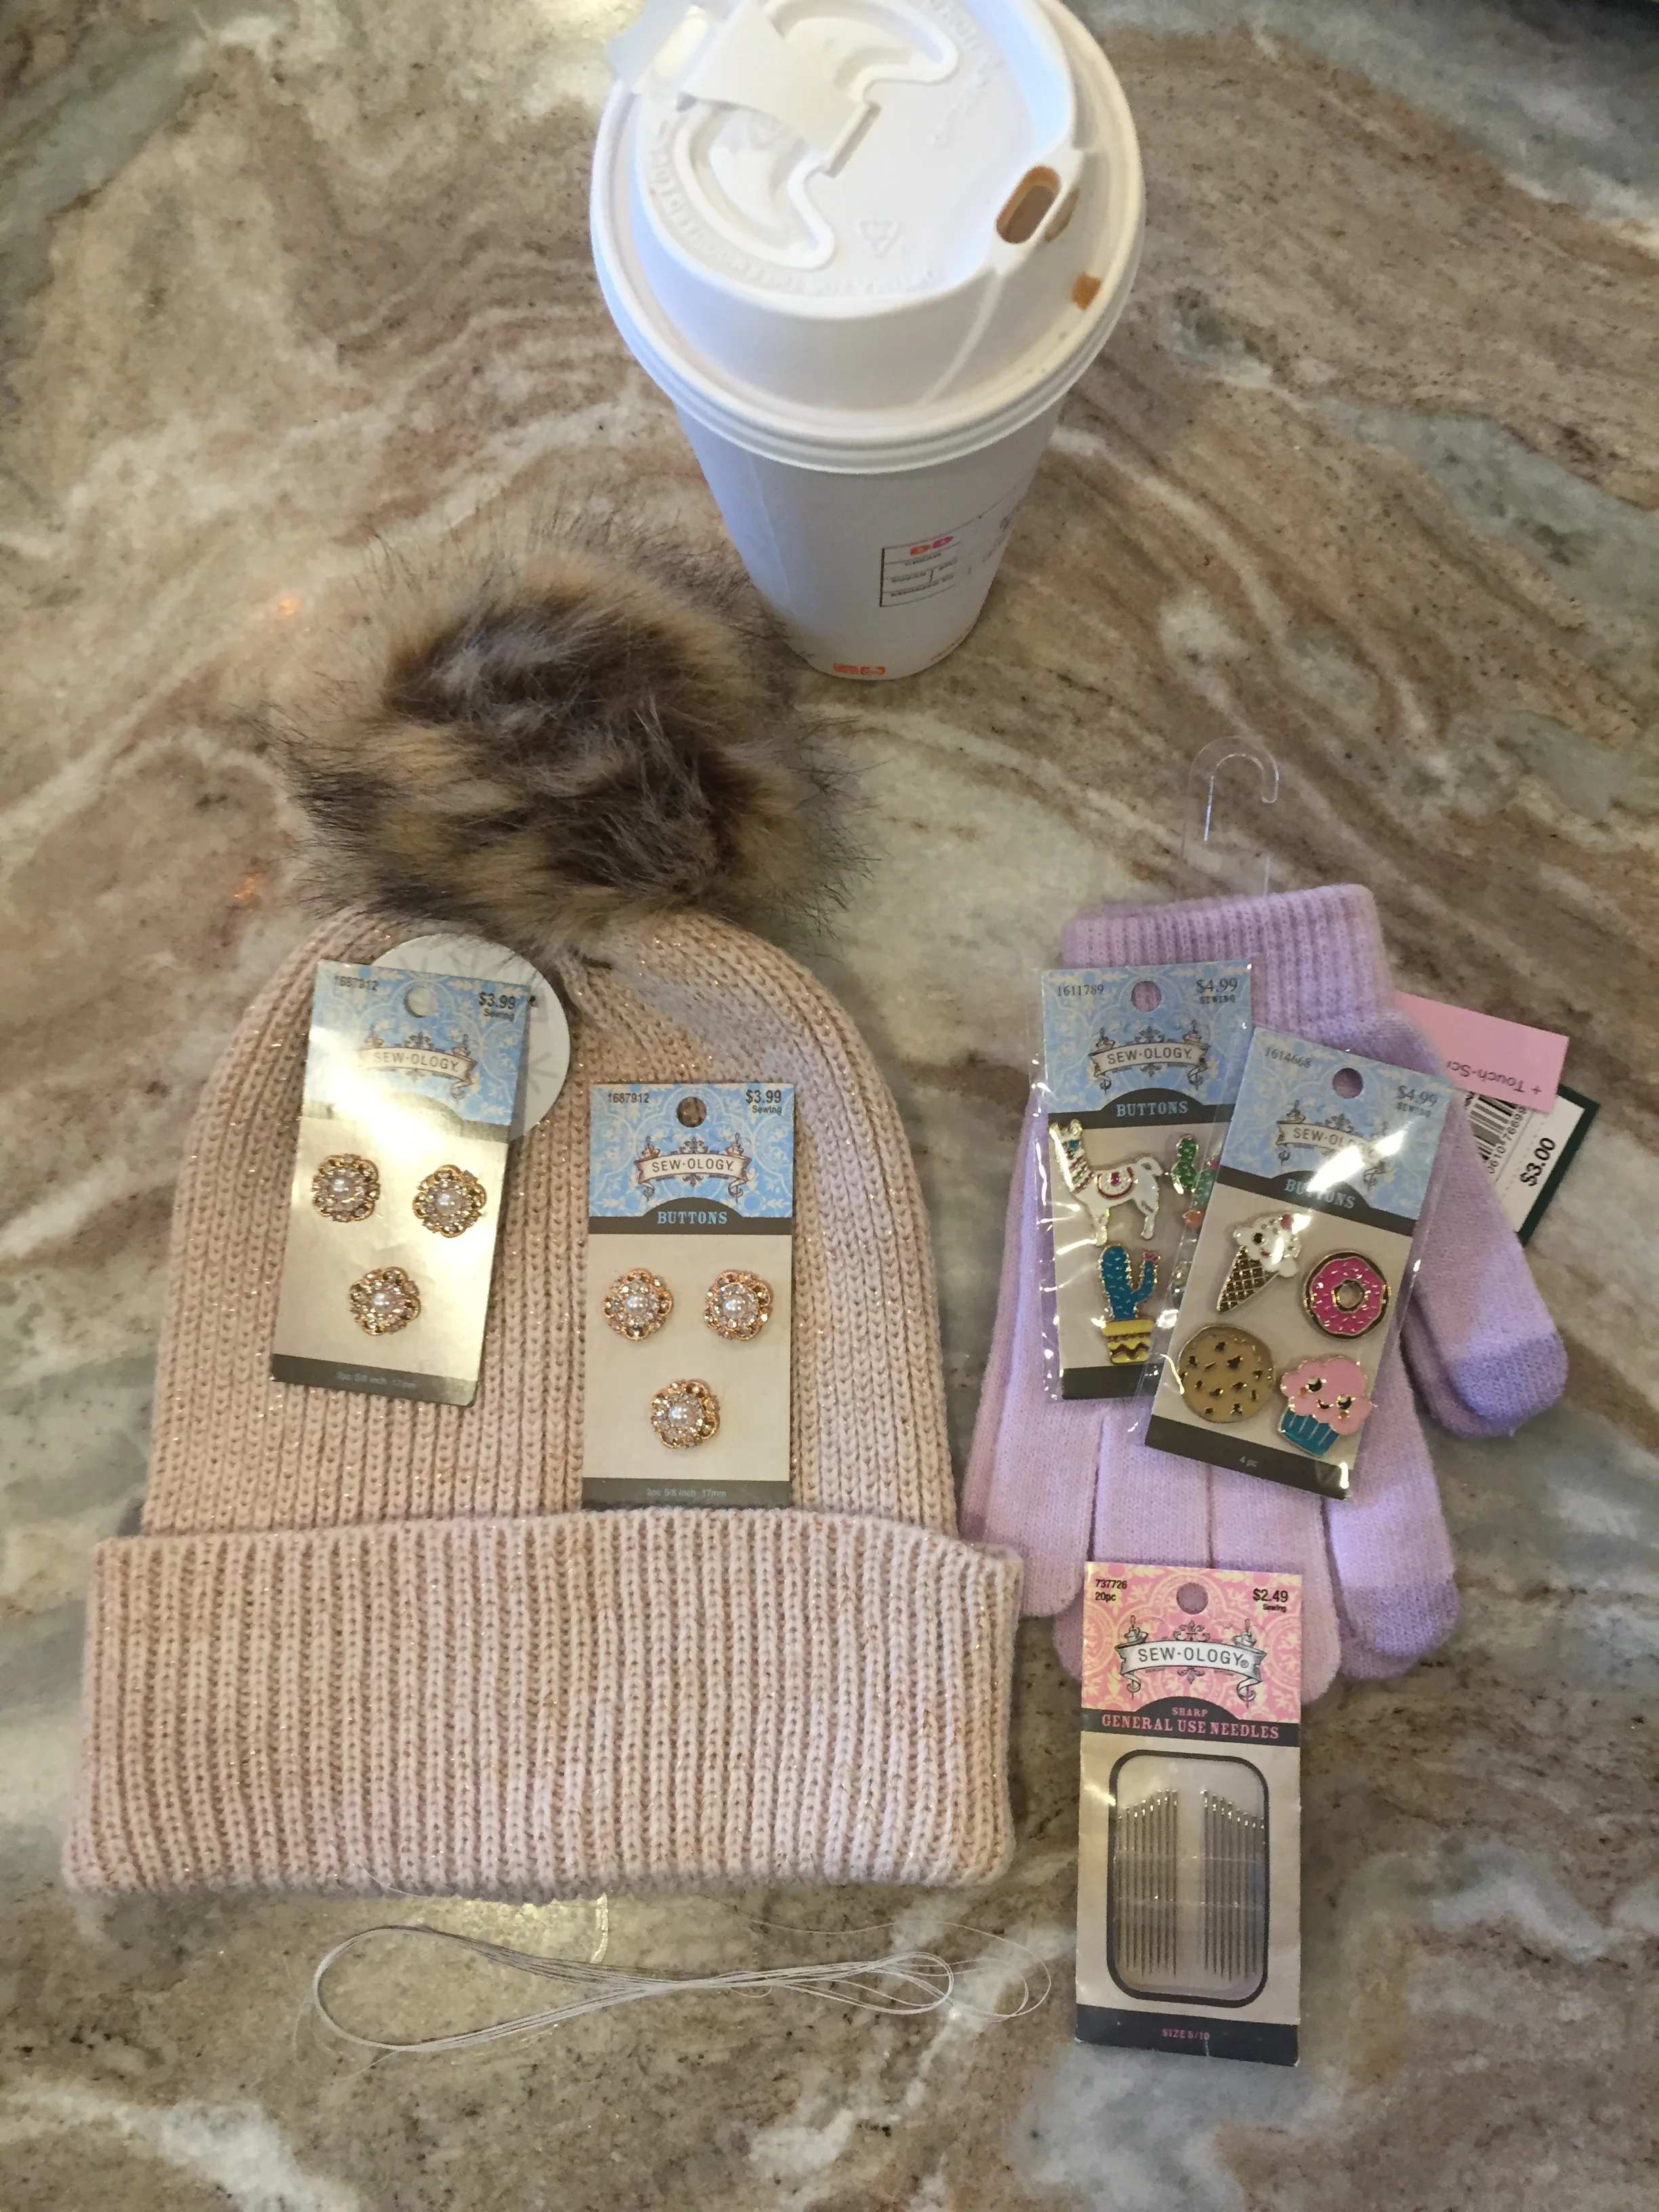
You’ll need:
hat and/or gloves of your choice
I used a $5 hat from Target’s dollar spot (not online)
I used a pair of $3 purple gloves from Target (not online- found in the women’s coat/hat/scarf section)
Thread
Needle
Buttons of your choice
I used these pretty gold and rhinestone buttons from Hobby Lobby
I used these fun, quirky cactus/llama buttons and sweets buttons from Hobby Lobby
coffee optional but not really
Assembly:
Lay out item with buttons arranged as desired. Mark locations, or make mental note of where you want to place each button.
One by one, sew buttons on to item. If you’ve never sewn a button using needle and thread, just watch the video below! I even show you how to tie off the ends of the thread.
That’s it!
Toodles, tlo