

DIY: Beaded Utensils
This DIY is an oldie but a goodie- I got really into these beaded utensils (as one does) in college, and recently uncovered my bead collection when cleaning out my craft closet.
Bees?
Beads.
BEES???
Name that sitcom. Hint: it’s the best show of all time.
Anyway, back to the topic at hand. These fun and festive utensils are quick to make and are the perfect gift for the hostesses with the mostesses in your life. You can make them in any color combination with any beads you prefer, and if you find spoons at Dollar Tree like I did, you could probably make 3 sets for under $20.
You’ll need:
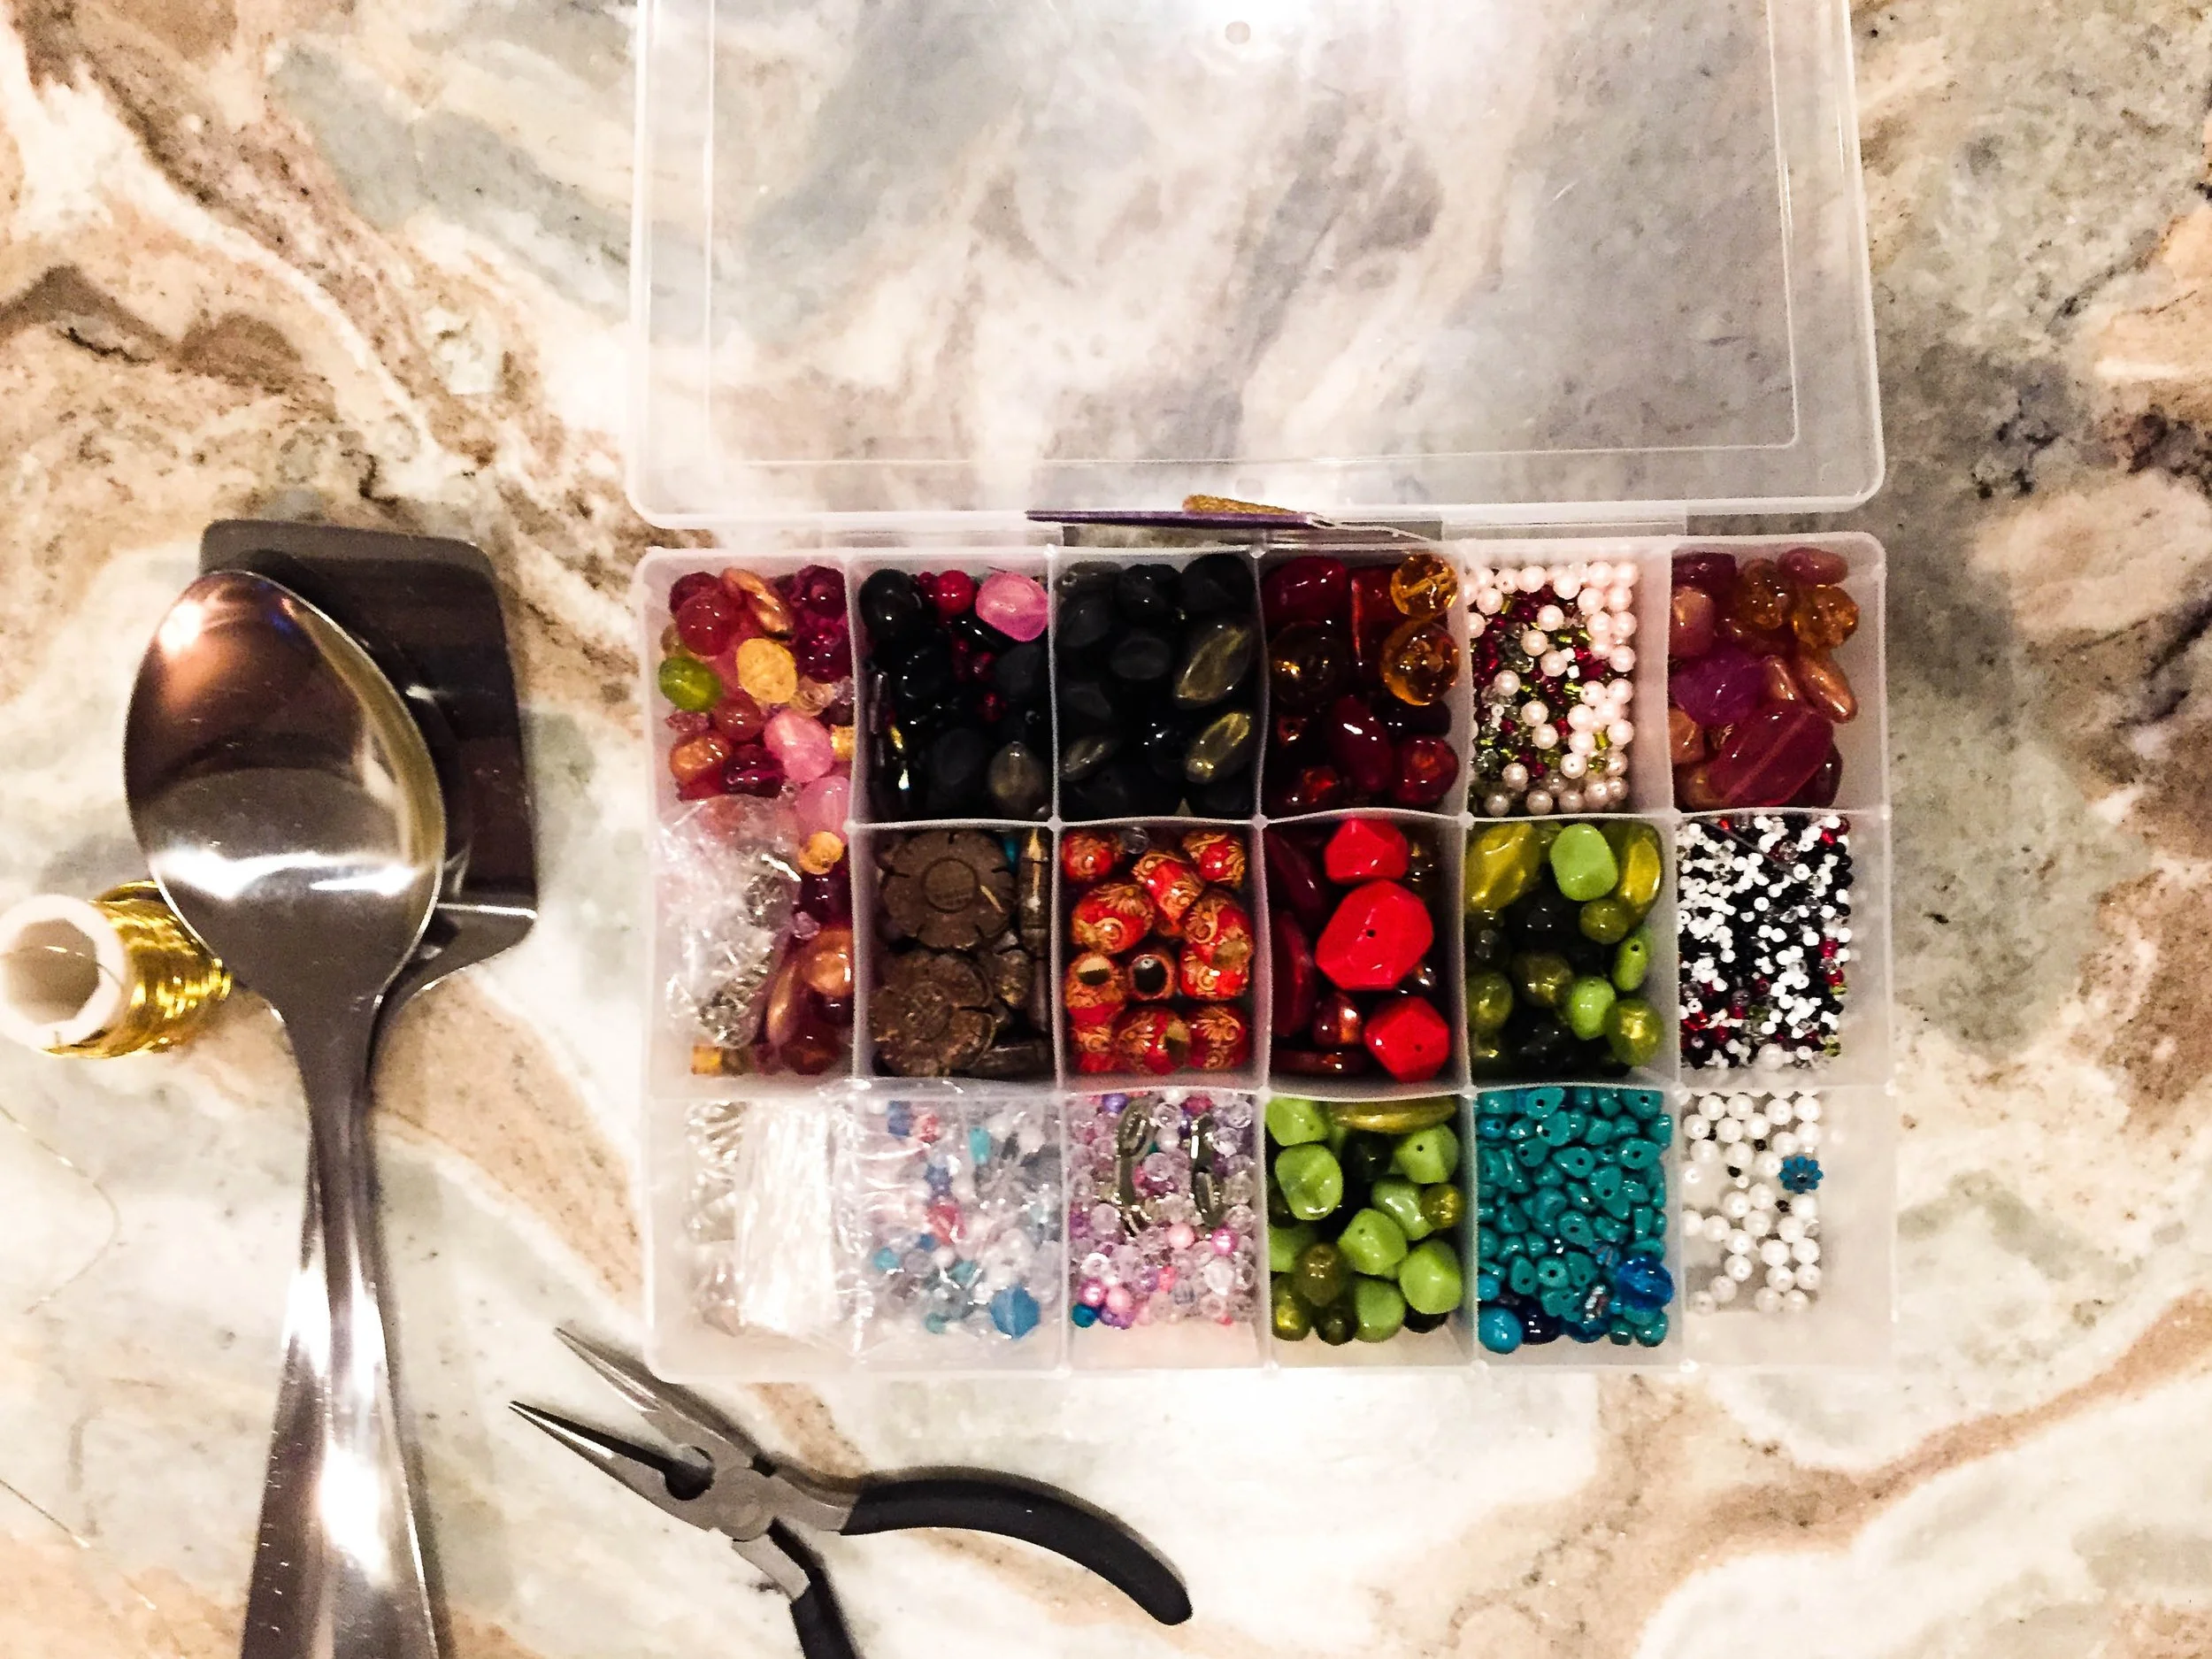
Plain serving spoons; mine are from the Dollar Tree (from a long time ago)
Jewelry wire (I like a medium gauge wire in gold, but that’s just me)
Beads of your choice
I like to combine colors, sizes, and styles for a more eclectic look, but you can do this however you prefer!
Needle-nose pliers
How to Make Beaded Serving Spoons:
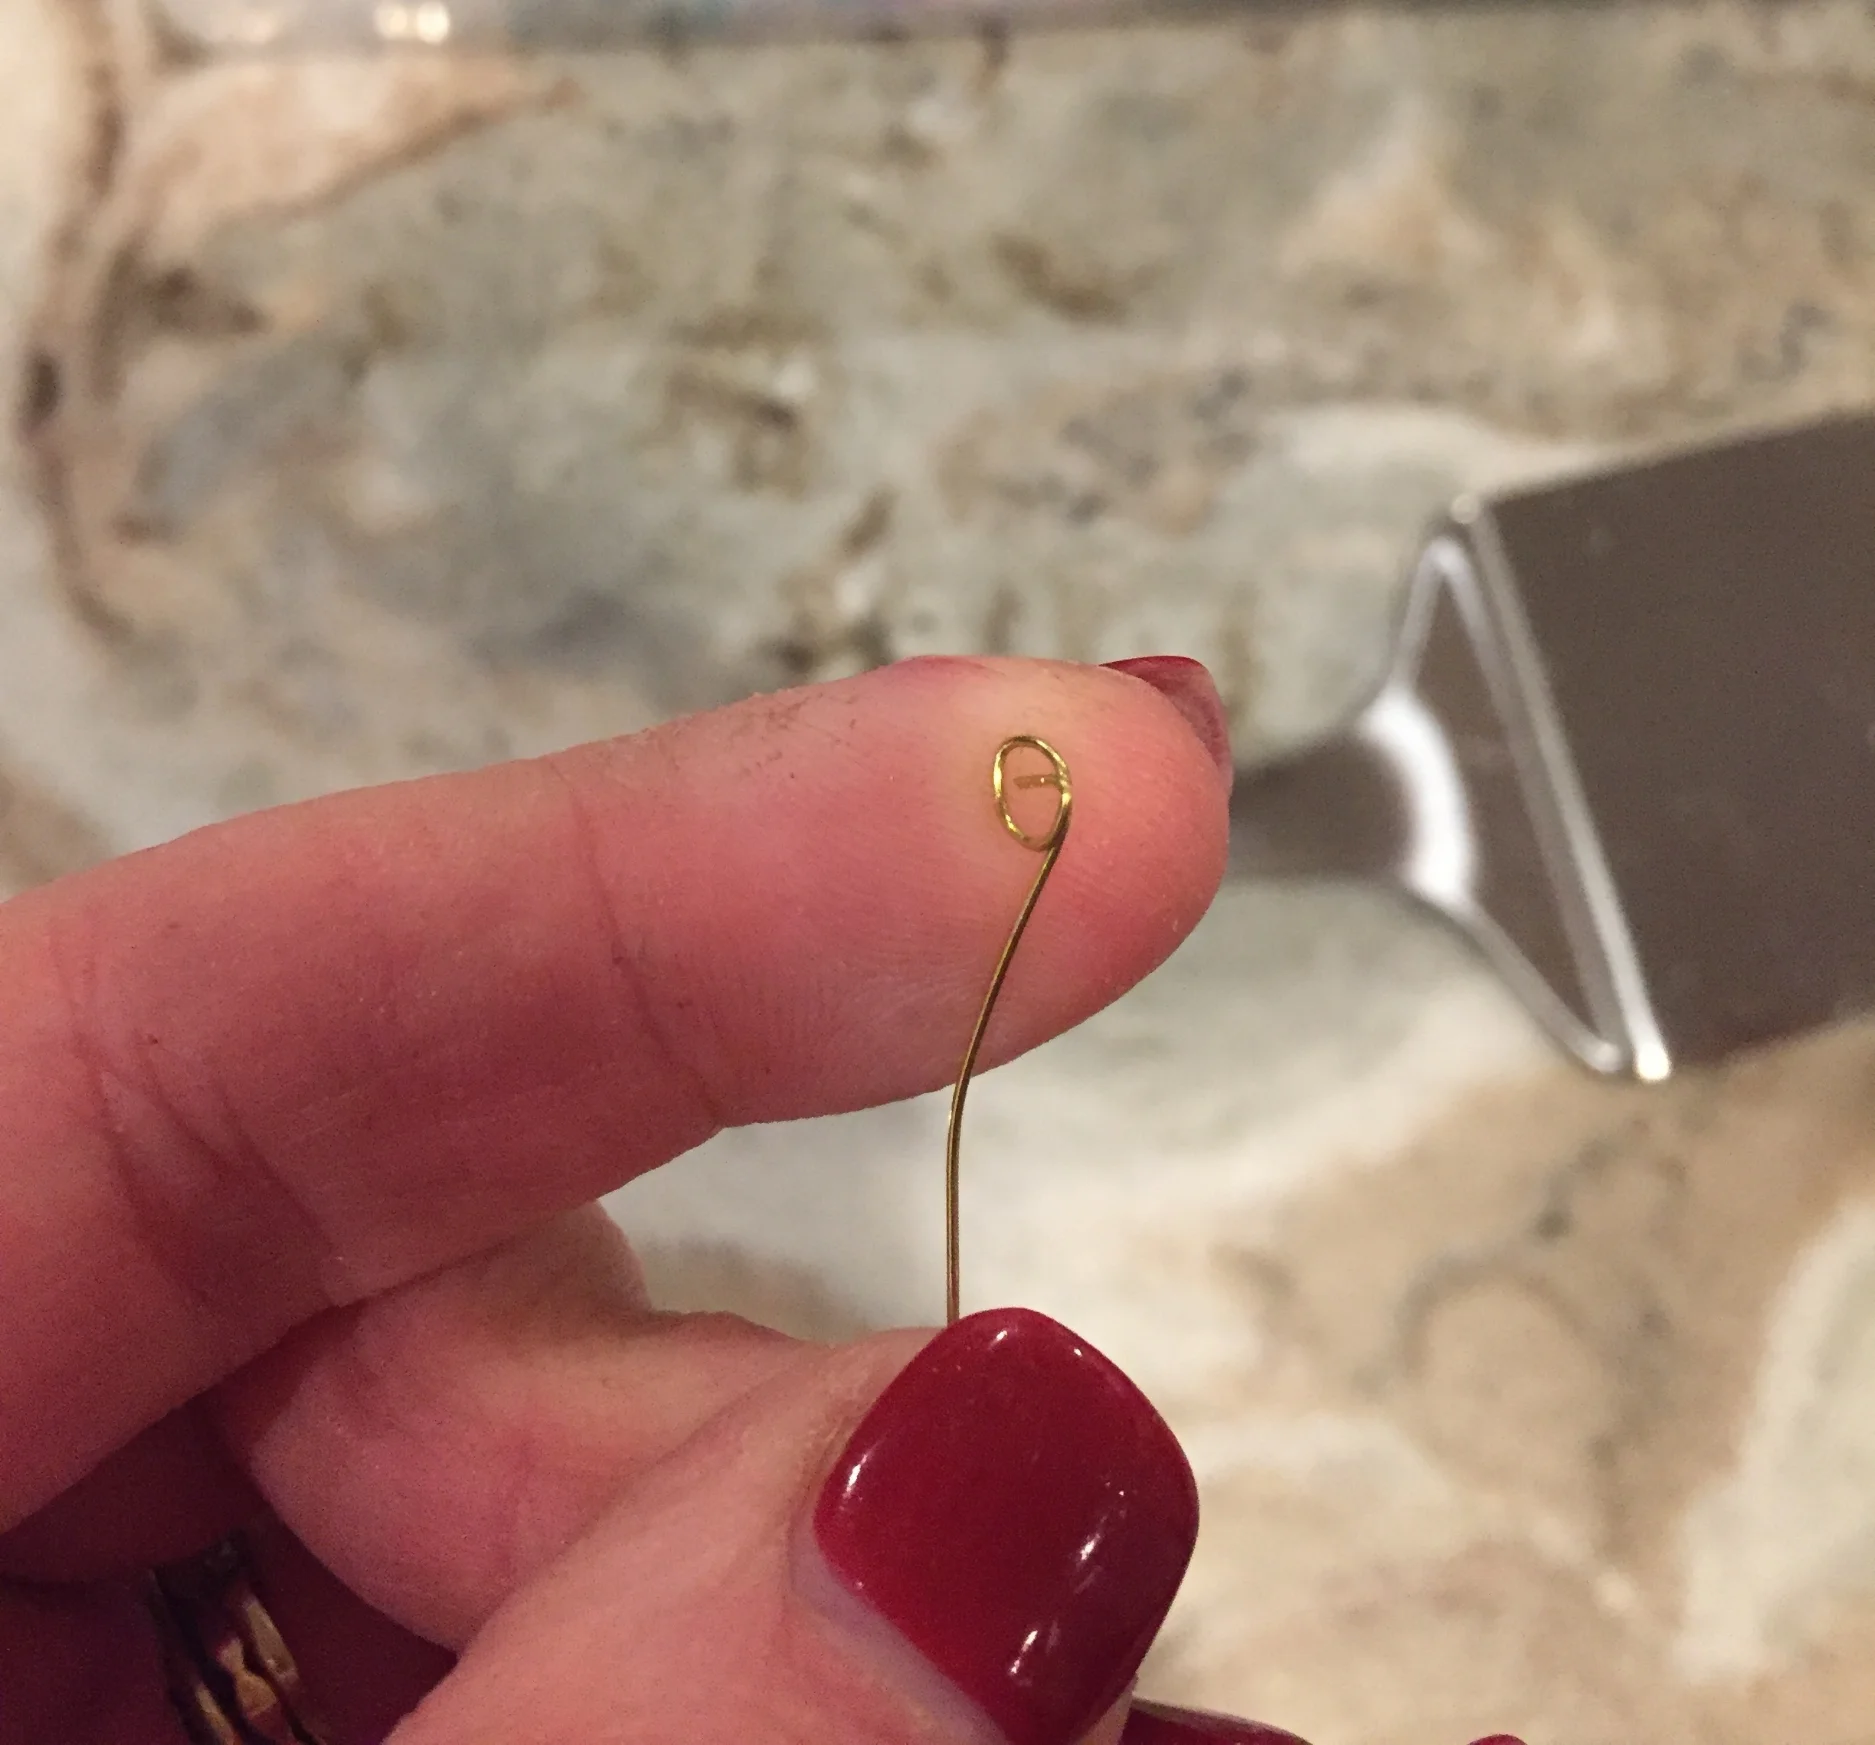
Cut a long (LONG. REALLY LONG) piece of wire. You end up using a lot more than you think you’ll need. 15 feet should do.
I usually start by curling a little loop out of the end of the wire (to avoid having a sharp wire end poking out), hold the loop on the back of the top of the handle (right below the spoon part), and then wrap the wire 3-4 times around the handle to secure.
Slide bean on wire. Wrap wire 3-4 times around bead, then a few times around handle below bead.
Repeat step 3 with different colors of beads until entire handle is covered.
To finish, cut wire with just a few inches extra. Tie wire or wrap multiple times around itself in location that won’t show much. Hide wire end by tucking it through a bead or under a bead (you can curl this end into a circle, too if desired).
Find something delicious to serve up! I can’t help you with this step… sowwy. #worldsworstcook


