
DIY: Rubik's Cube Costume
My oldest son has loved Rubik’s cubes since he was 2. He calls them ‘diamonds’ and has absolutely zero idea what they are or do, but he loves holding and twisting them. So this year when Halloween rolled around, I planted this idea in his head, Inception-style, to prevent him from being a dinosaur AGAIN he came up with the Rubik’s cube costume ALL BY HIMSELF.
I looked up some ideas online, but didn’t find one where all 3 pieces could spin- and obviously this is a very important feature for a 4-yo’s costume. So using every ounce of what I learned in a 4-year engineering program, I found a way to make it happen. #enthalpy #fluidmechanics
You’ll Need:
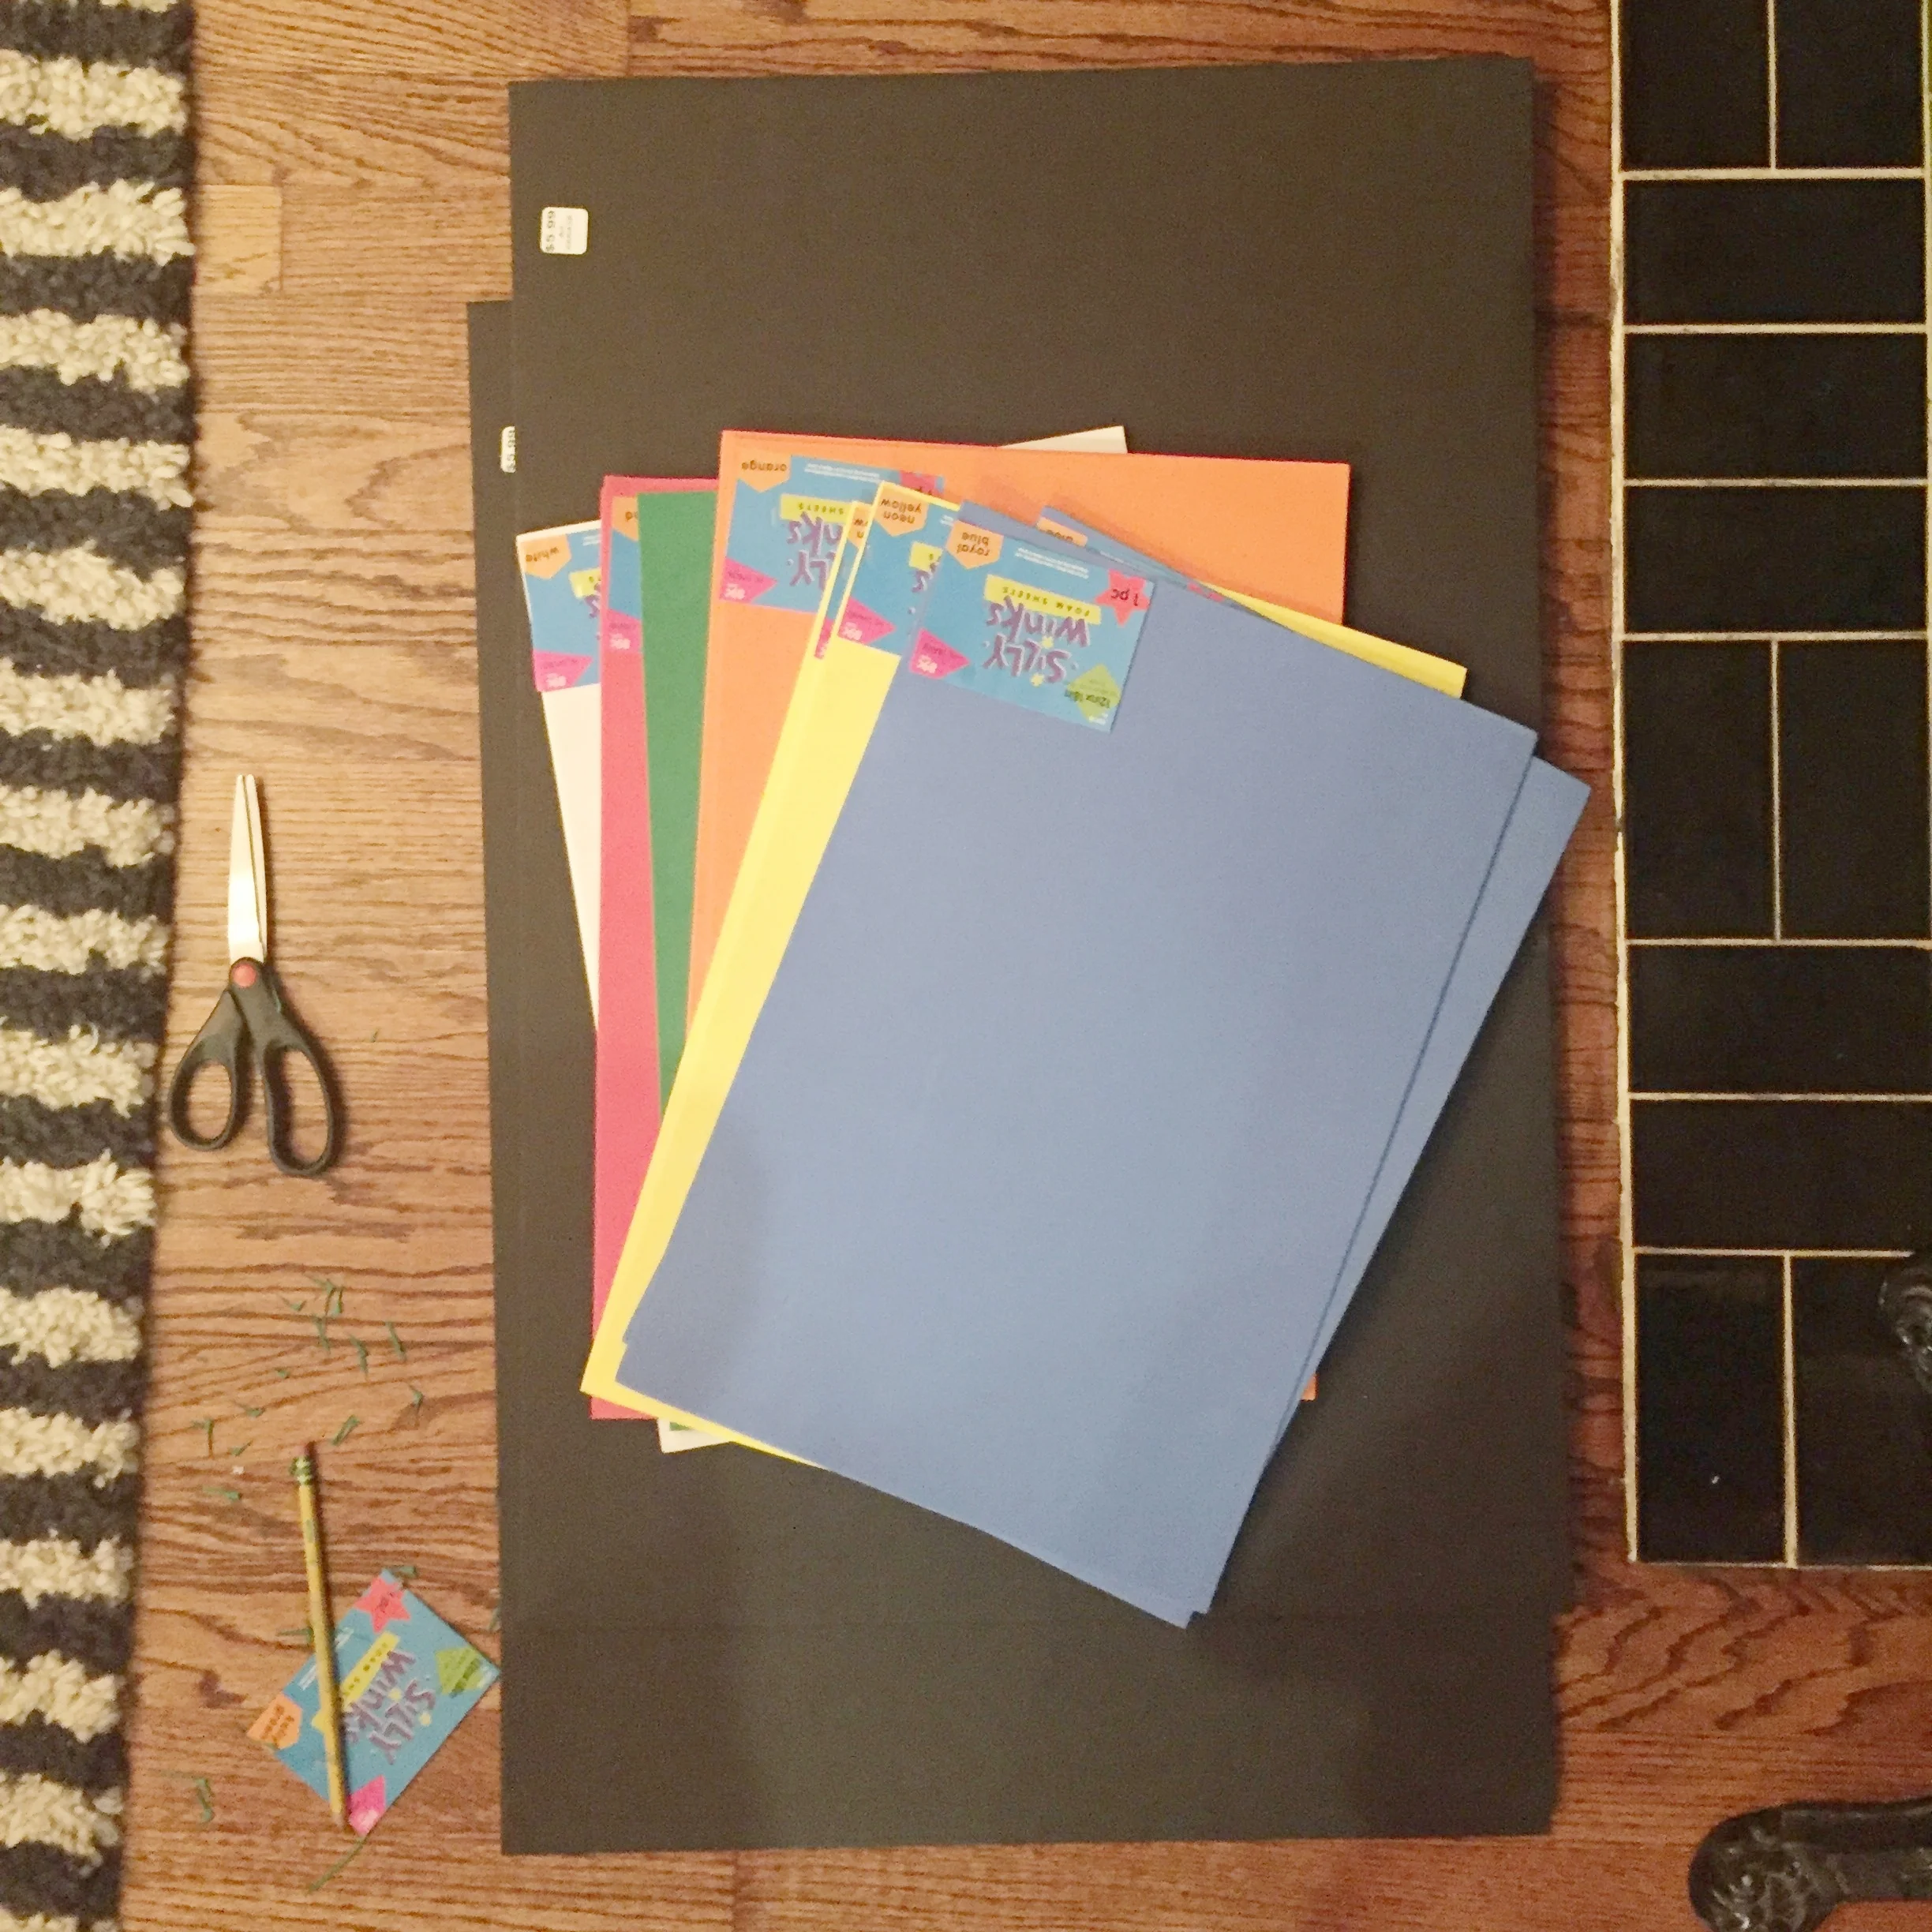
6 sheets of black foam board (20” x 30”) - $6.99 each at Hobby Lobby so you’ll want to wait for half off week
Black duct tape
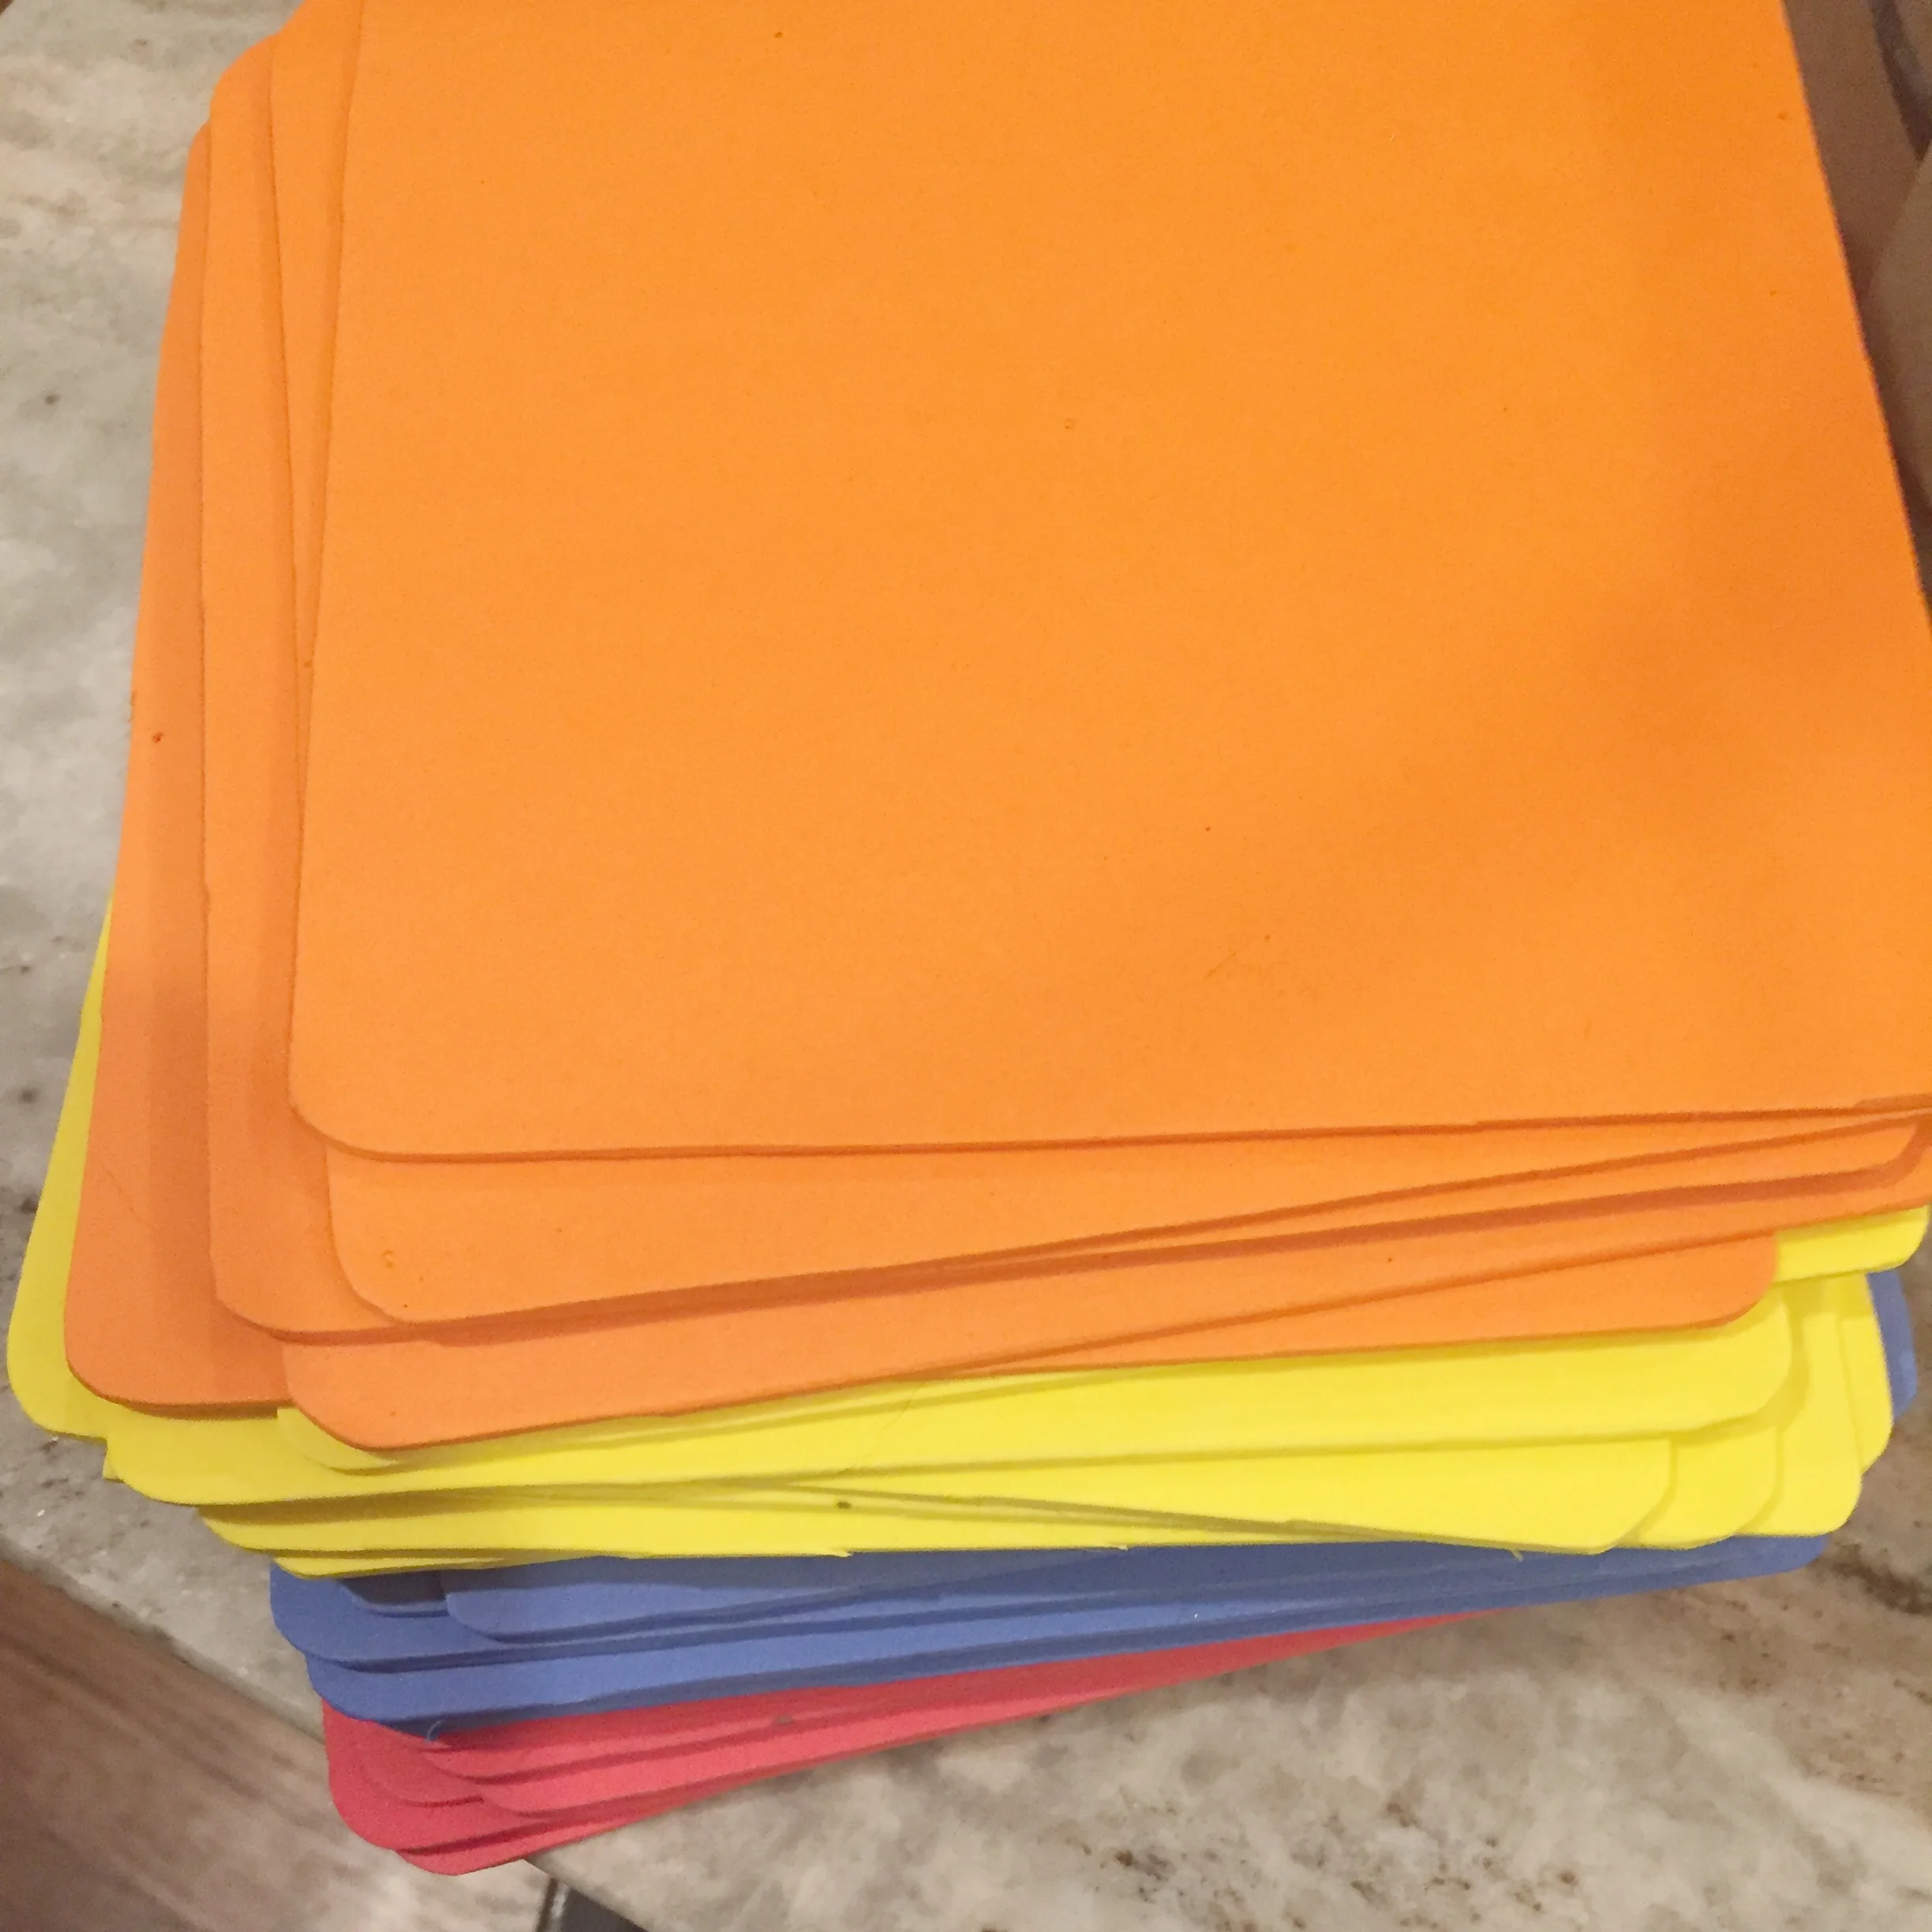
Foam sheets - 2 sheets each in five different colors corresponding to Rubik’s cube colors
Exacto knife
Black ribbon (6 feet should be more than enough) for shoulder straps
Scissors, pencil, glue, measuring tape, straight edge
**NOTE: I am going to provide instructions the way I made this costume for my 4-yo son. However, this was a bit of a behemoth, was hard for him to walk in, and essentially cleared the sidewalks when he walked by. So if your kiddo is small like mine, you could certainly make it quite a bit smaller and it would still be adorable. Same process- just use different dimensions.**
DIY Rubik’s Cube Instructions
Step 1: Using black foam board, Make 3 bottomless boxes with dimensions 20” x 20” x 7” by cutting a large square (20”x20”) and 4 rectangles (20” x 7”) with straight edge and exacto knife.
Add a 20x20” bottom to only ONE of the three pieces (this will be the top).
Tape boxes together at seams using black masking tape. This will show, so apply neatly.
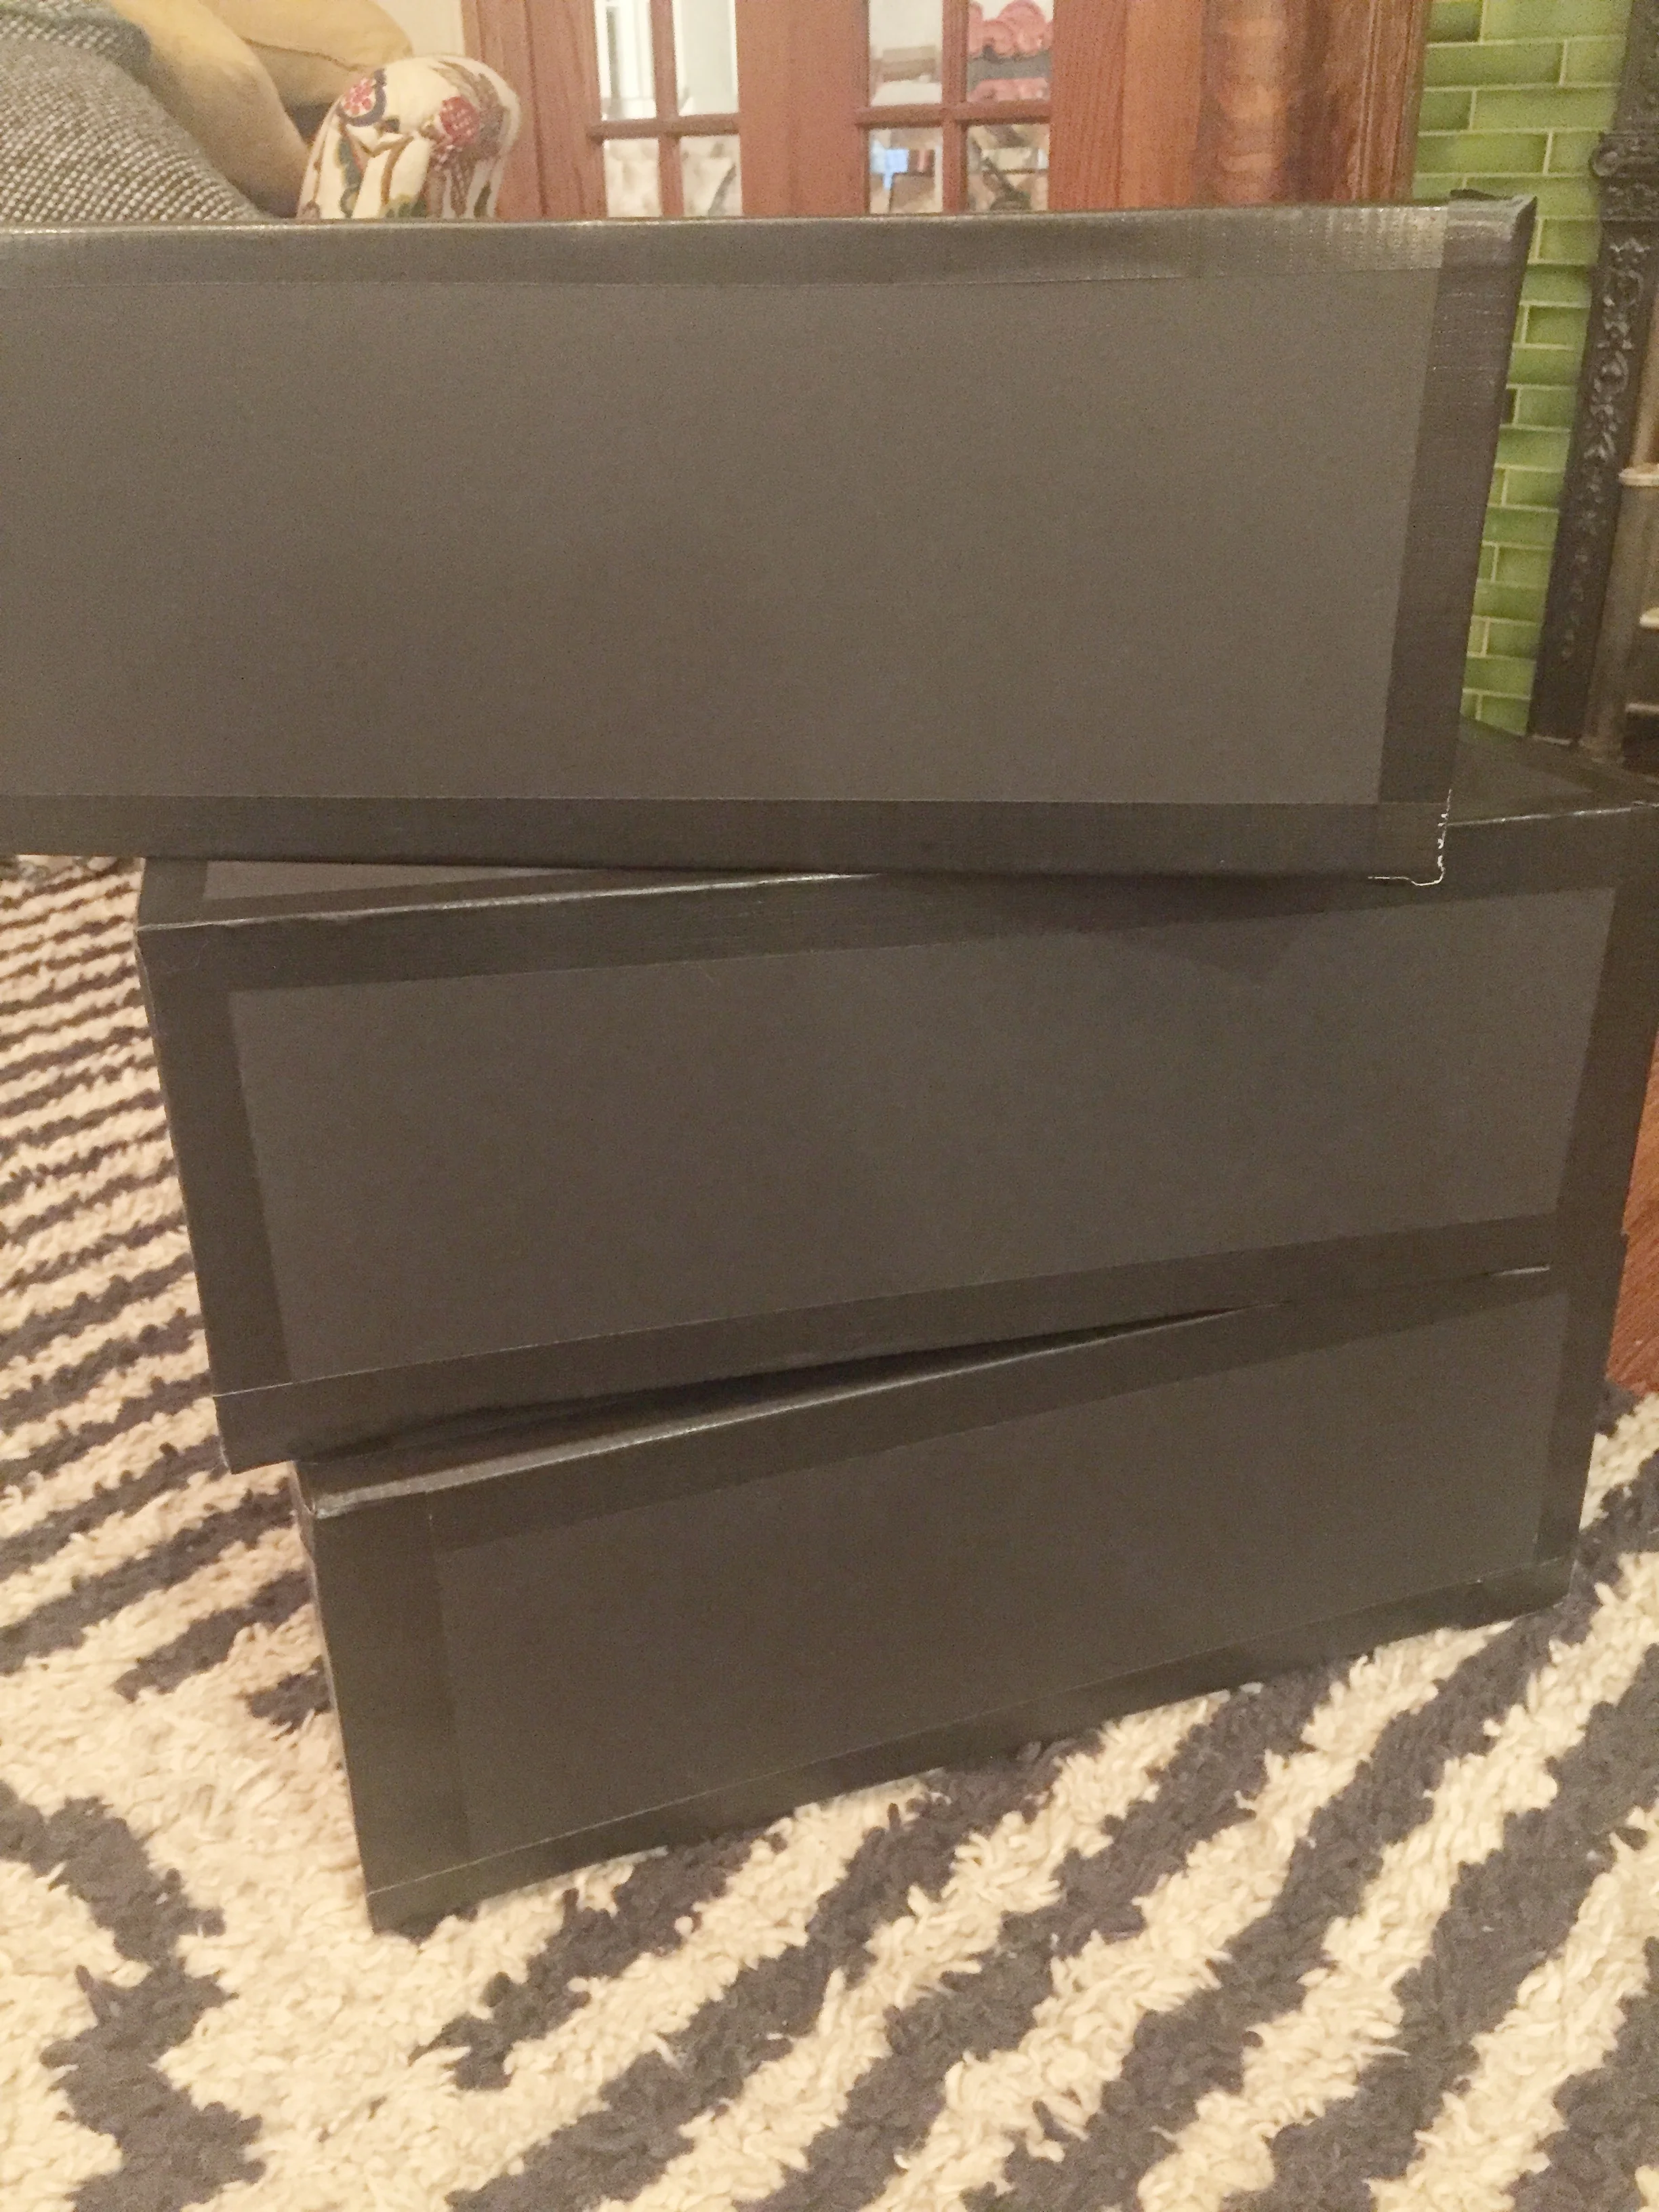
Step 1: Make 3 boxes
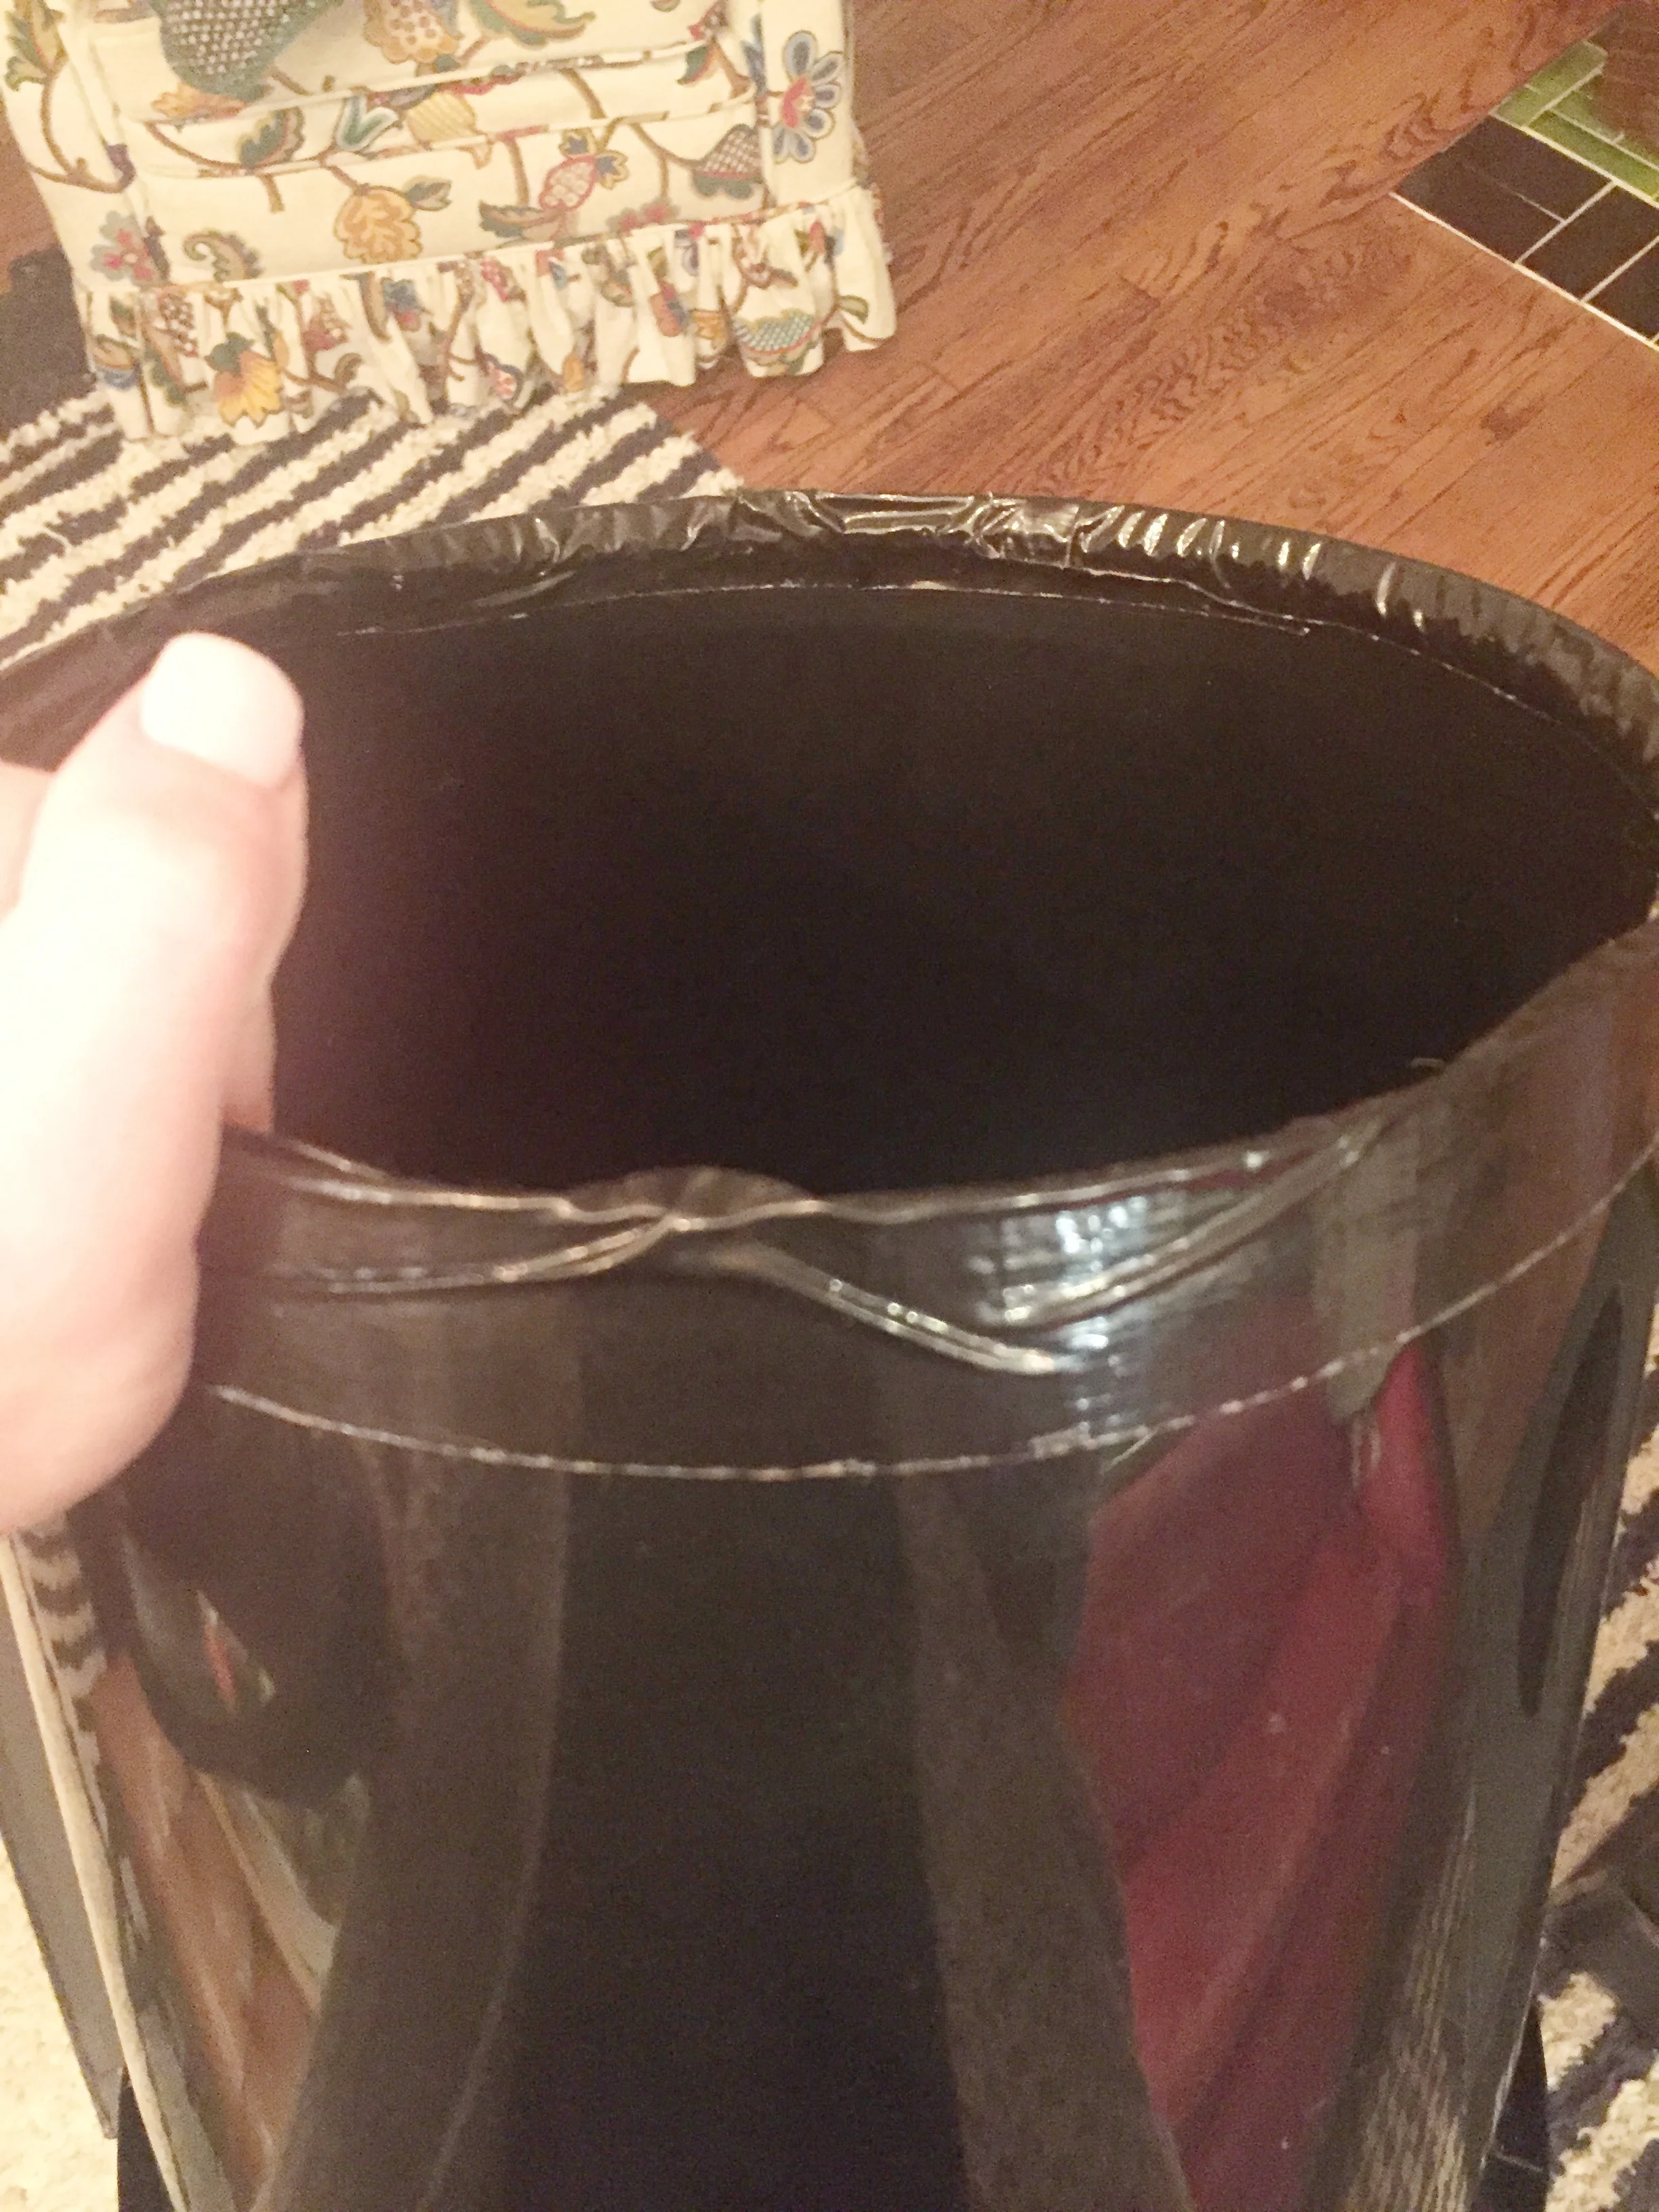
Step 2: Remove bucket handle and cut top out of bucket. If sharp, cover cut edge with black duct tape. Drill holes in bucket for shoulder straps.
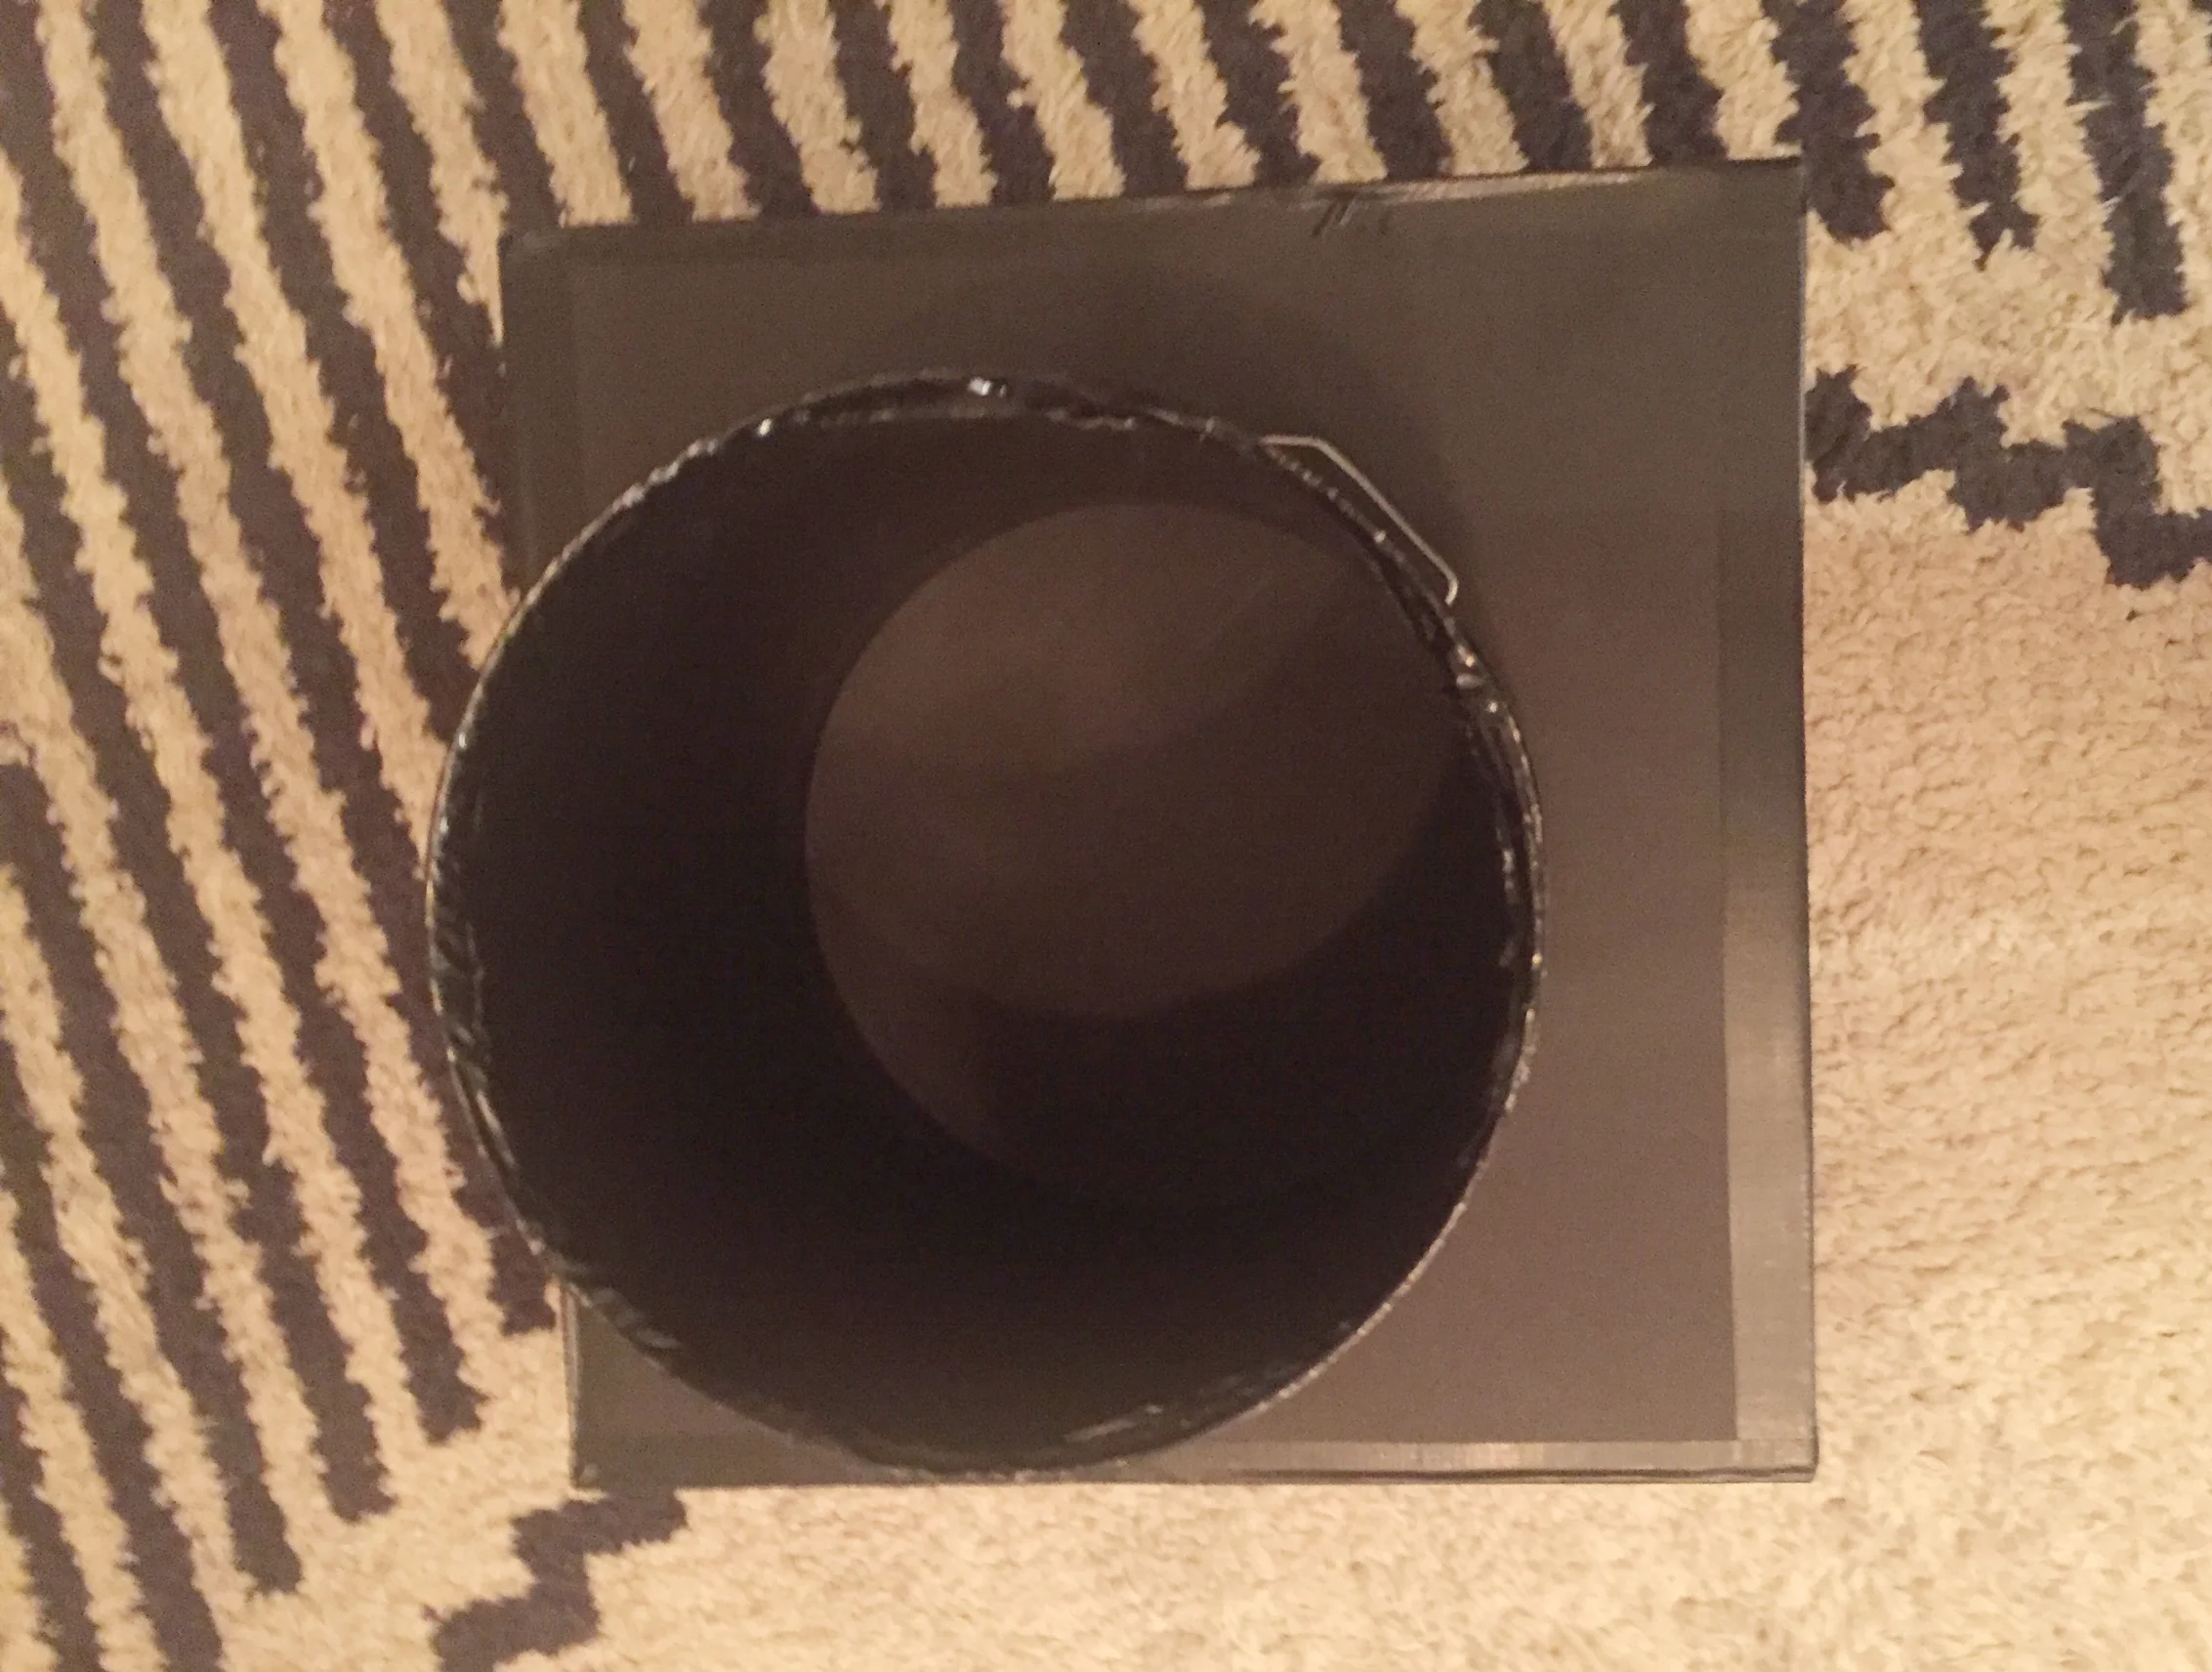
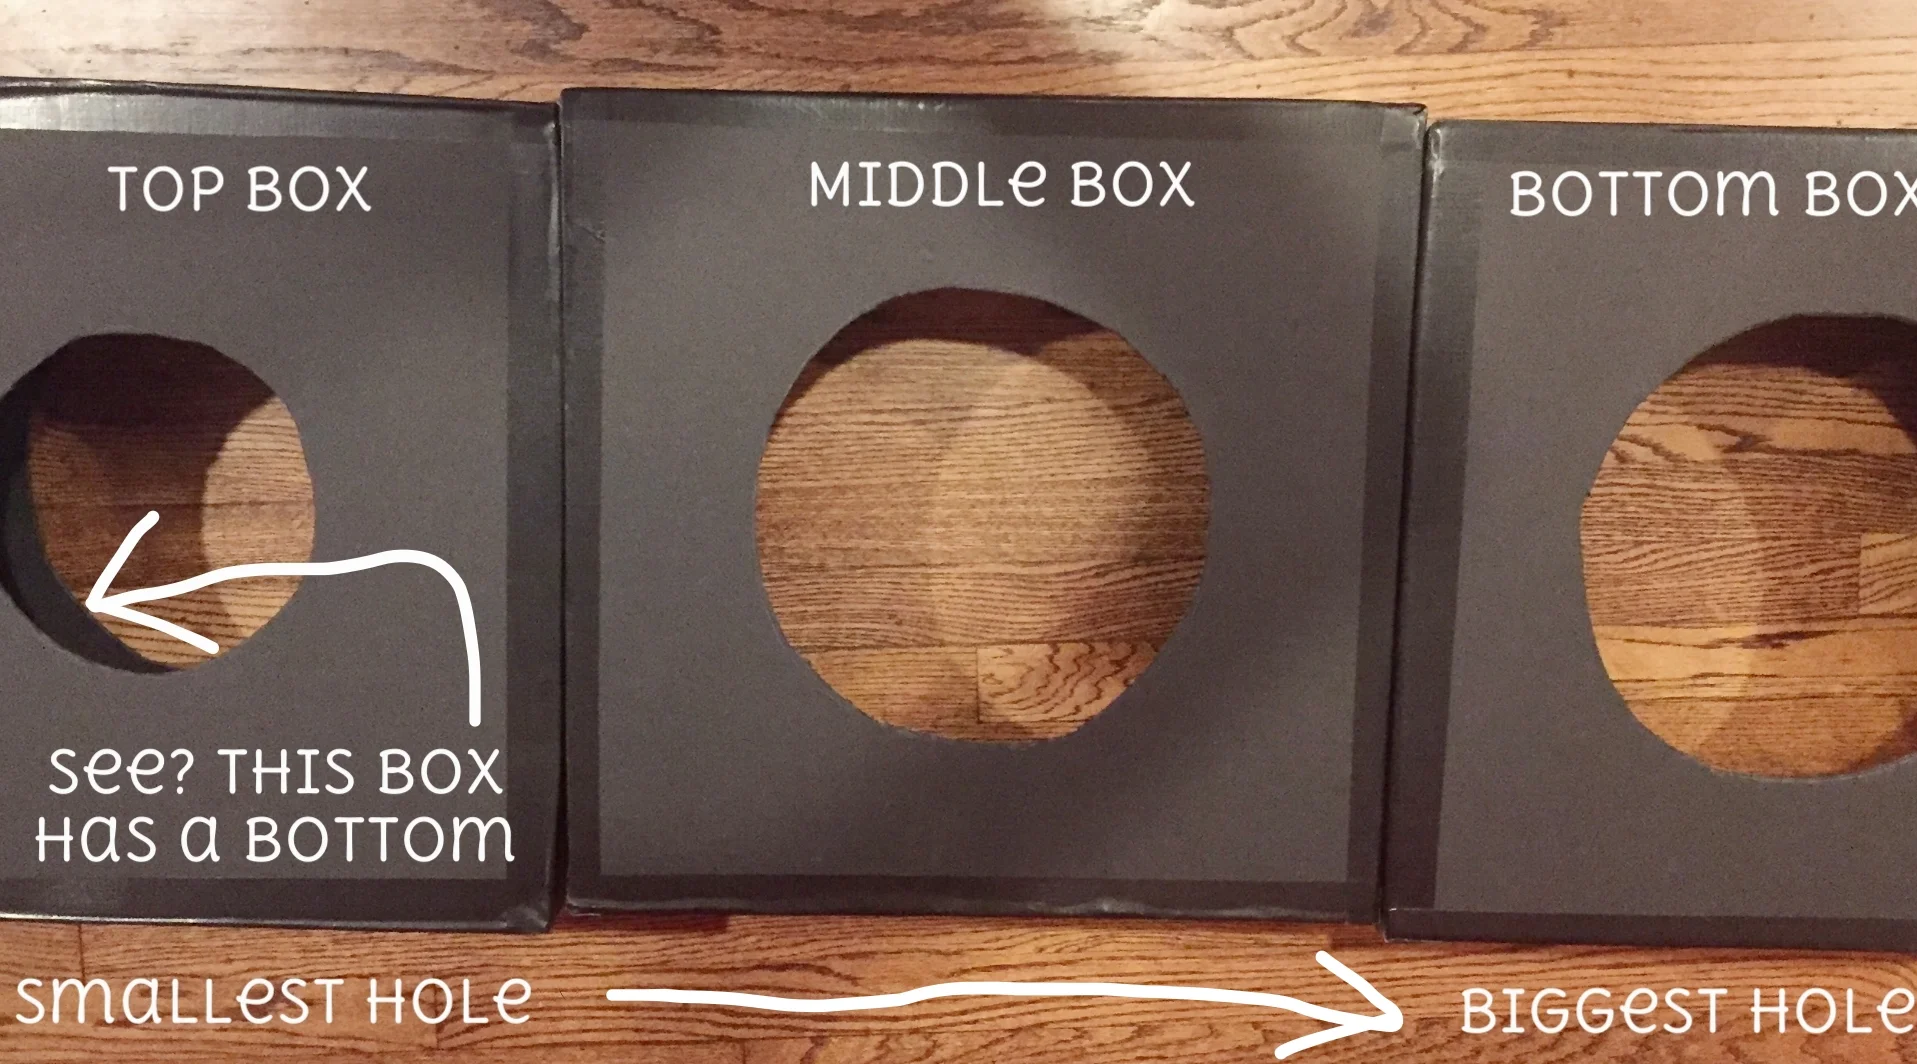
Step 3: trace and cut a circle slightly larger than the bucket, but smaller than the diameter of the lip on the bucket, in the middle of one of the 3 pieces. This will be the bottom. Slide the bottom piece of the cube over the bucket; the bottom tier will rest on the bucket lip.
tlo pro-tip: to get the hole the right size, I started smaller than I knew it needed to be and then slowly cut it bigger until it fit and was just loose enough to spin around the bucket.
Step 4: trace and cut a circle in the top of the middle piece that allows it to just slide around the bucket and sit on top of the lower piece. Trace and cut a circle in the BOTTOM of the top piece so that it just fits around bucket, resting on top of the middle piece. Finally, trace and cut a hole in the top of the top piece that allows costume wearer to slide costume down over their head and shoulders. I cut this as small as possible so that the costume fits as snugly around wearer as possible while still allowing it to spin.
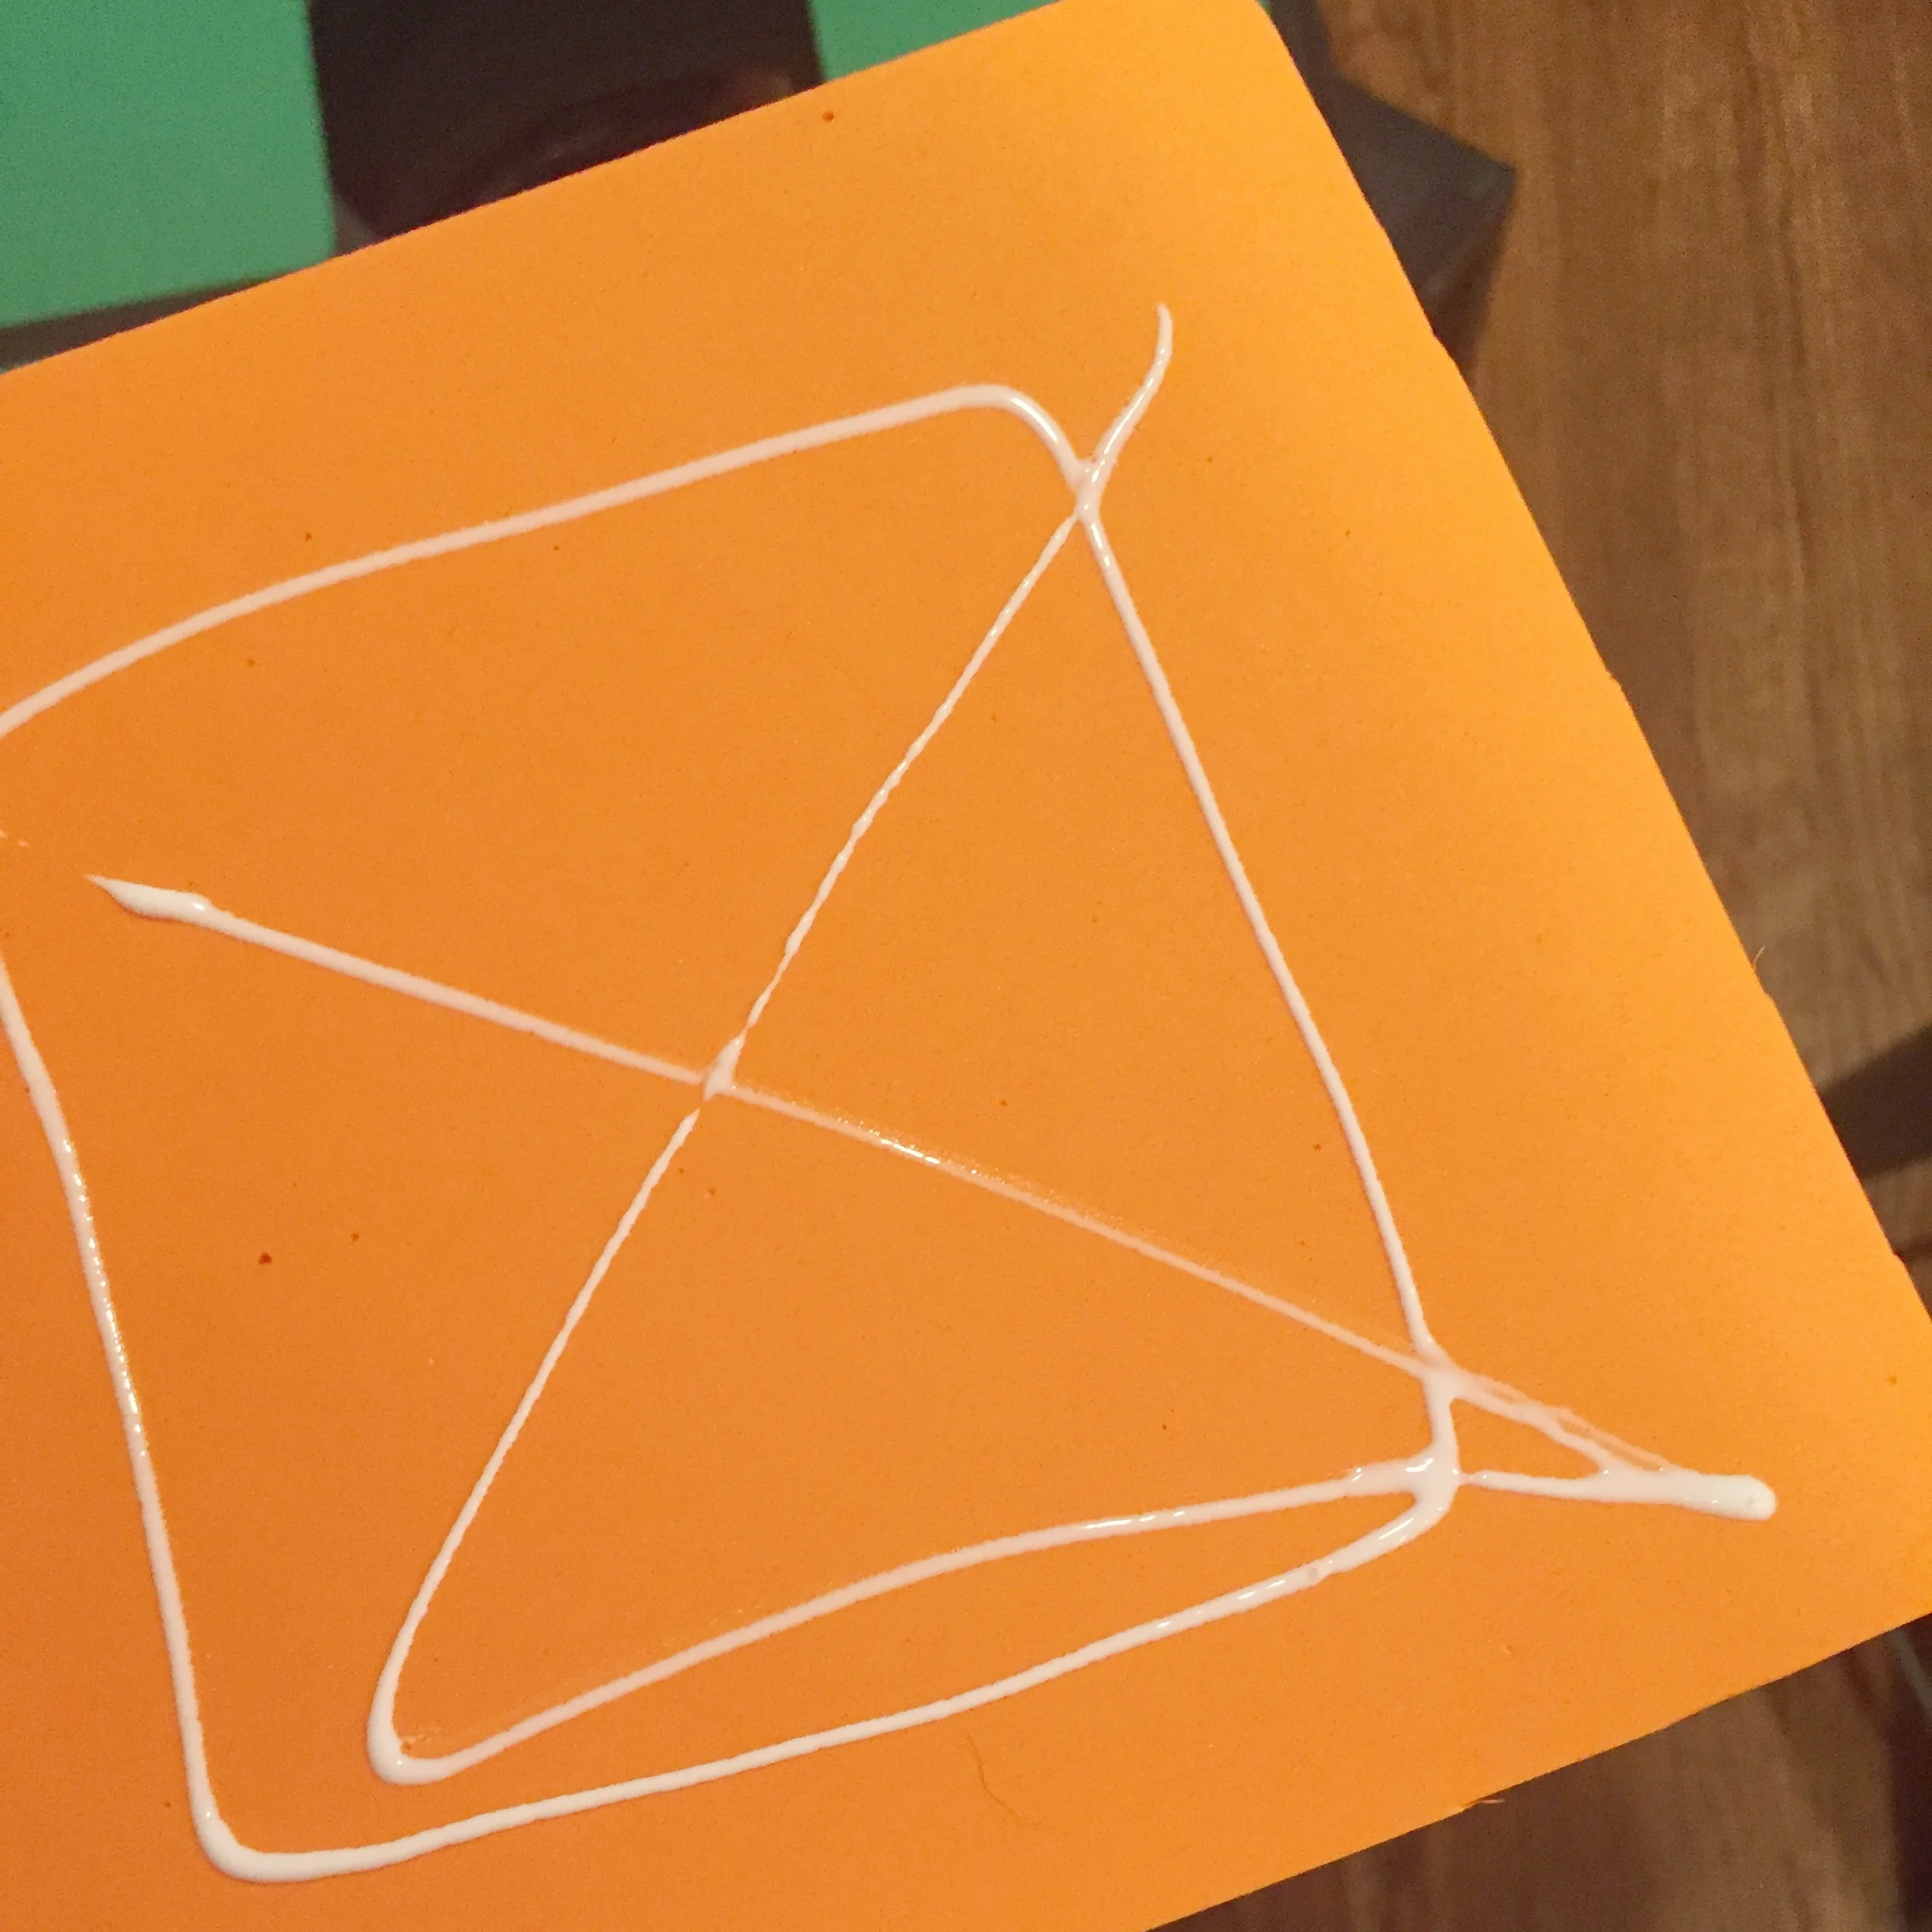
Step 5: Cut out nine 6”x6” pieces of foam and round corners with scissors. Lose will to live. Keep cutting. Glue pieces to cube.
tlo pro-tip: You’ll have to decide whether you want yours to be messed up, or ‘solved.’ My child is very type A, so I went with solved. That ended up being the right call, because he didn’t even want to twist the three pieces because then it wouldn’t be ‘perfect.’ So, so glad I went through the trouble of making a twisting Rubik’s Cube. #eyeroll
Step 6: put on child and determine length of shoulder straps needed. Thread ribbon through holes drilled in bucket and knot to secure.
Step 7: Take cute kiddo trick or treating! Carry him up and down every flight of stairs.
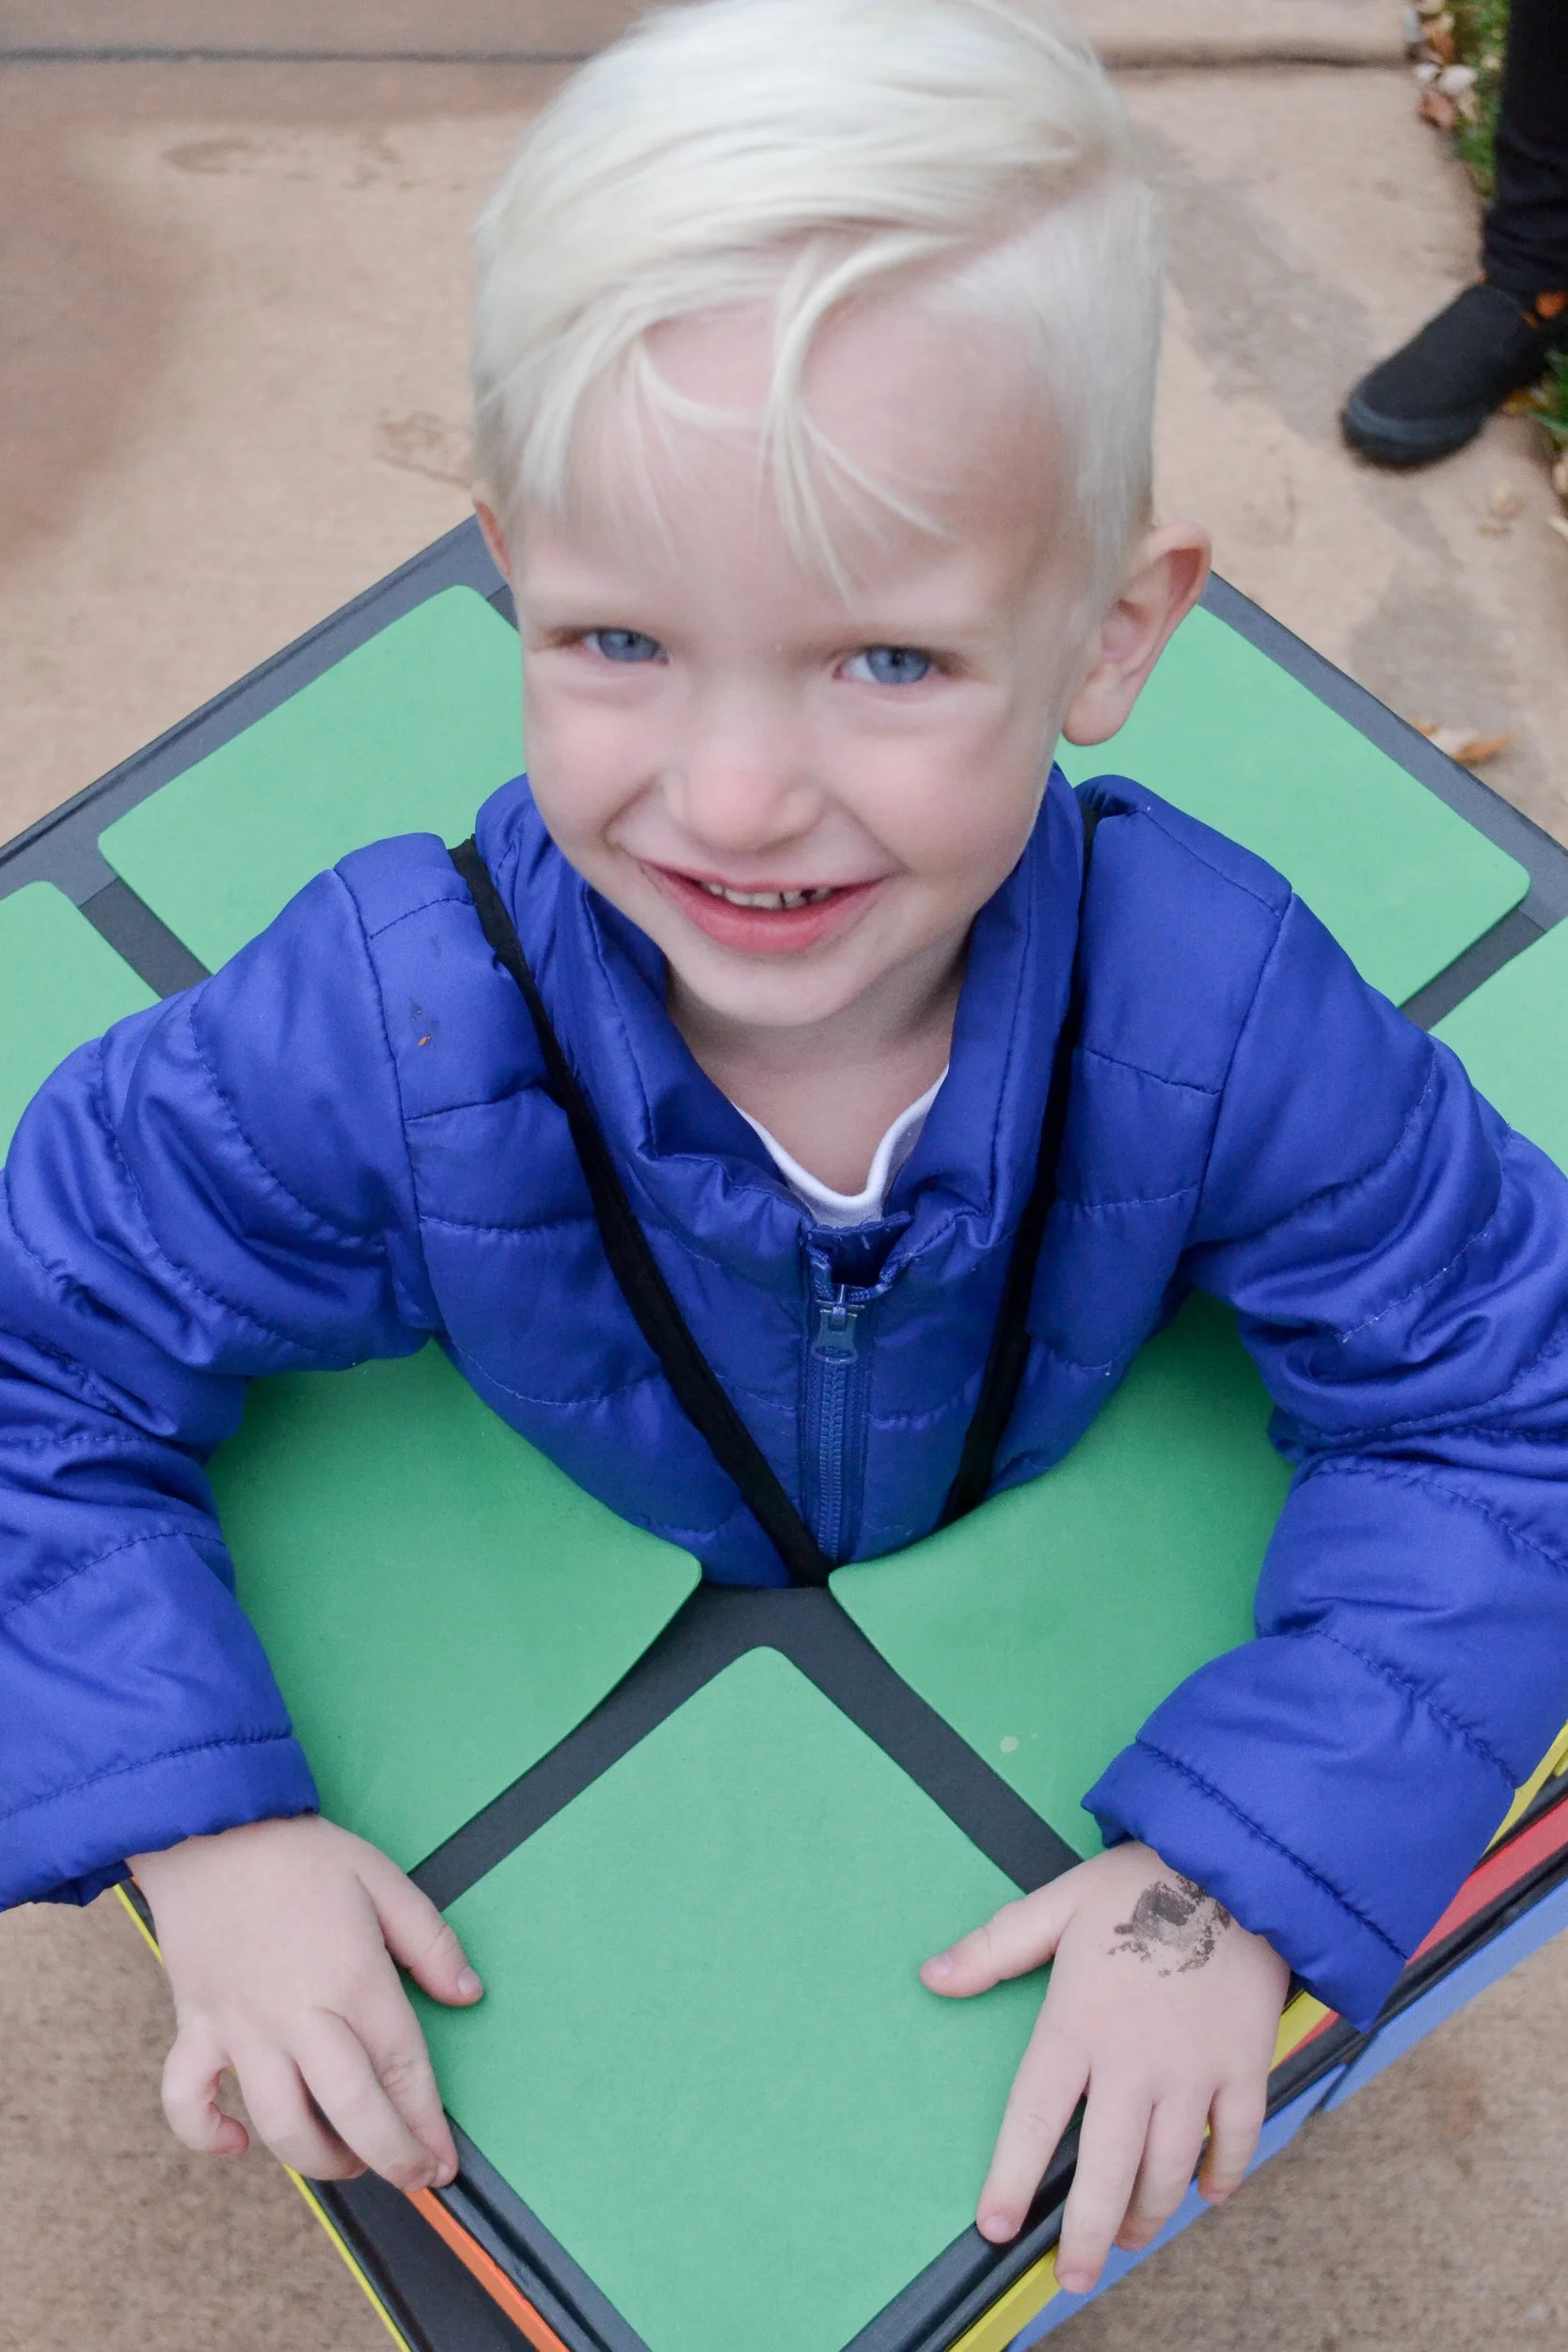
Toodles, tlo