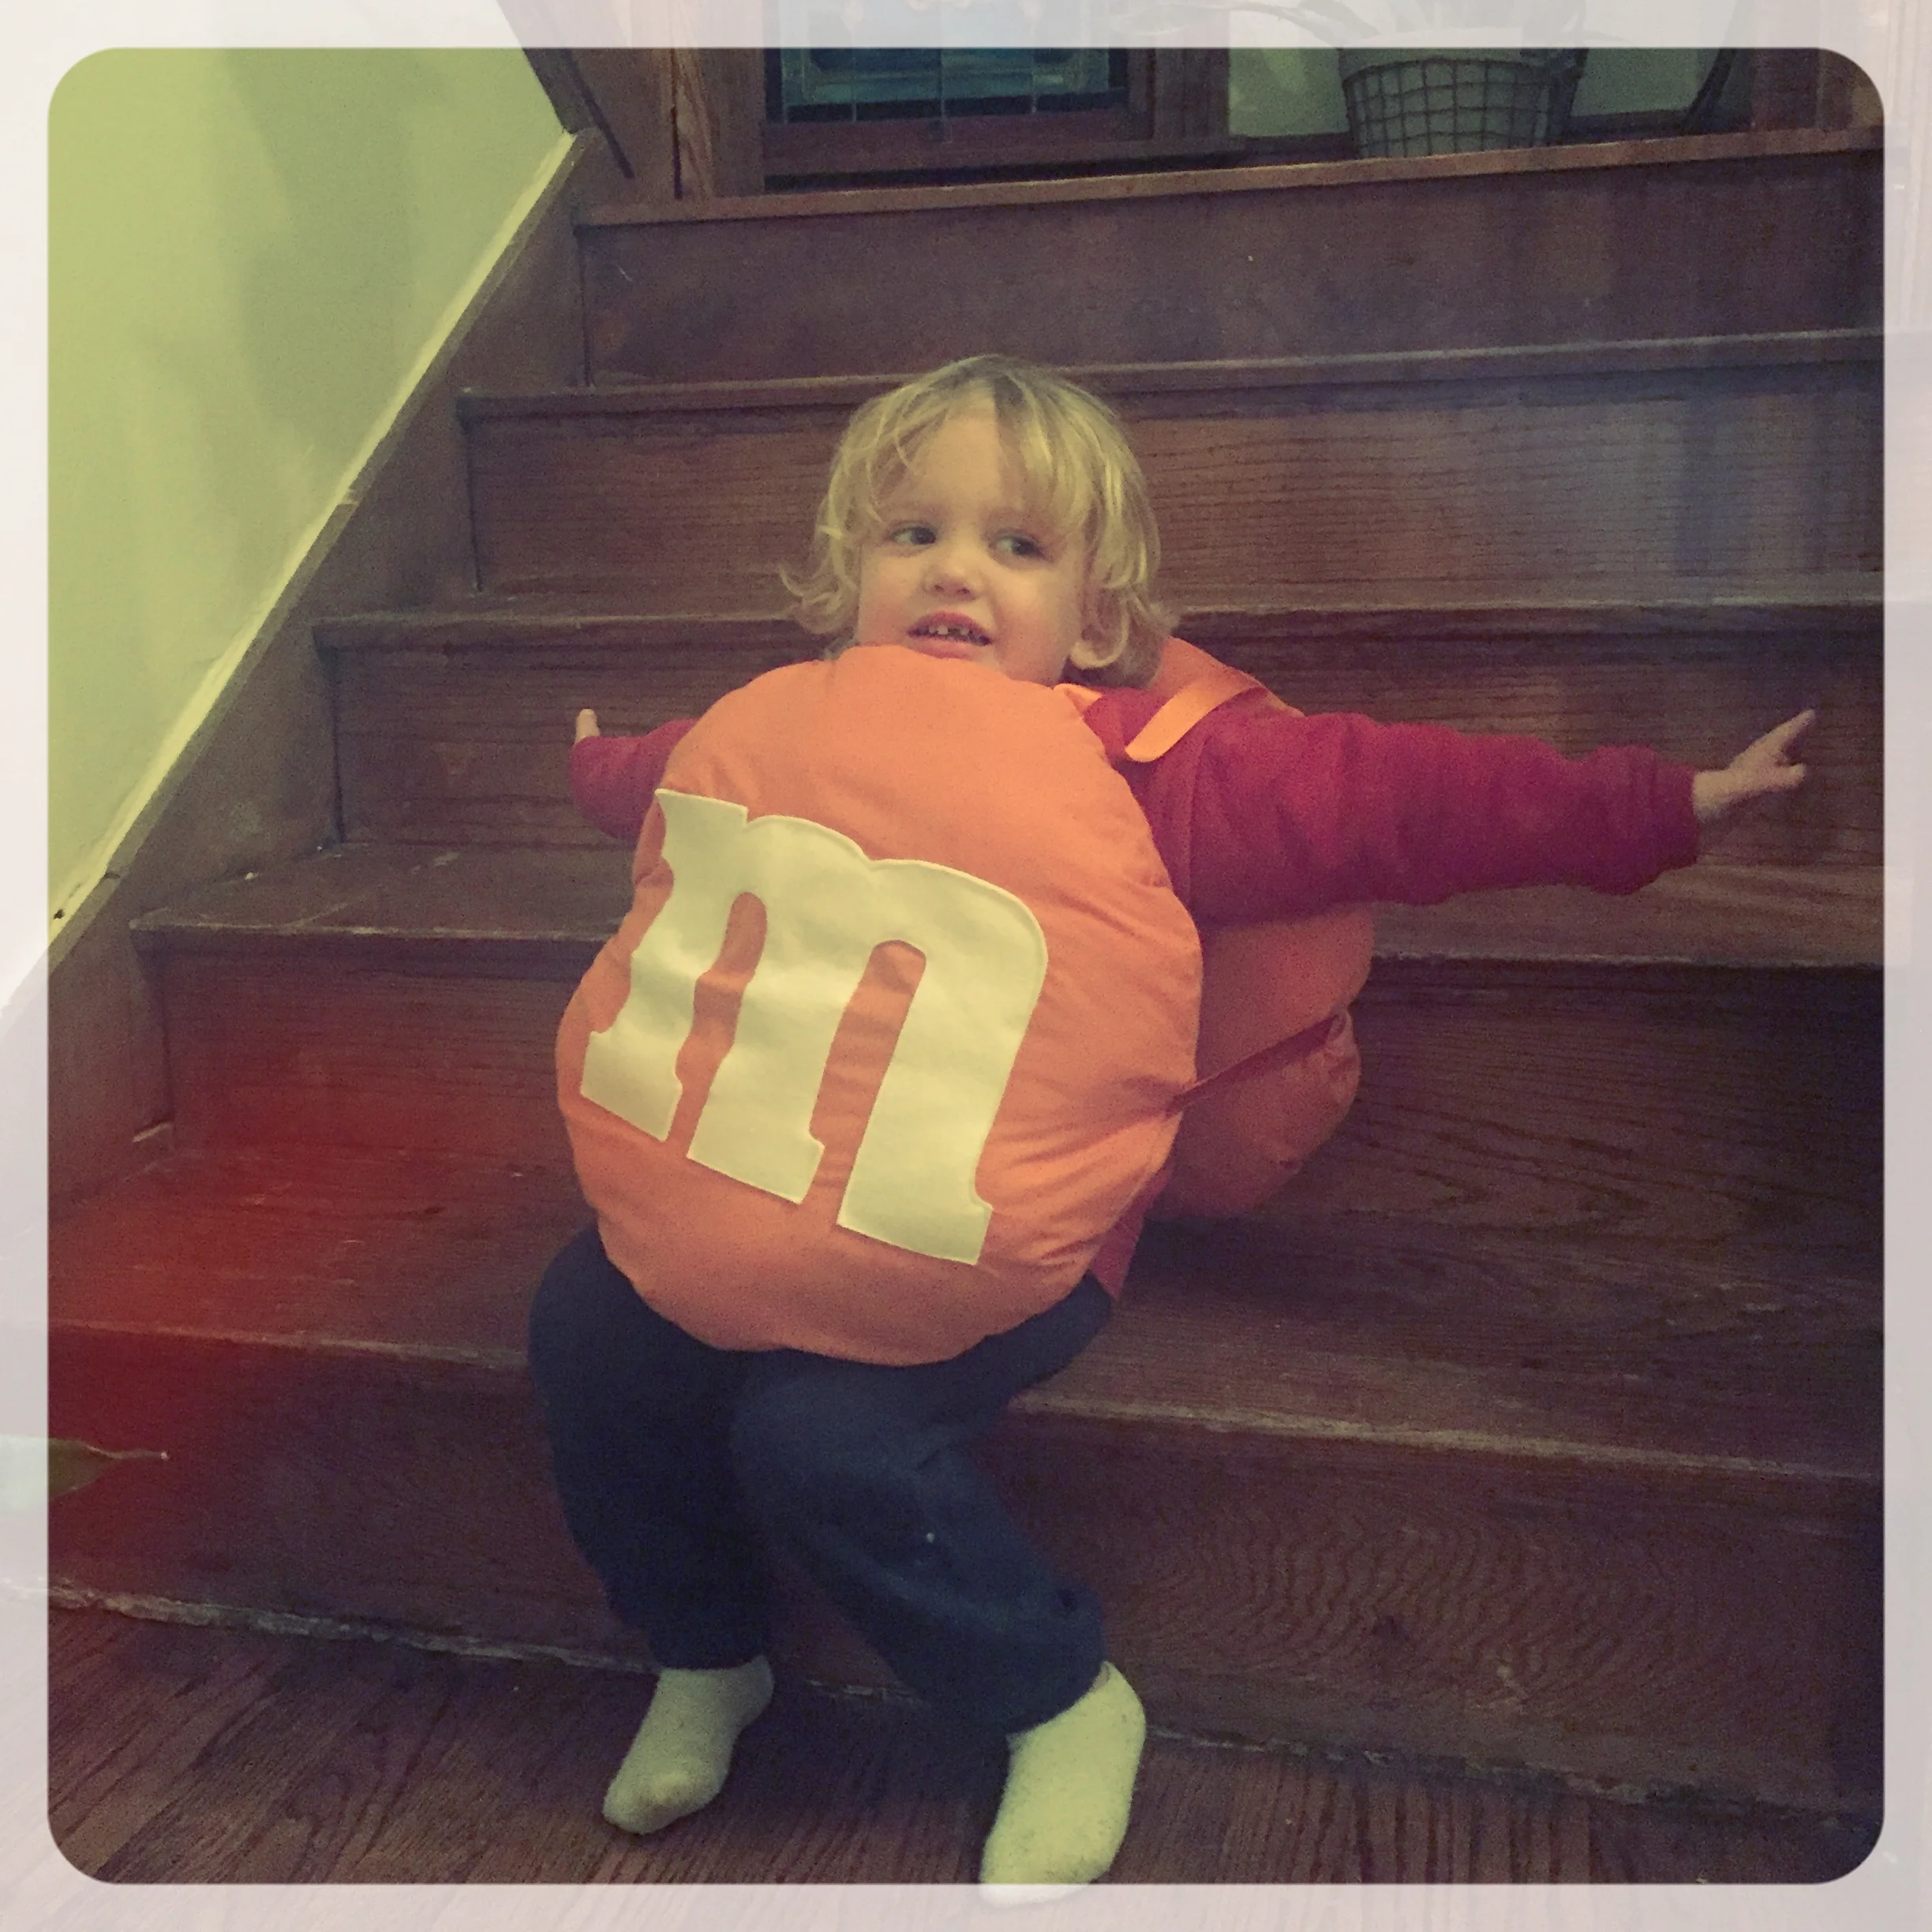
DIY: M&M Costume
Me: What do you want to be for Halloween?
2-yo: Those people.
Me: …
After many questions, I finally determined ‘those people’ to be our neighbor’s yard ornaments. Allow me to introduce you to our neighborhood, which is very extra on Halloween.
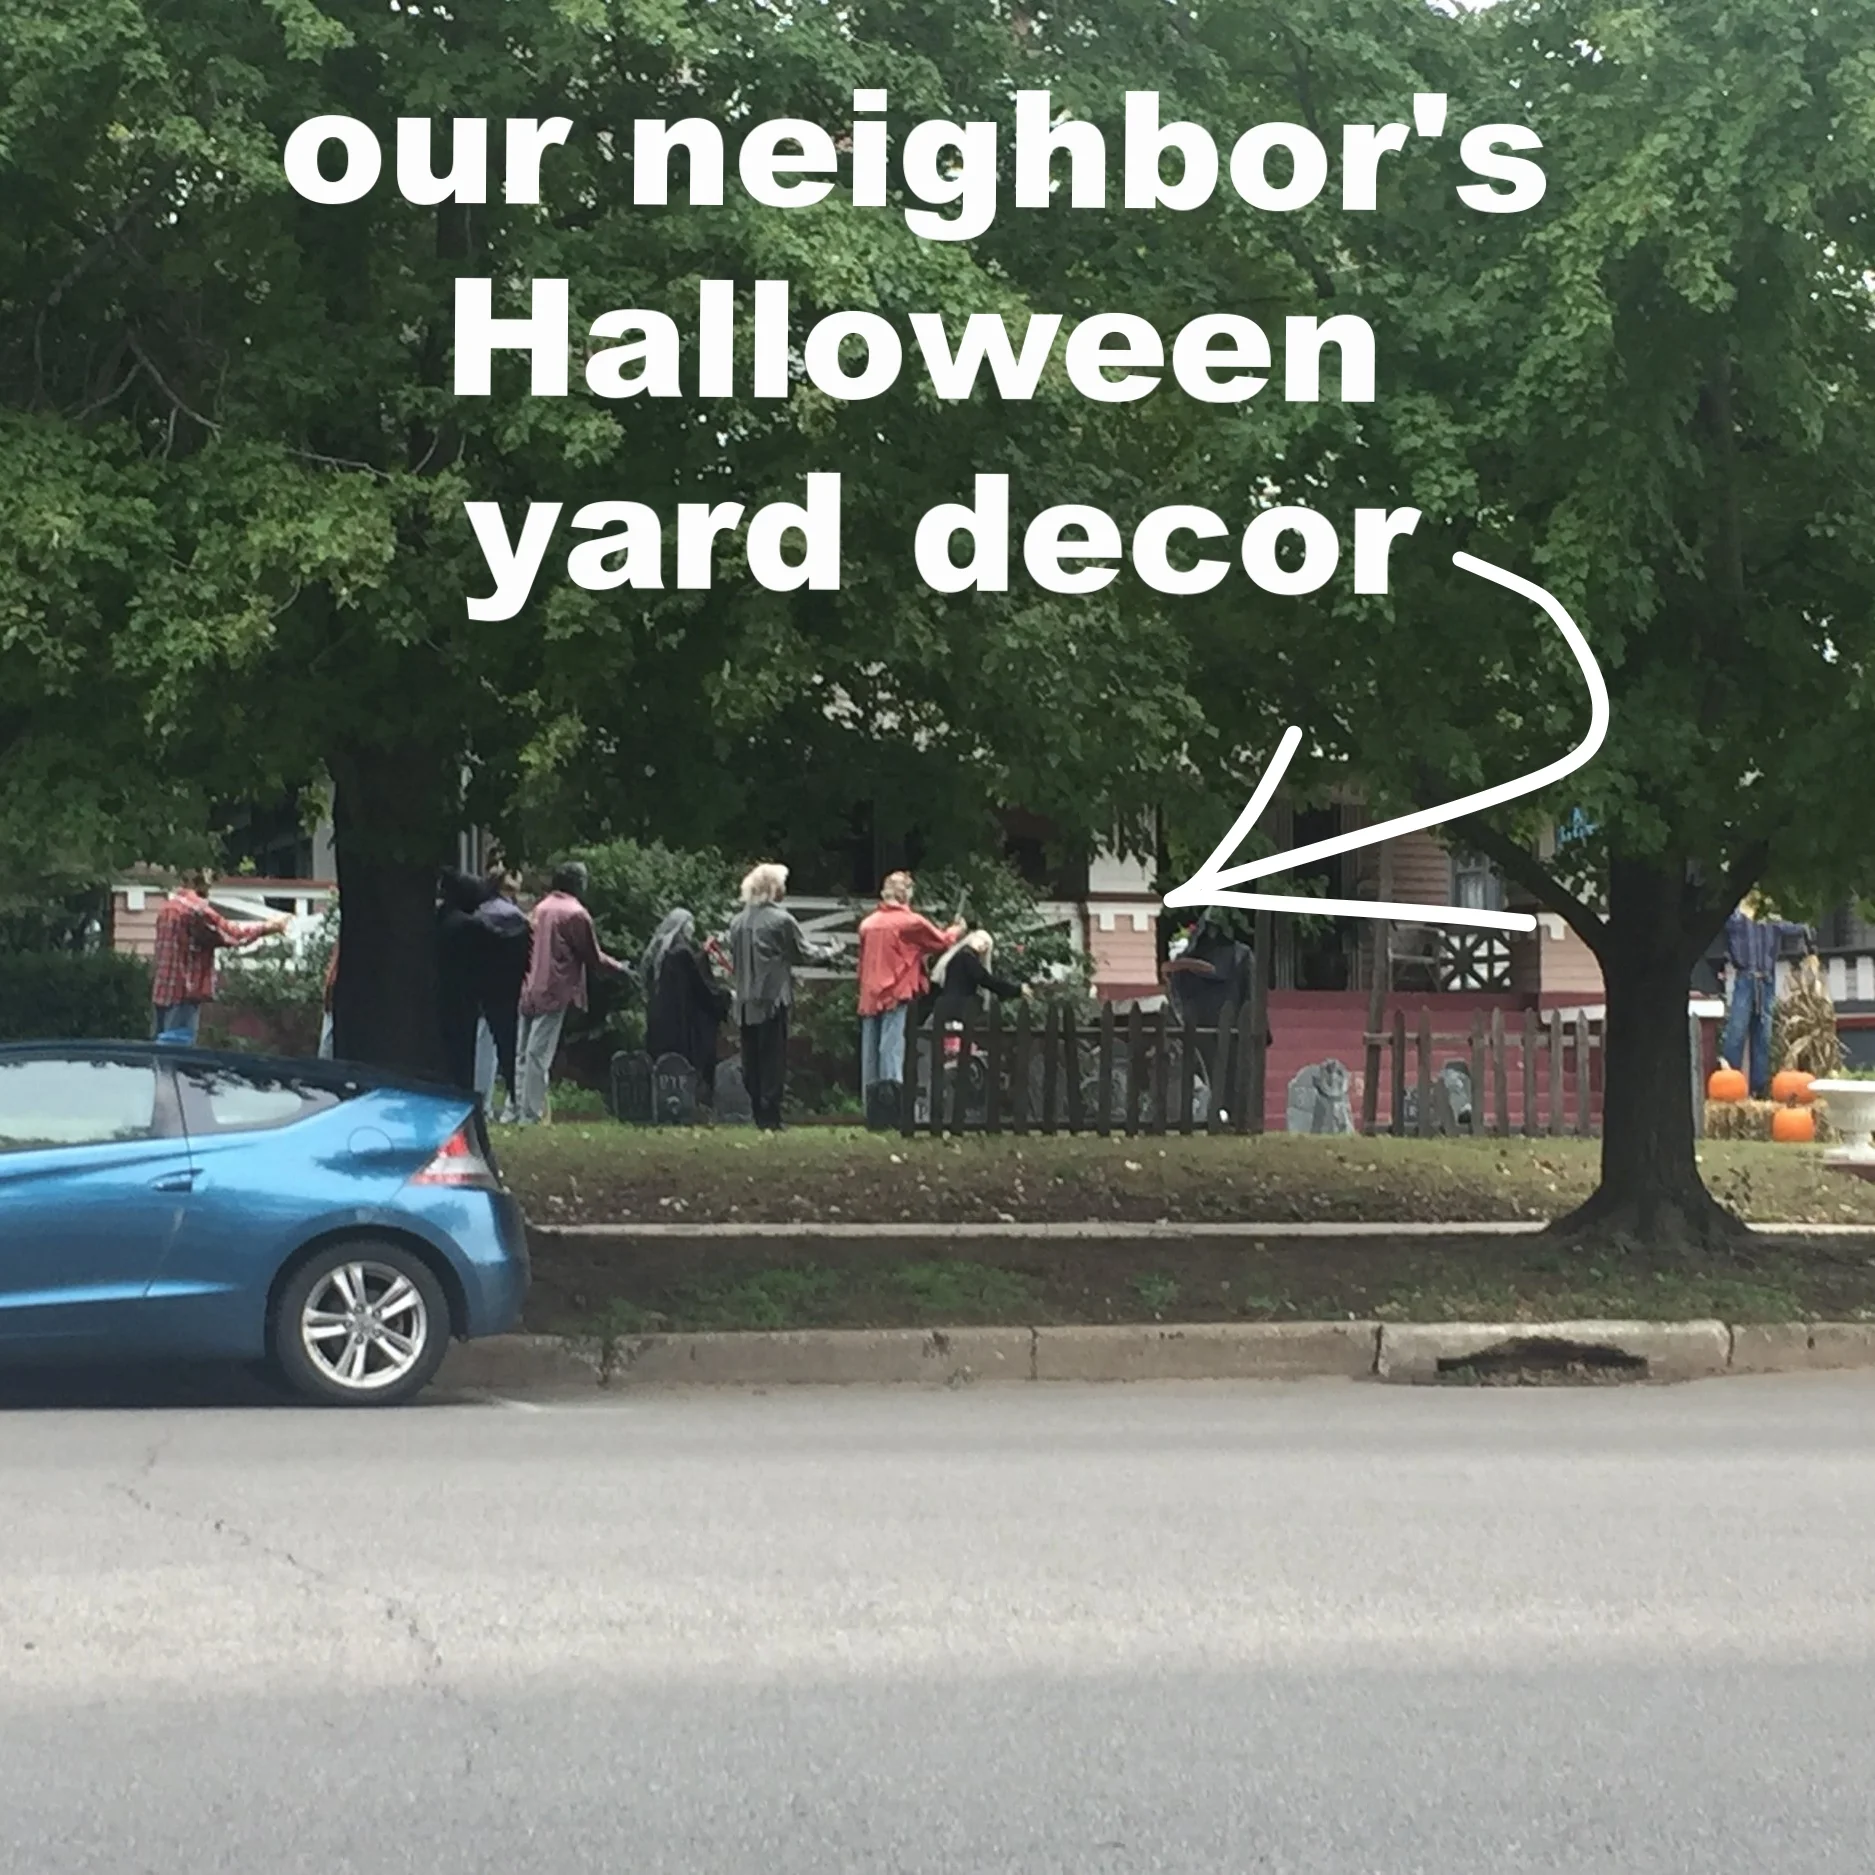
Scares the ever-loving life out of me every morning at dawn when I pull out of my alley.
So I made the mistake of identifying ‘those people’ as zombies, and he was hooked. And this is how my 2-year old decided he wanted to be a brain sucking zombie for Halloween.
I’ll spare you the weeks of mind games which were surprisingly ineffective, but I finally moved the little guy off the idea of being a zombie when I proposed he be an m&m instead. Was it implied that he would also get to eat m&ms? I plead the fifth. I only get a few precious years to make these boys costumes so DON’T JUDGE ME.
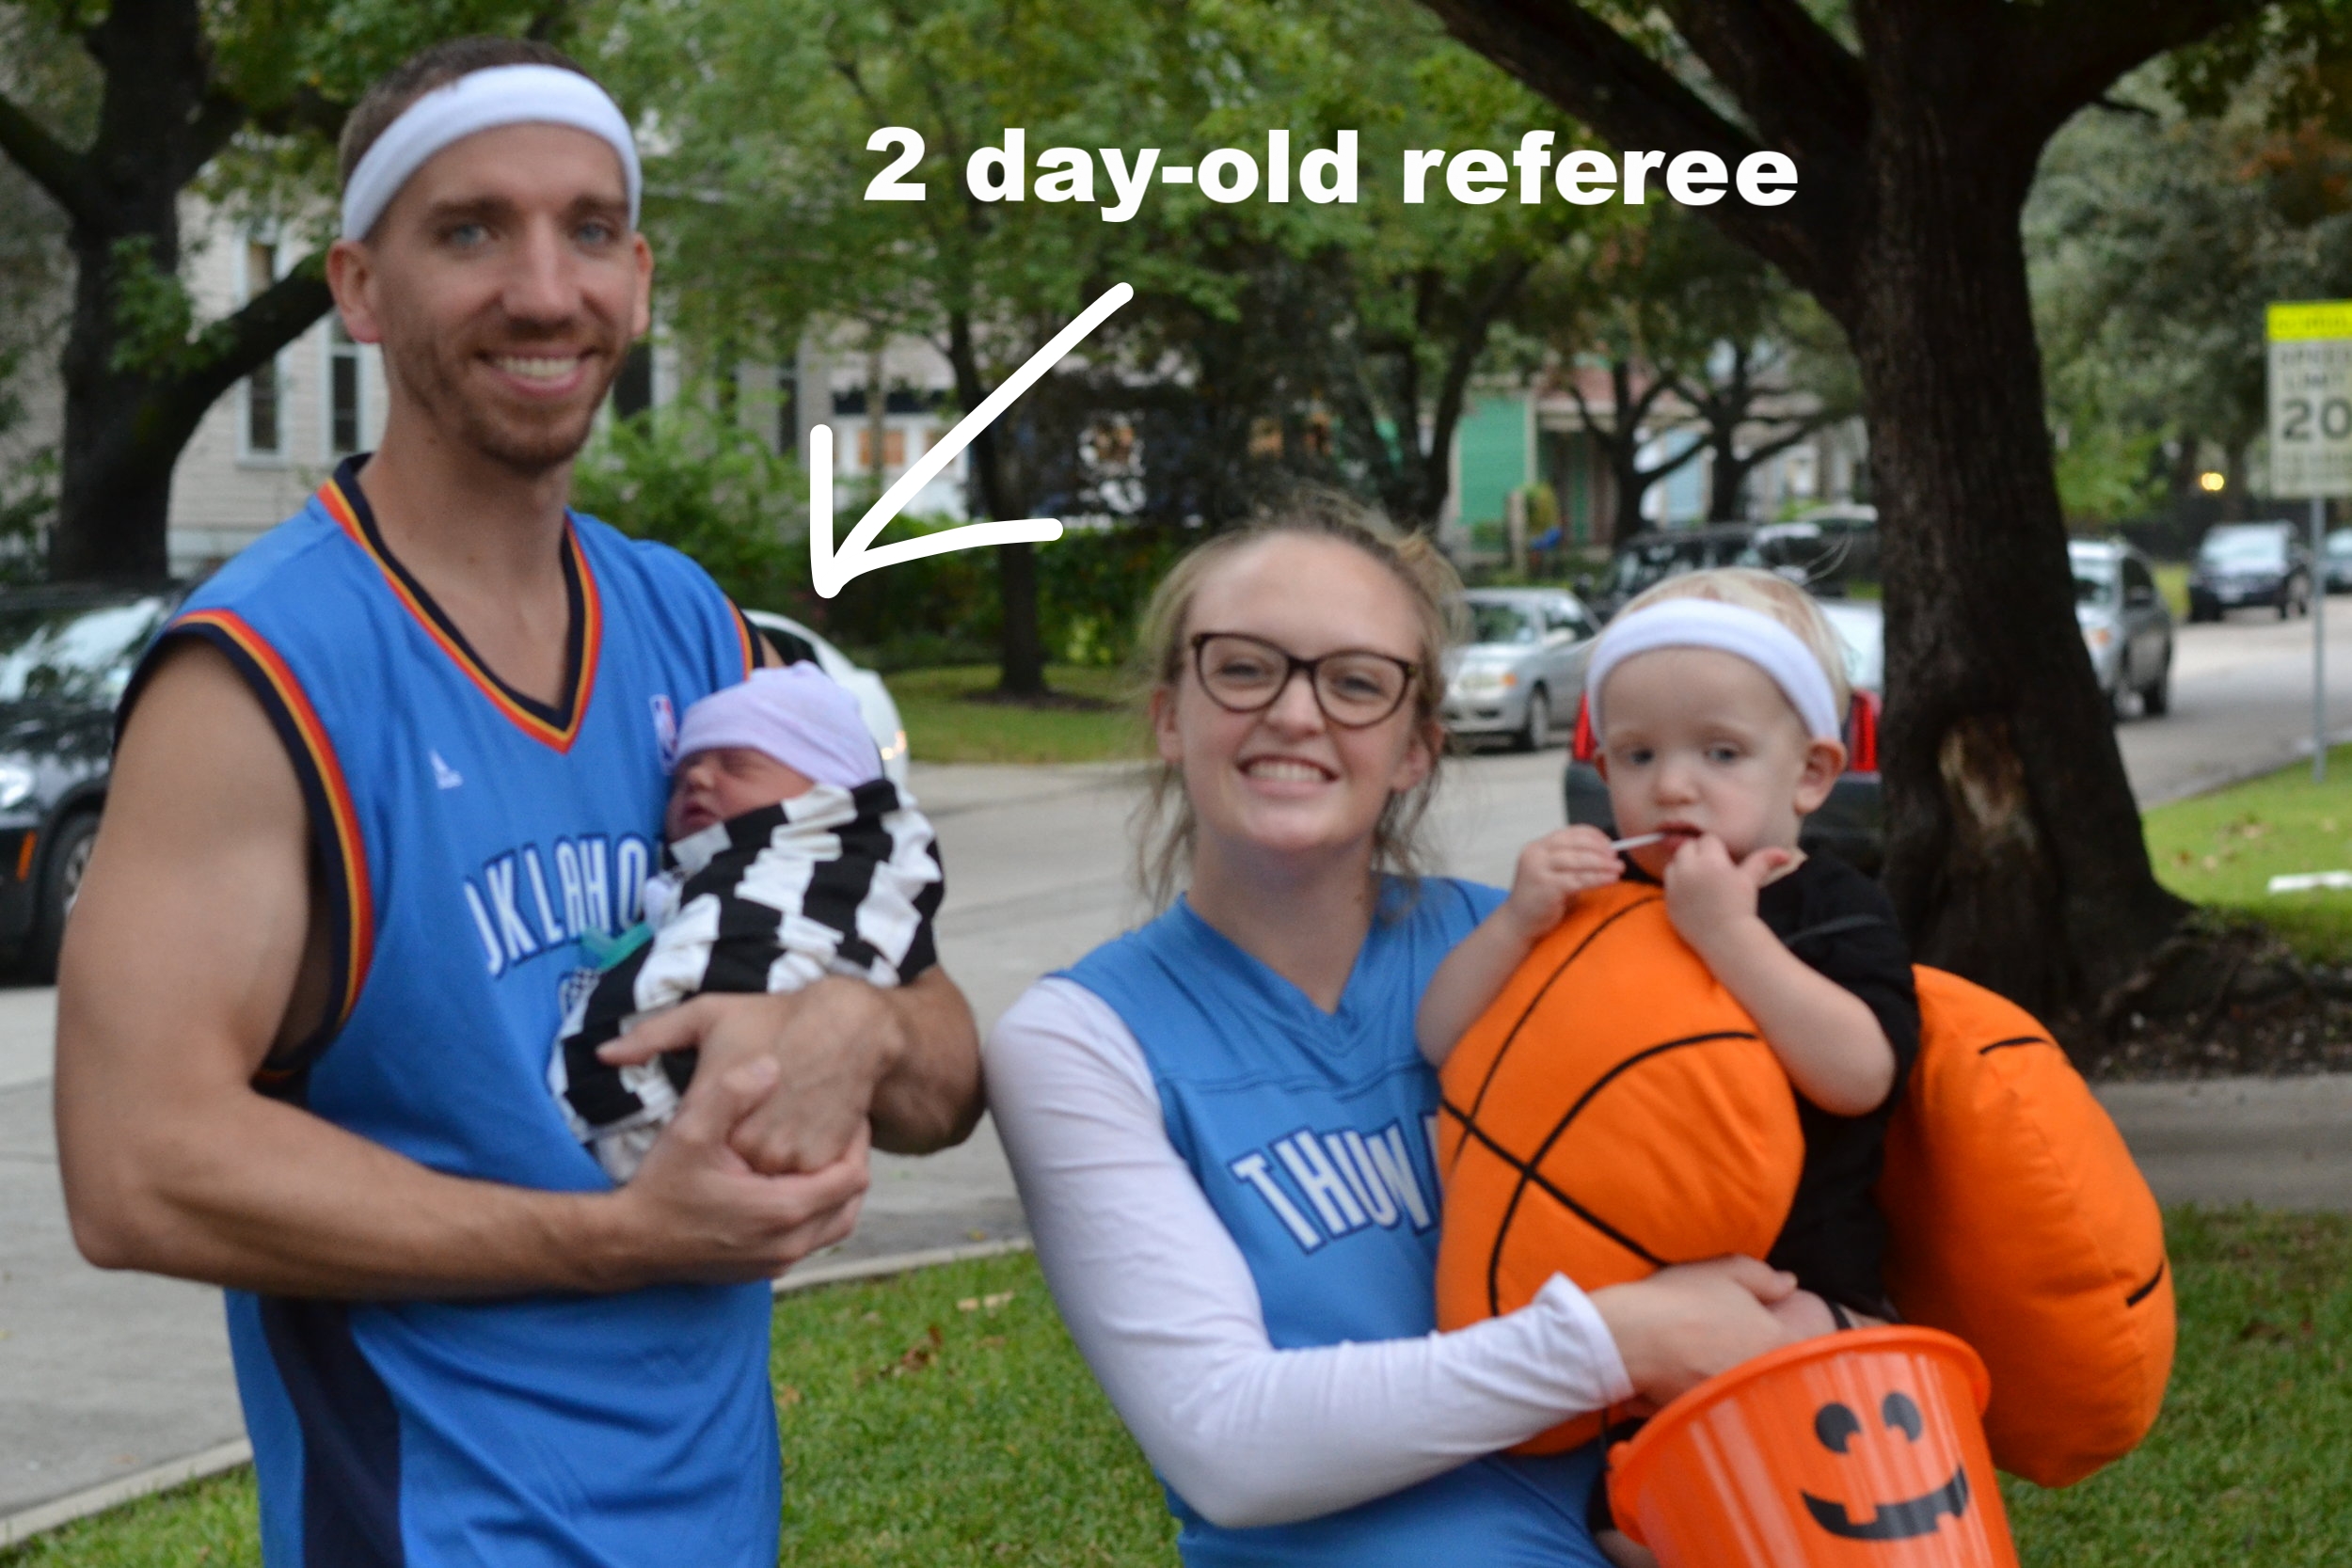
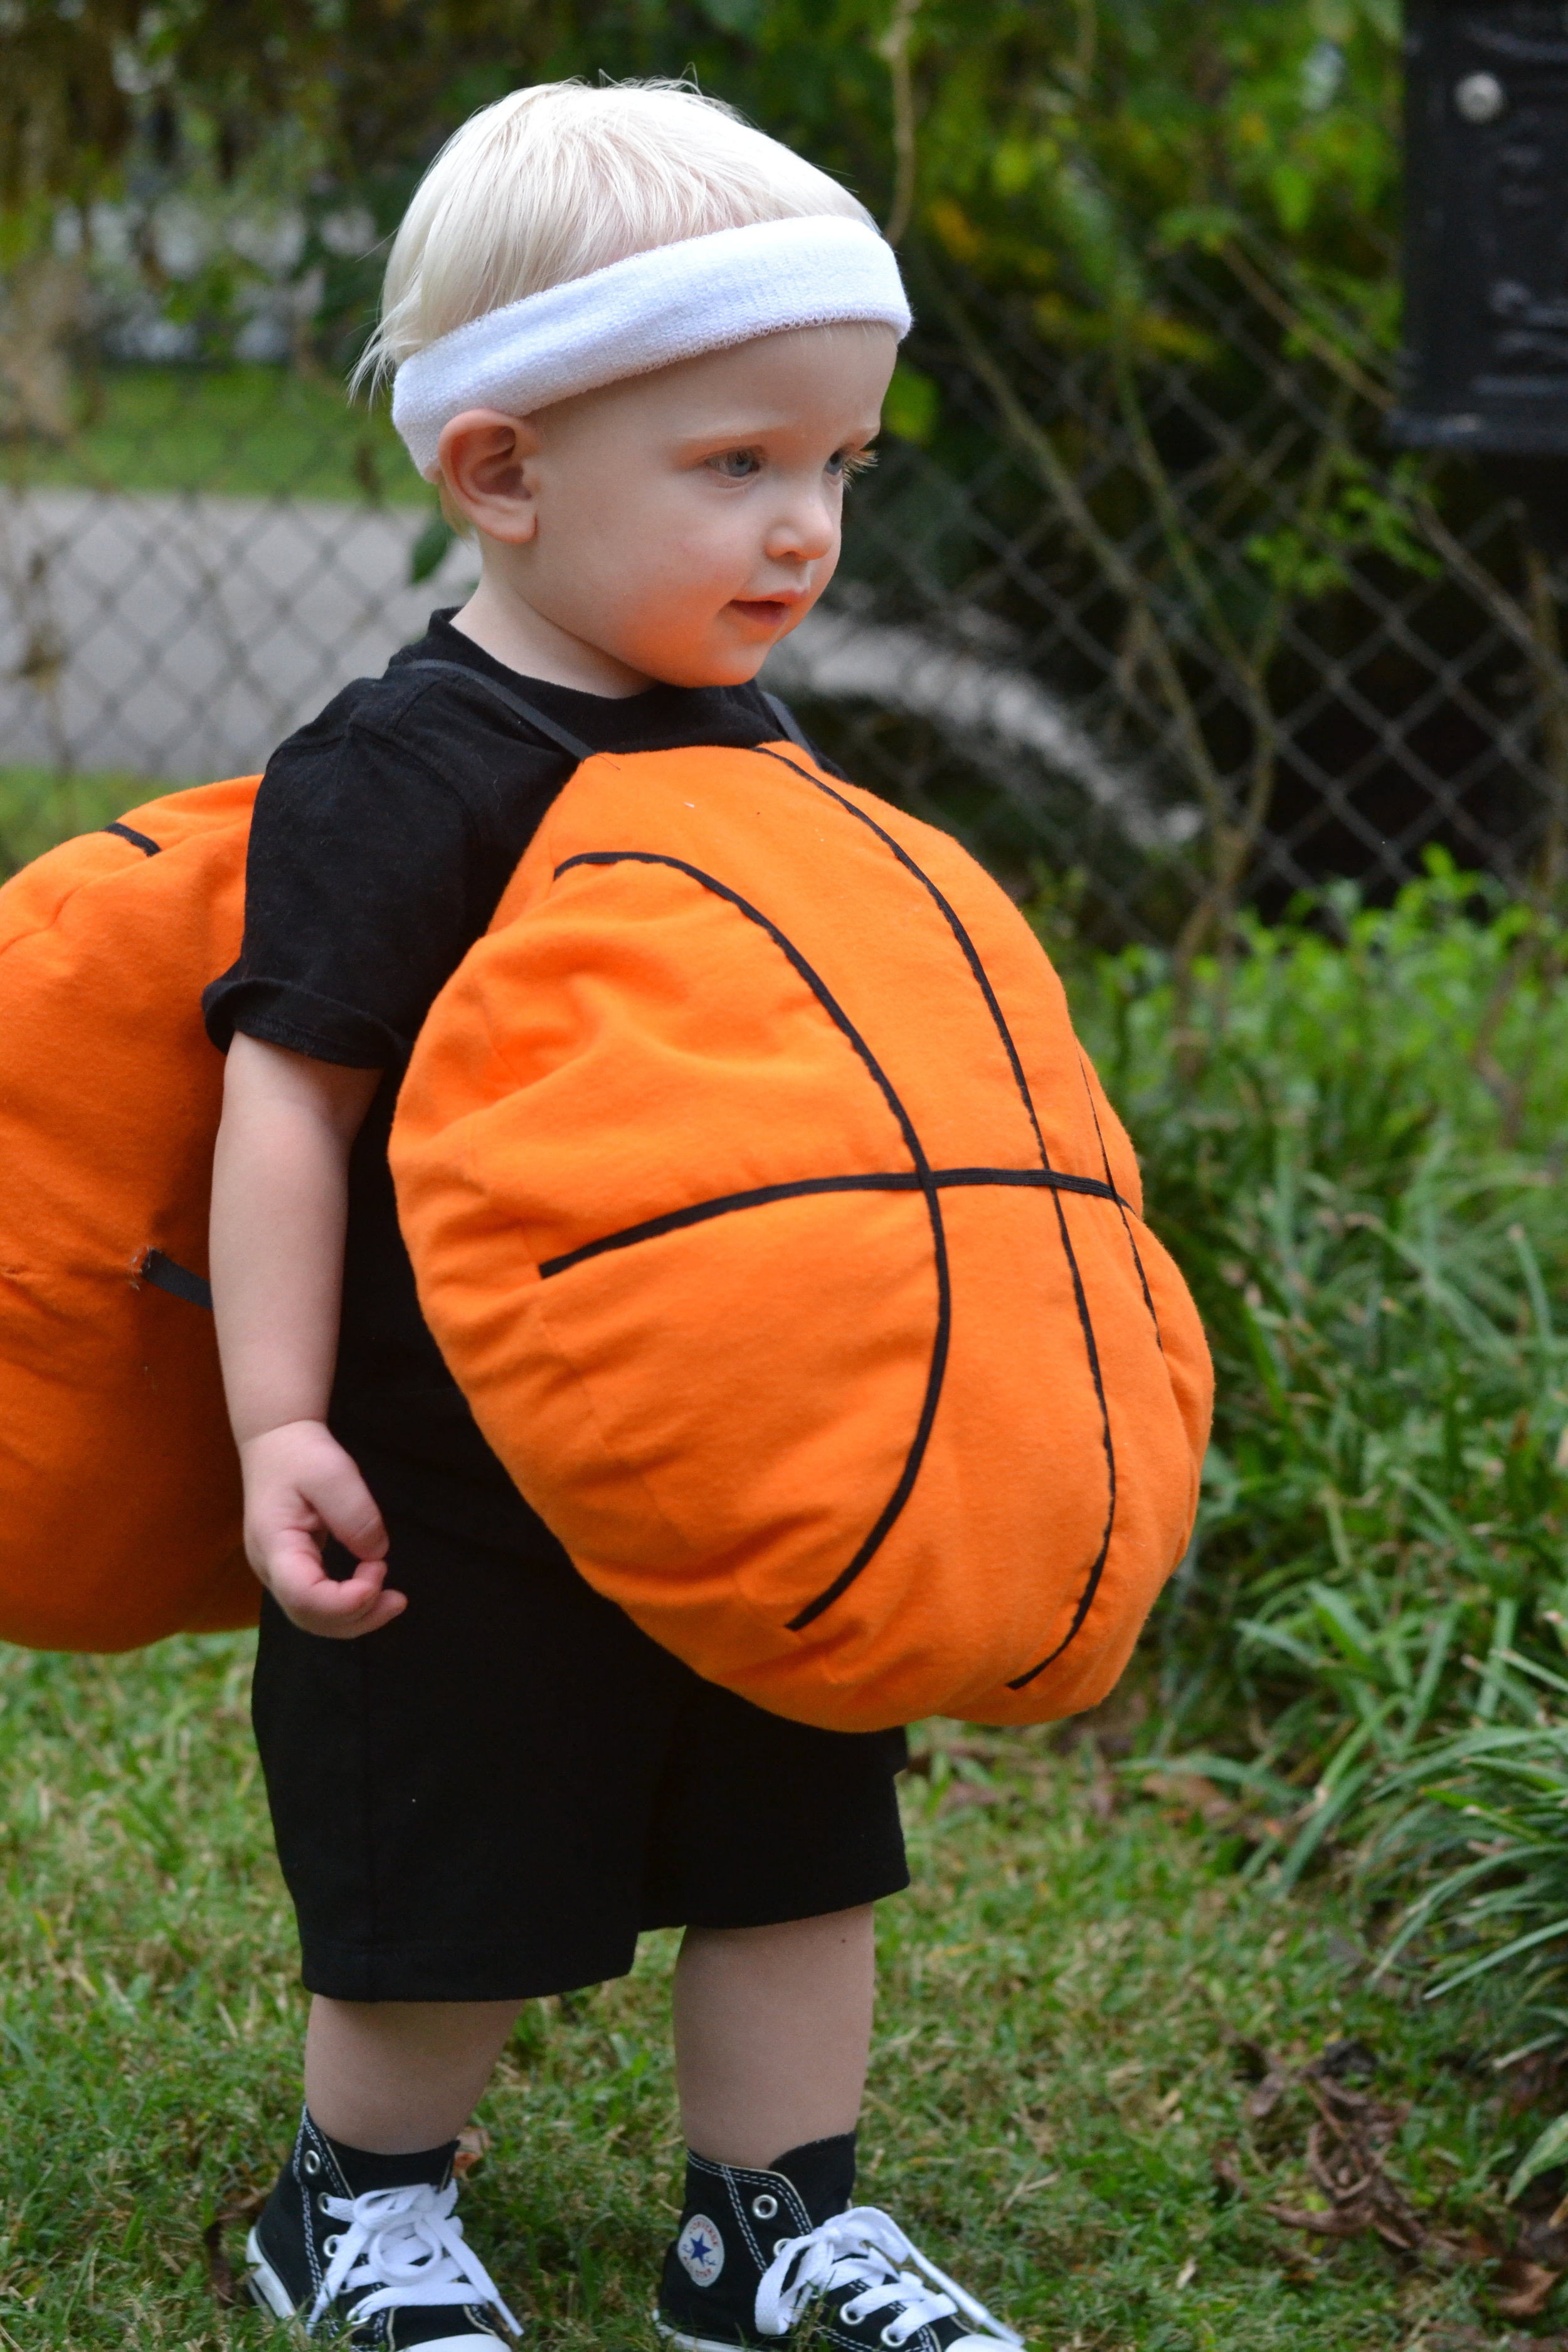
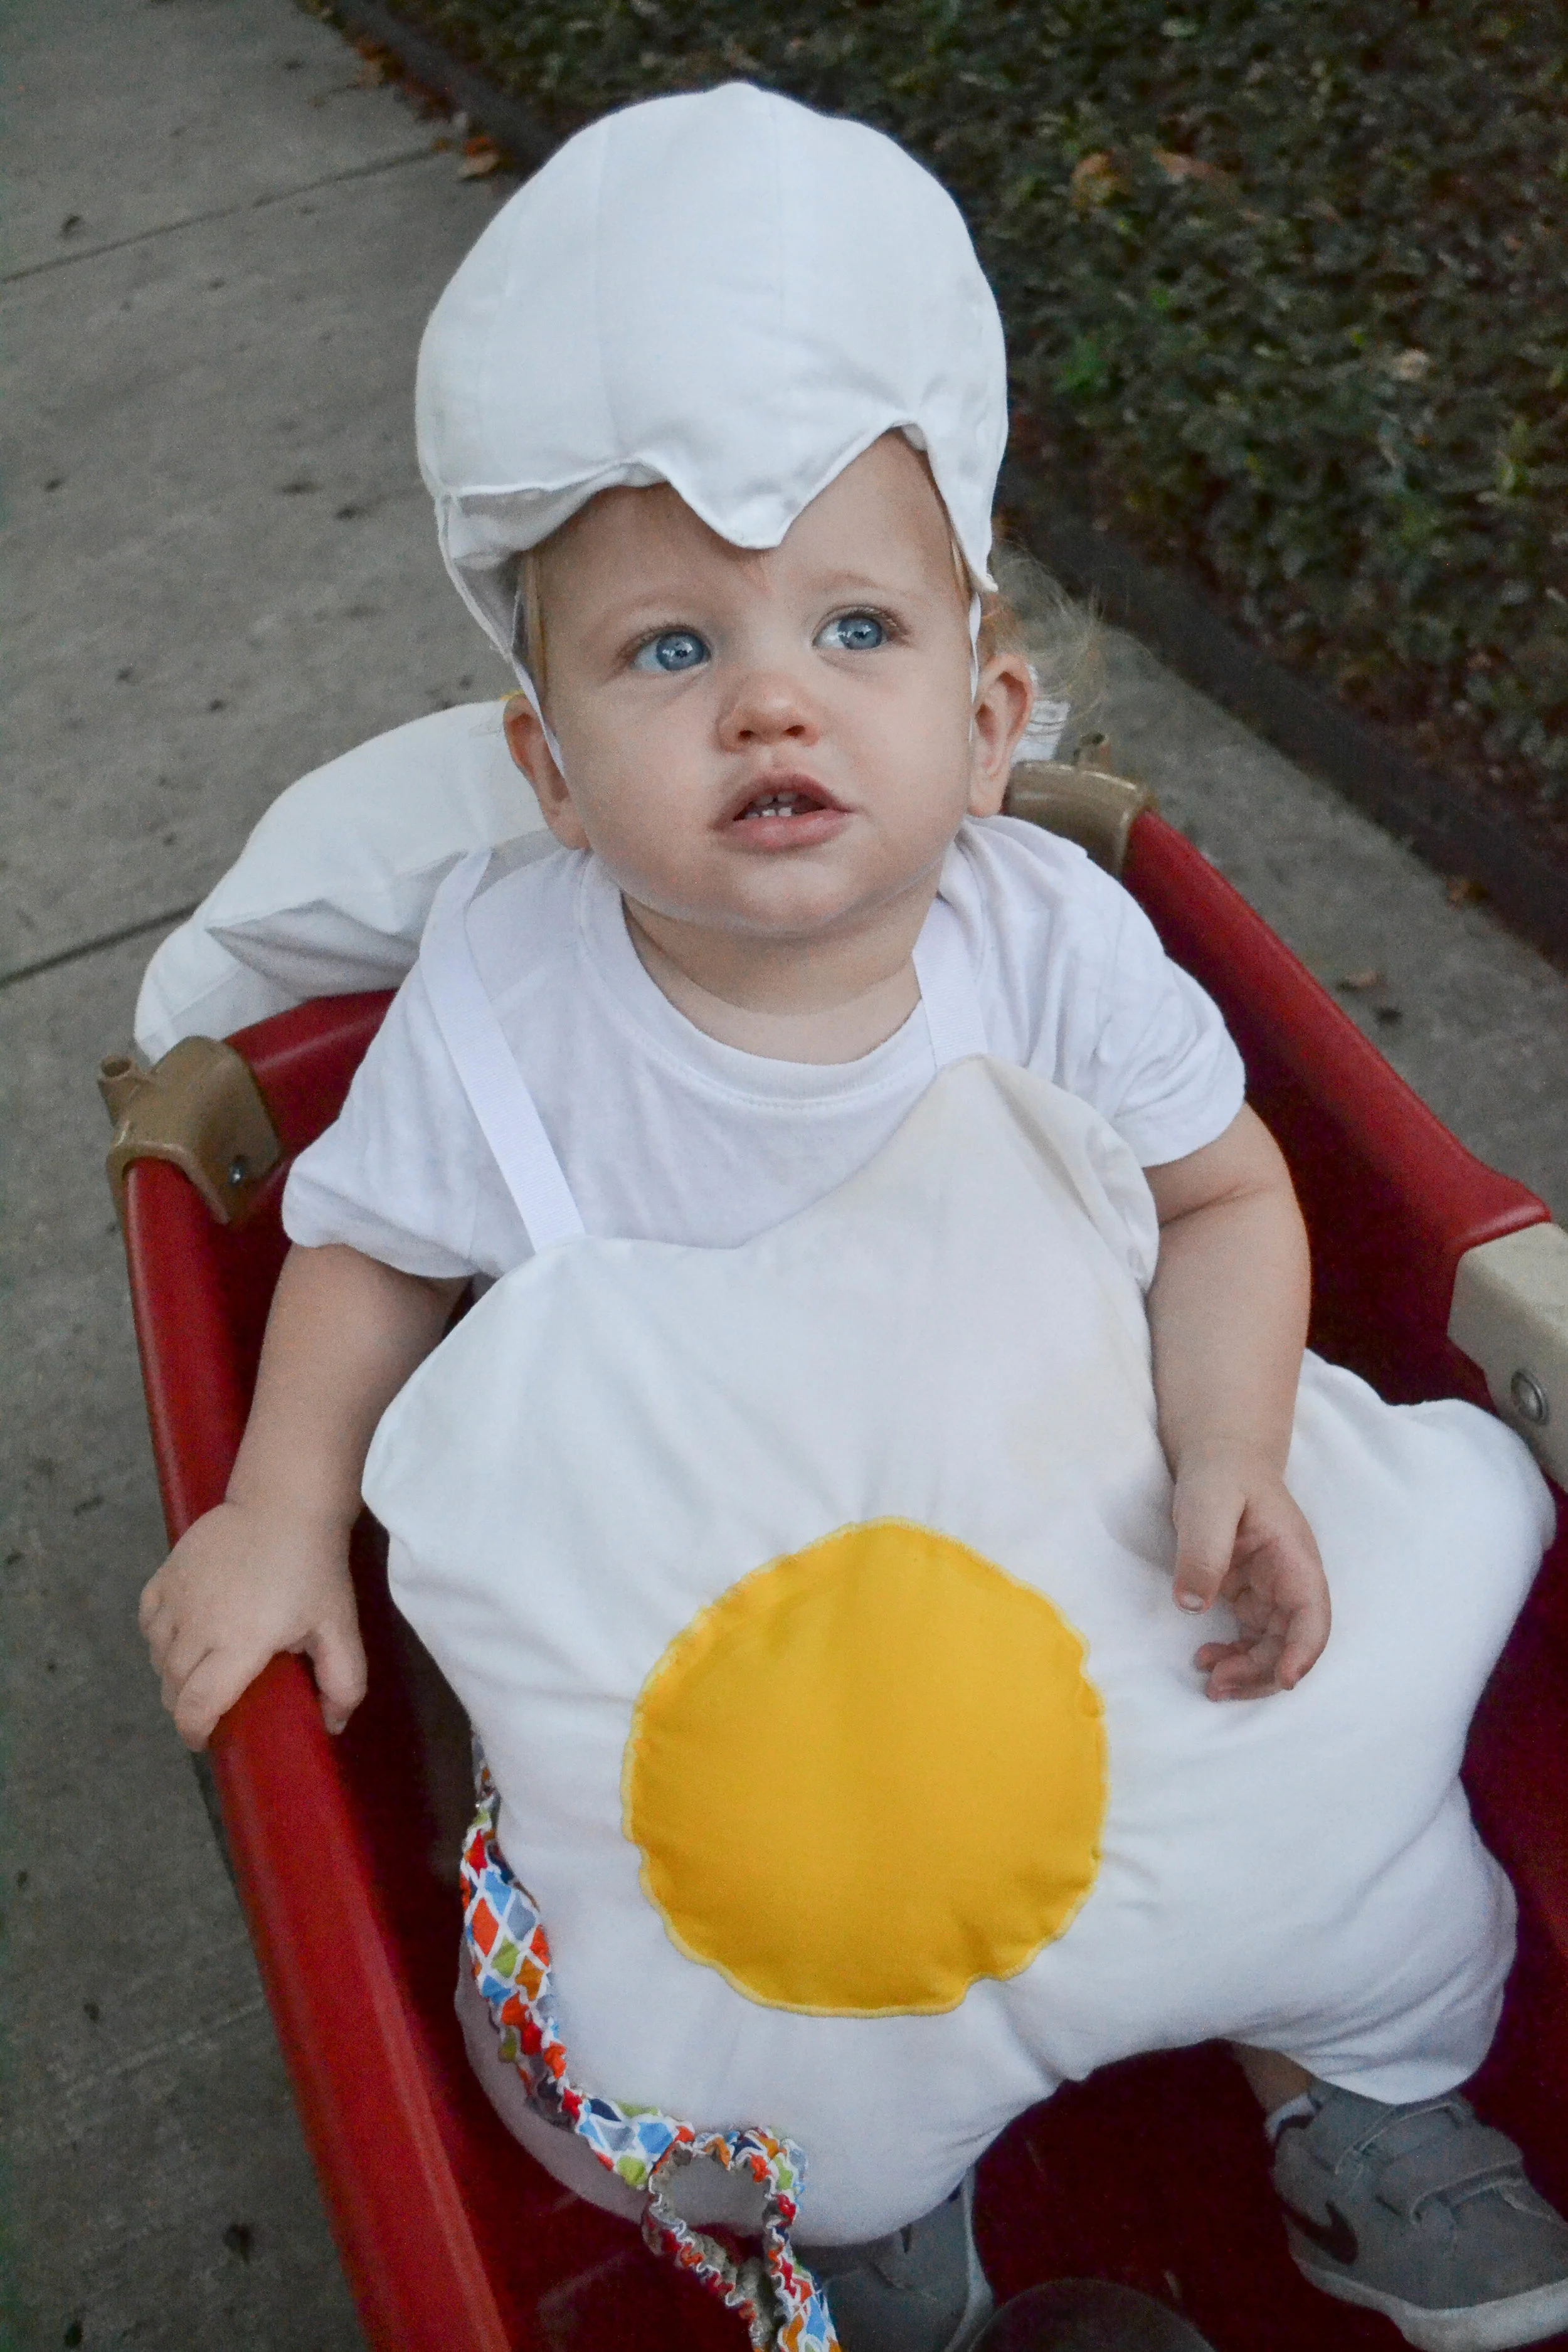
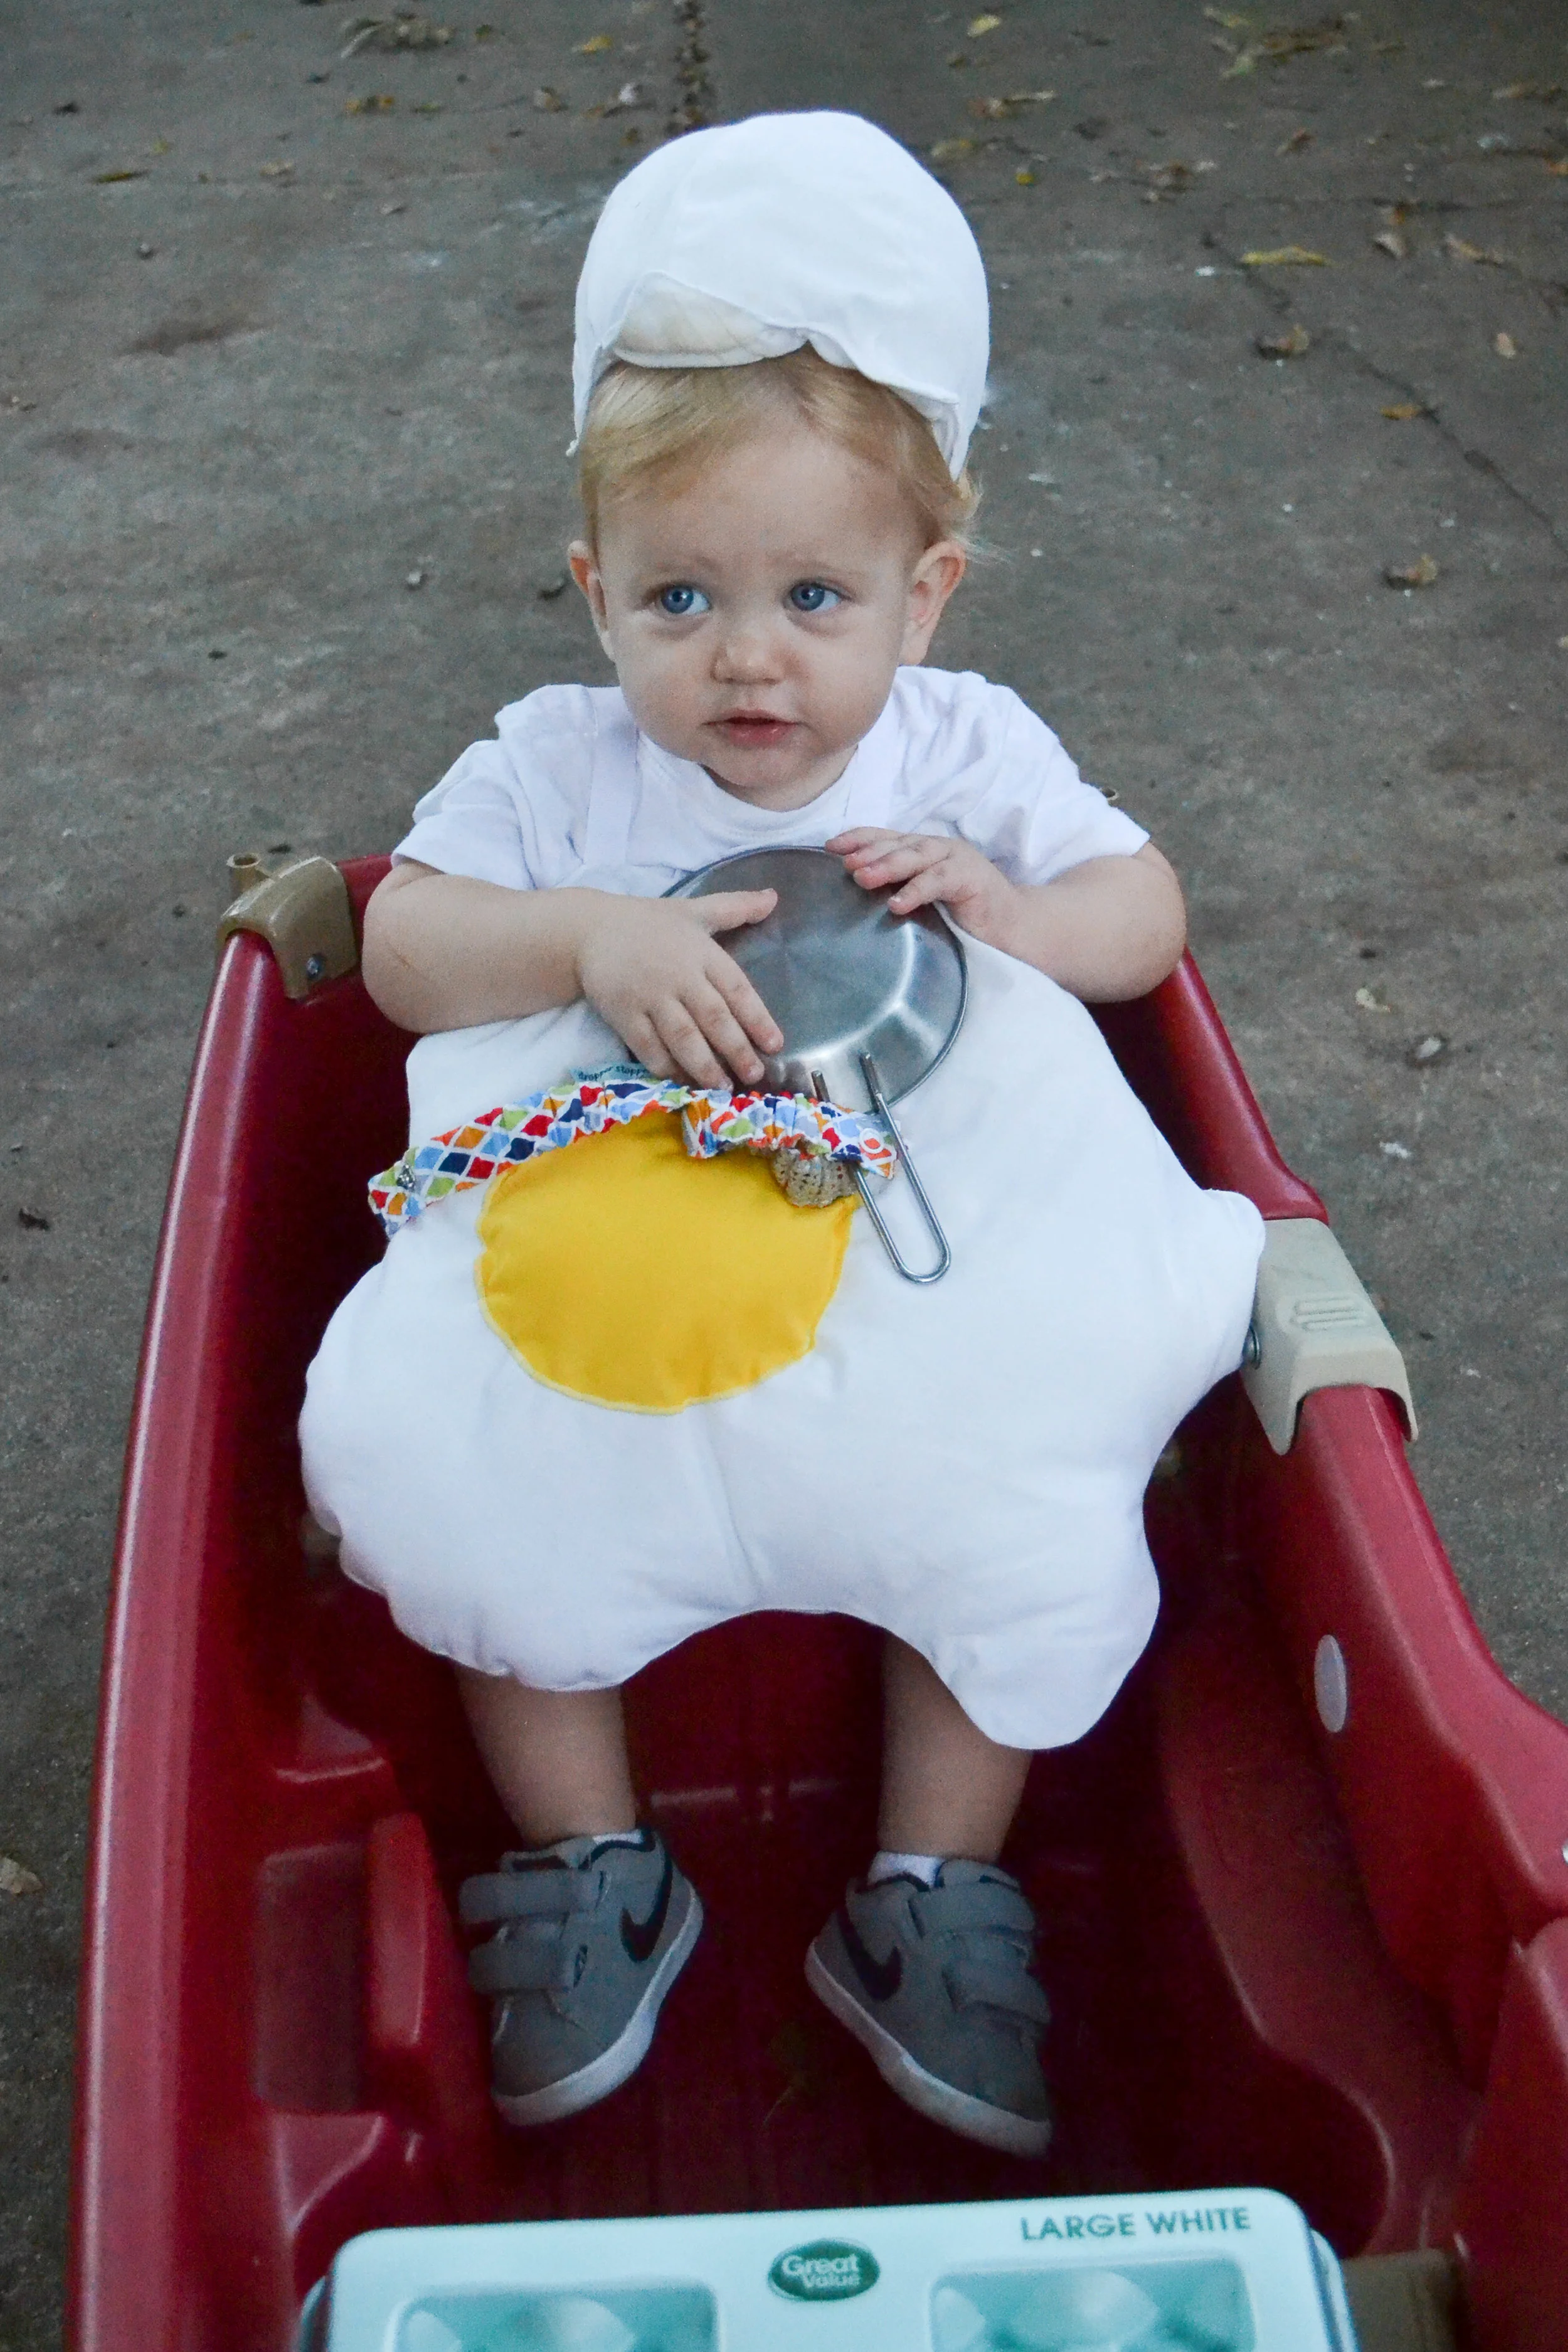
Before sweet Max could change his mind back, I whipped this together in a few hours. This method can be used to make any number of different costumes (I’ve also made an egg and basketball in the same exact way).
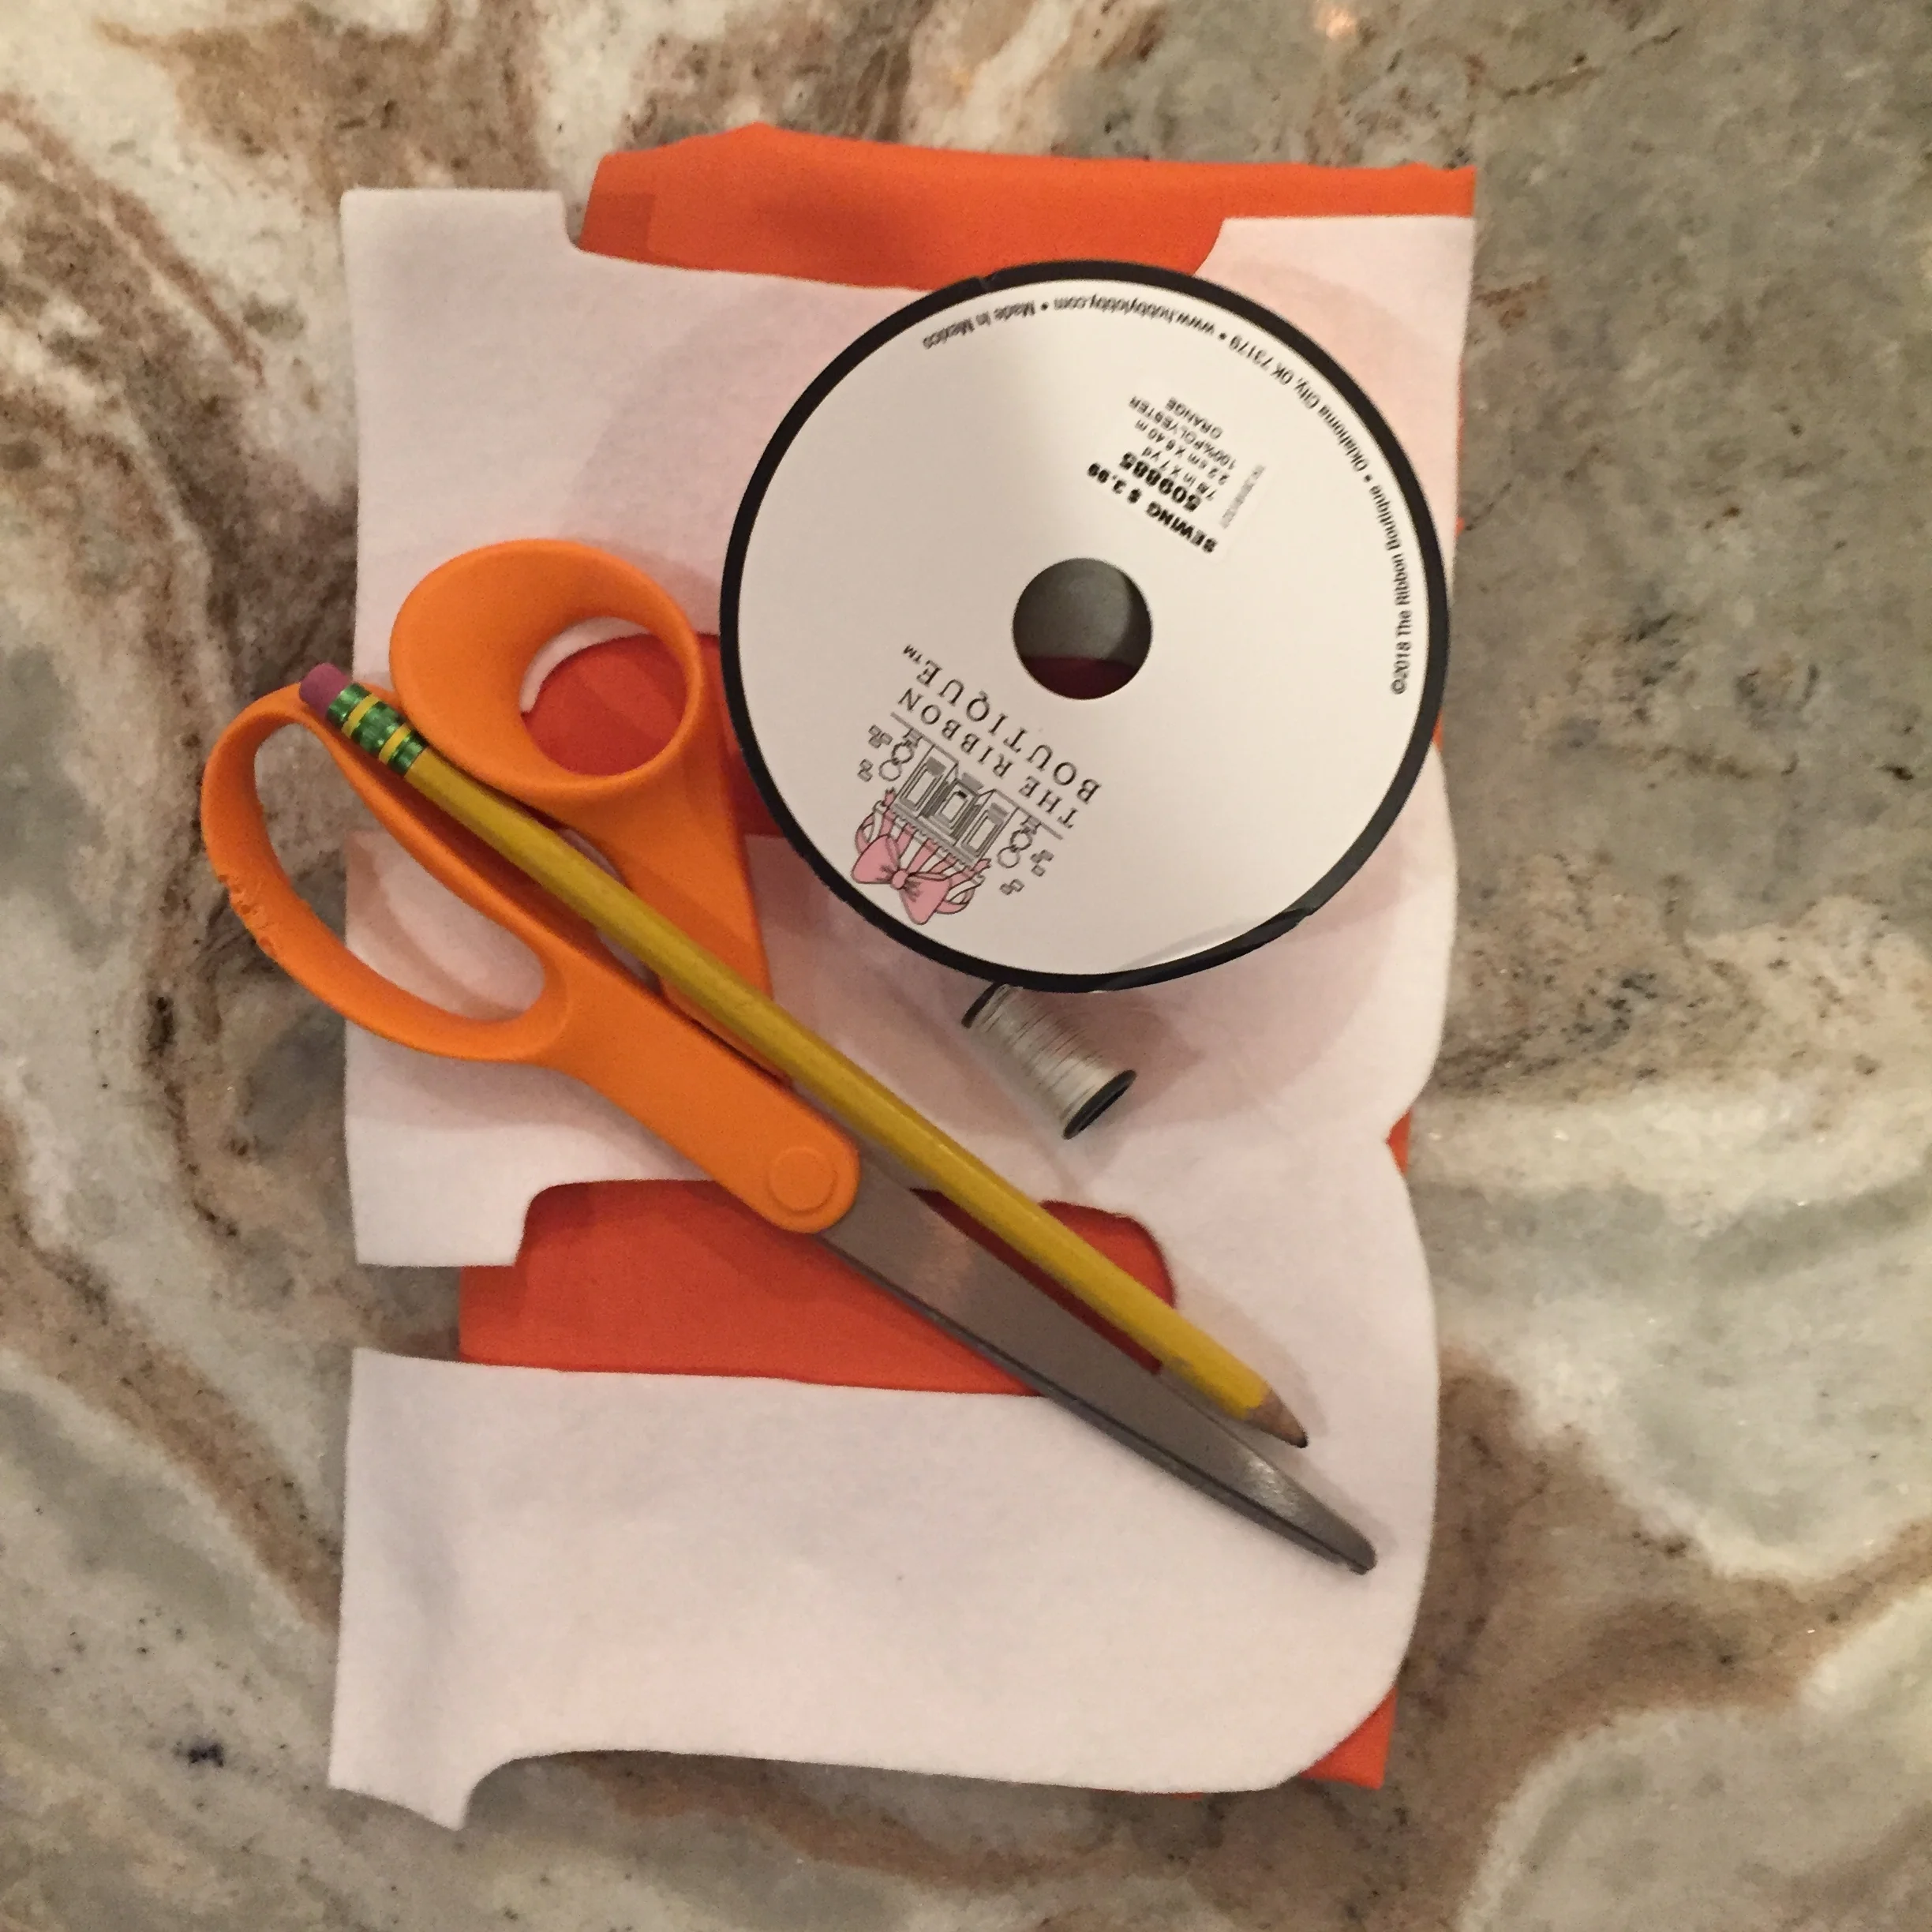
You’ll Need:
1/2 yard colored fabric
1 paper-sized sheet of white felt
Thread (white and same color as fabric)
~6’ ribbon in same color as fabric
Sewing machine
Needle
1 bag poly-fil stuffing
Skills Required: Very basic sewing skills. Cutting skills. Very basic needle and thread skills.
The Instructions
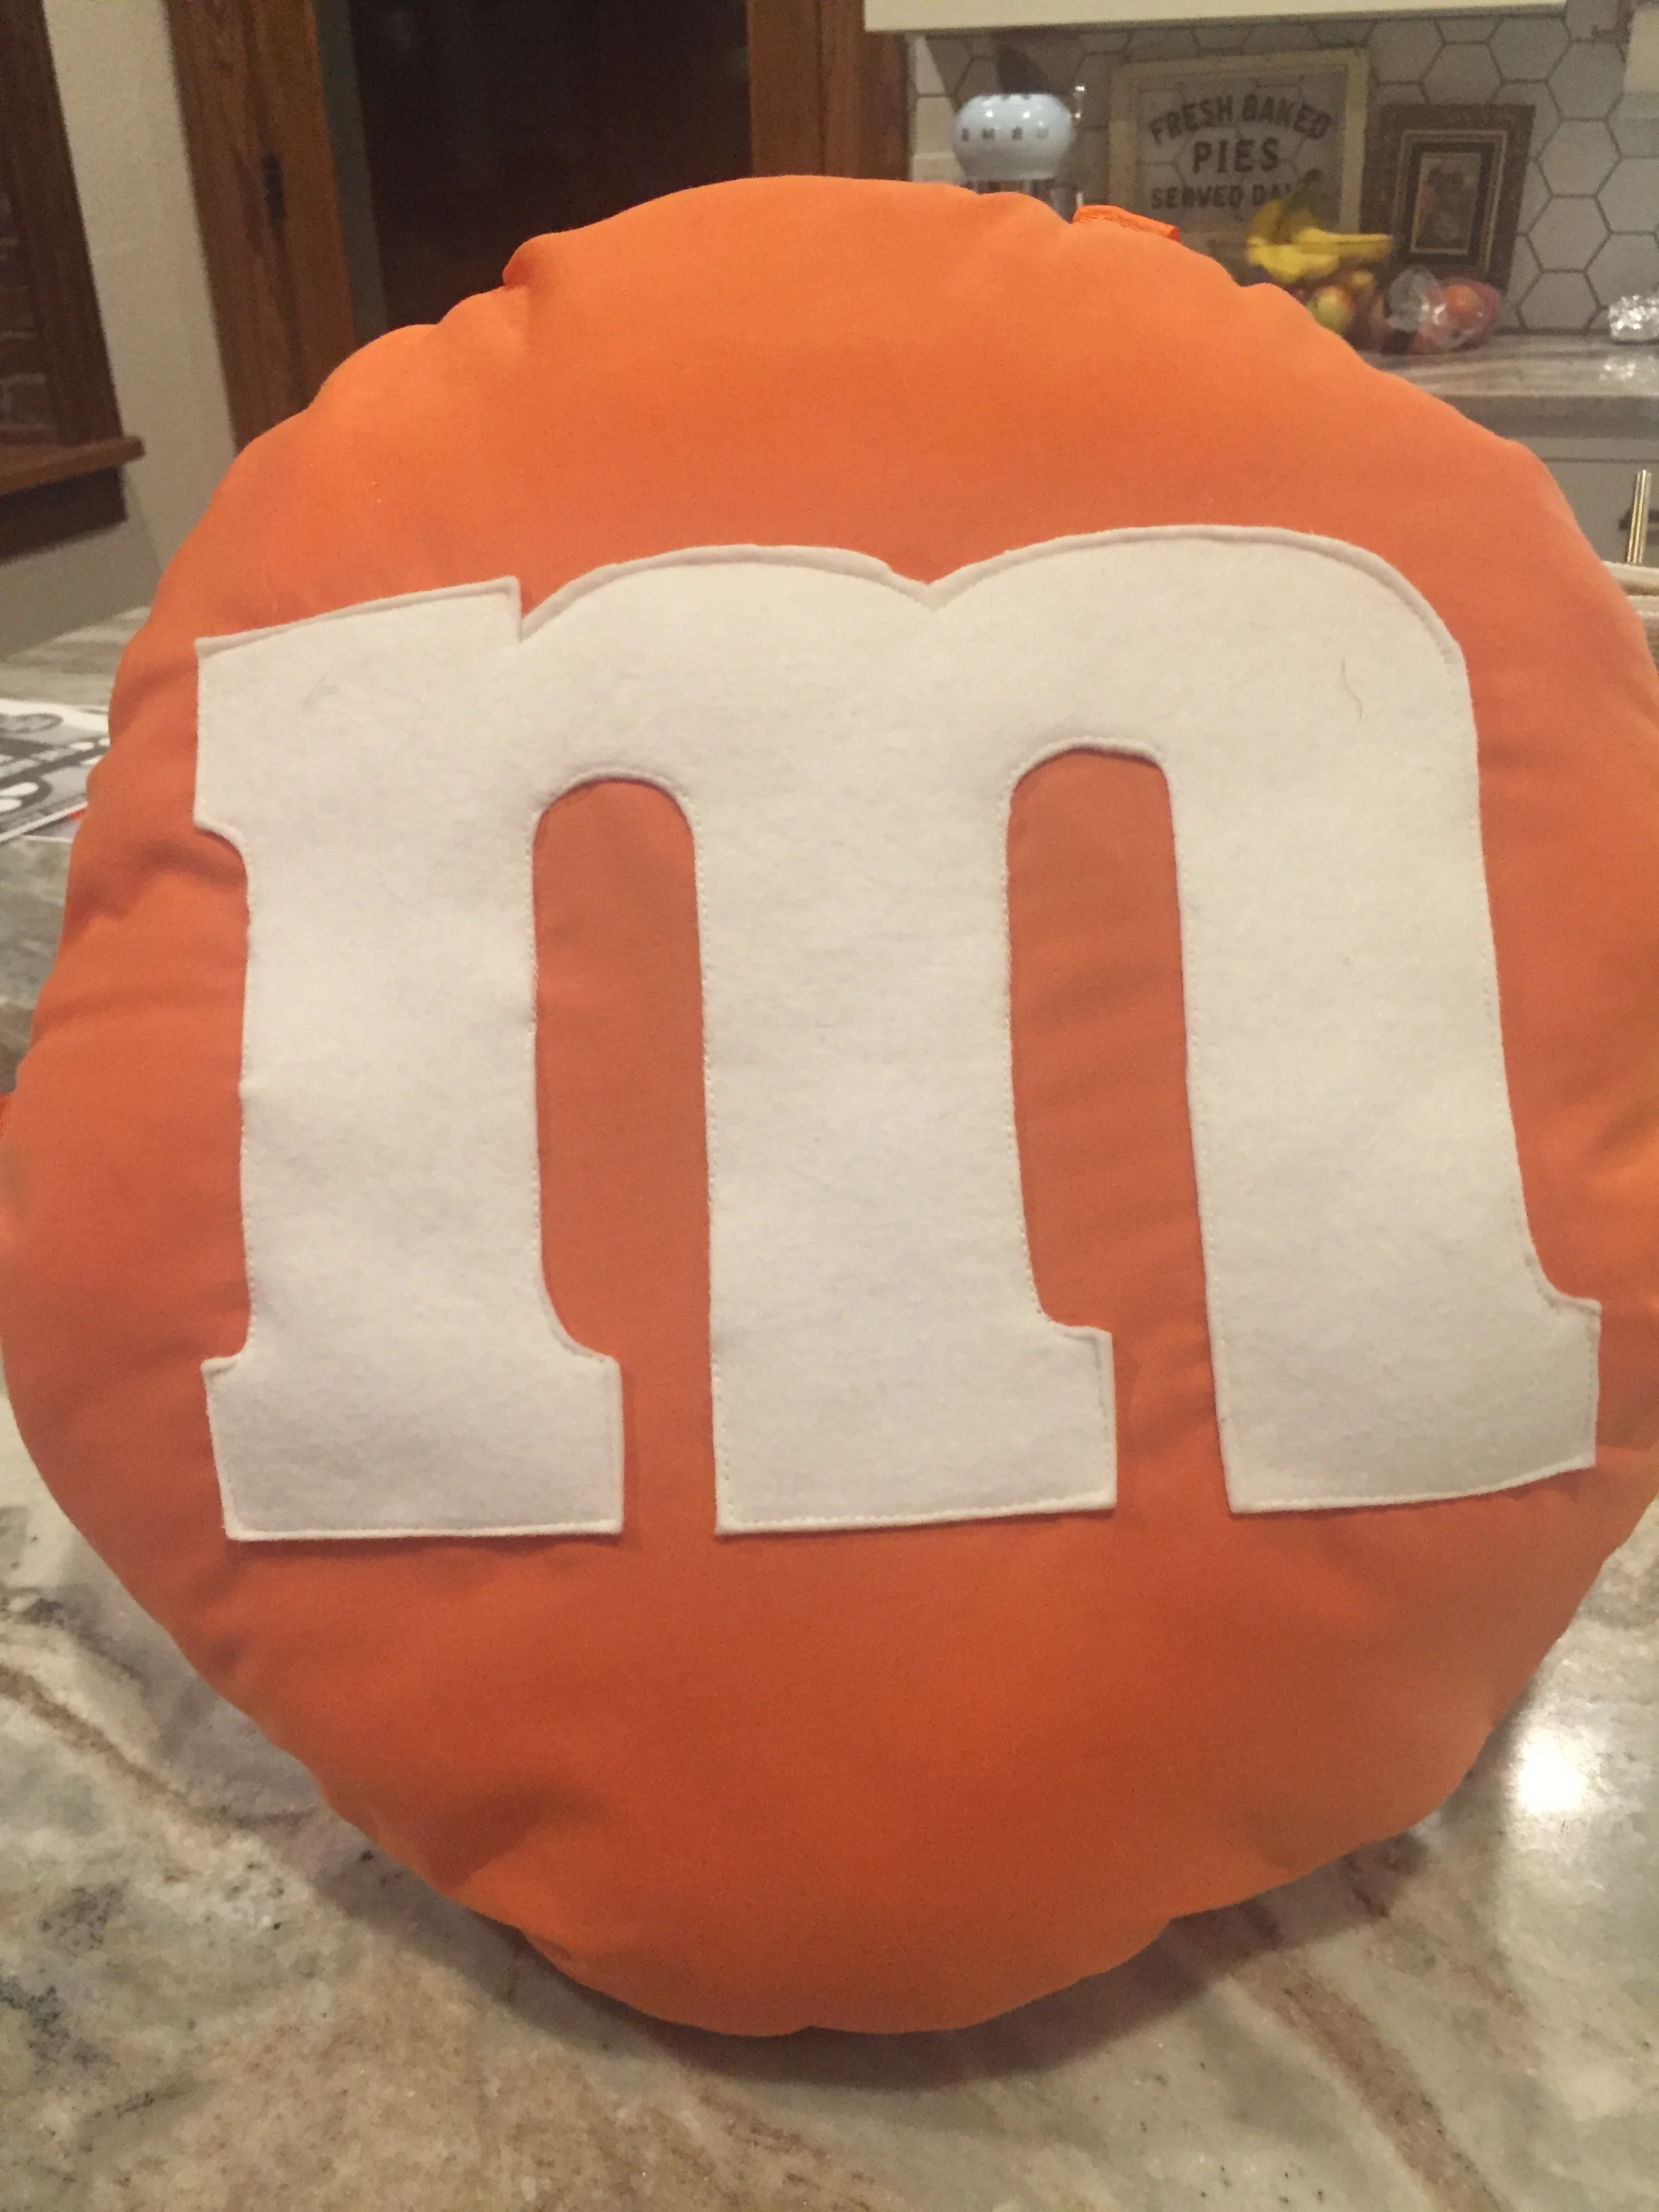
Step 1: cut out ‘m’ from white felt (felt is great because it won’t fray on a raw edge- no hemming!). I Just took a screen shot of the m&m font, blew it up as big as it would go and still fit on normal printer paper, and printed it. Then I cut it out and used it as a stencil for the white felt.

Step 1: cut out ‘m’
Step 2: find large circular object (a few inches larger than the size you ultimately want) and trace on colored fabric. Cut out circle 4 times (if fabric isn’t too thick, you can fold over twice and cut out all 4 at once! #efficiency)

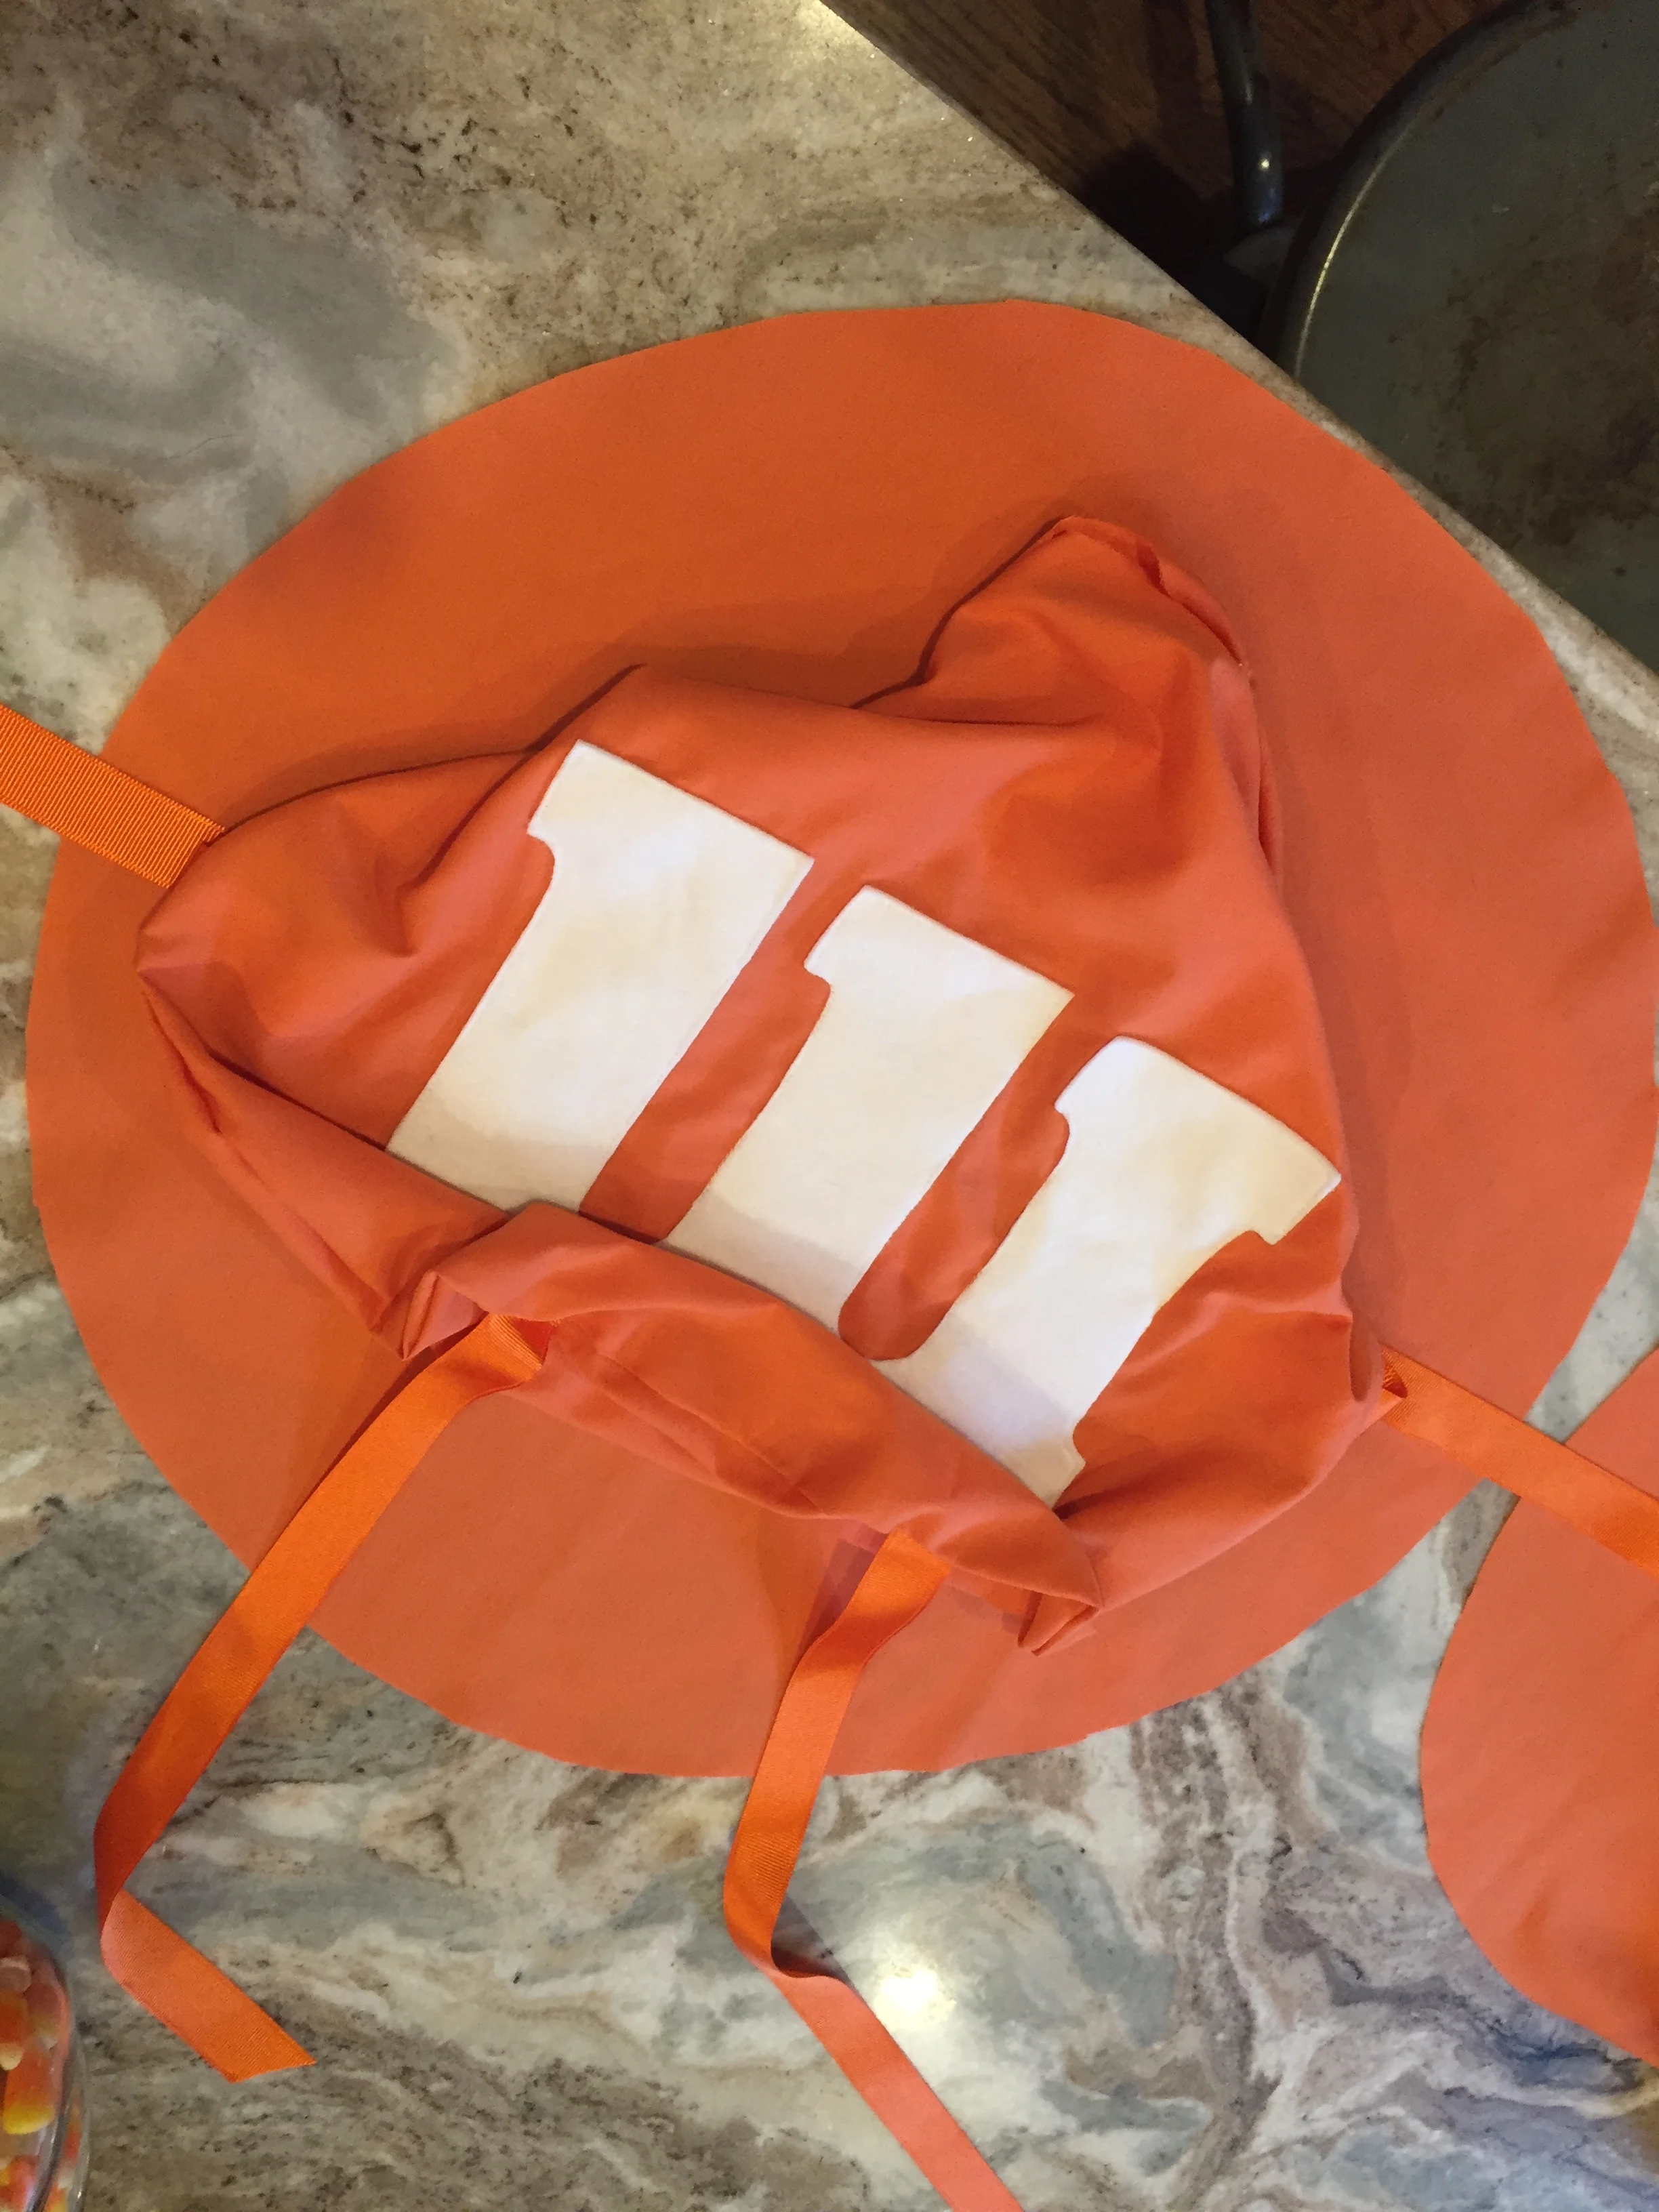
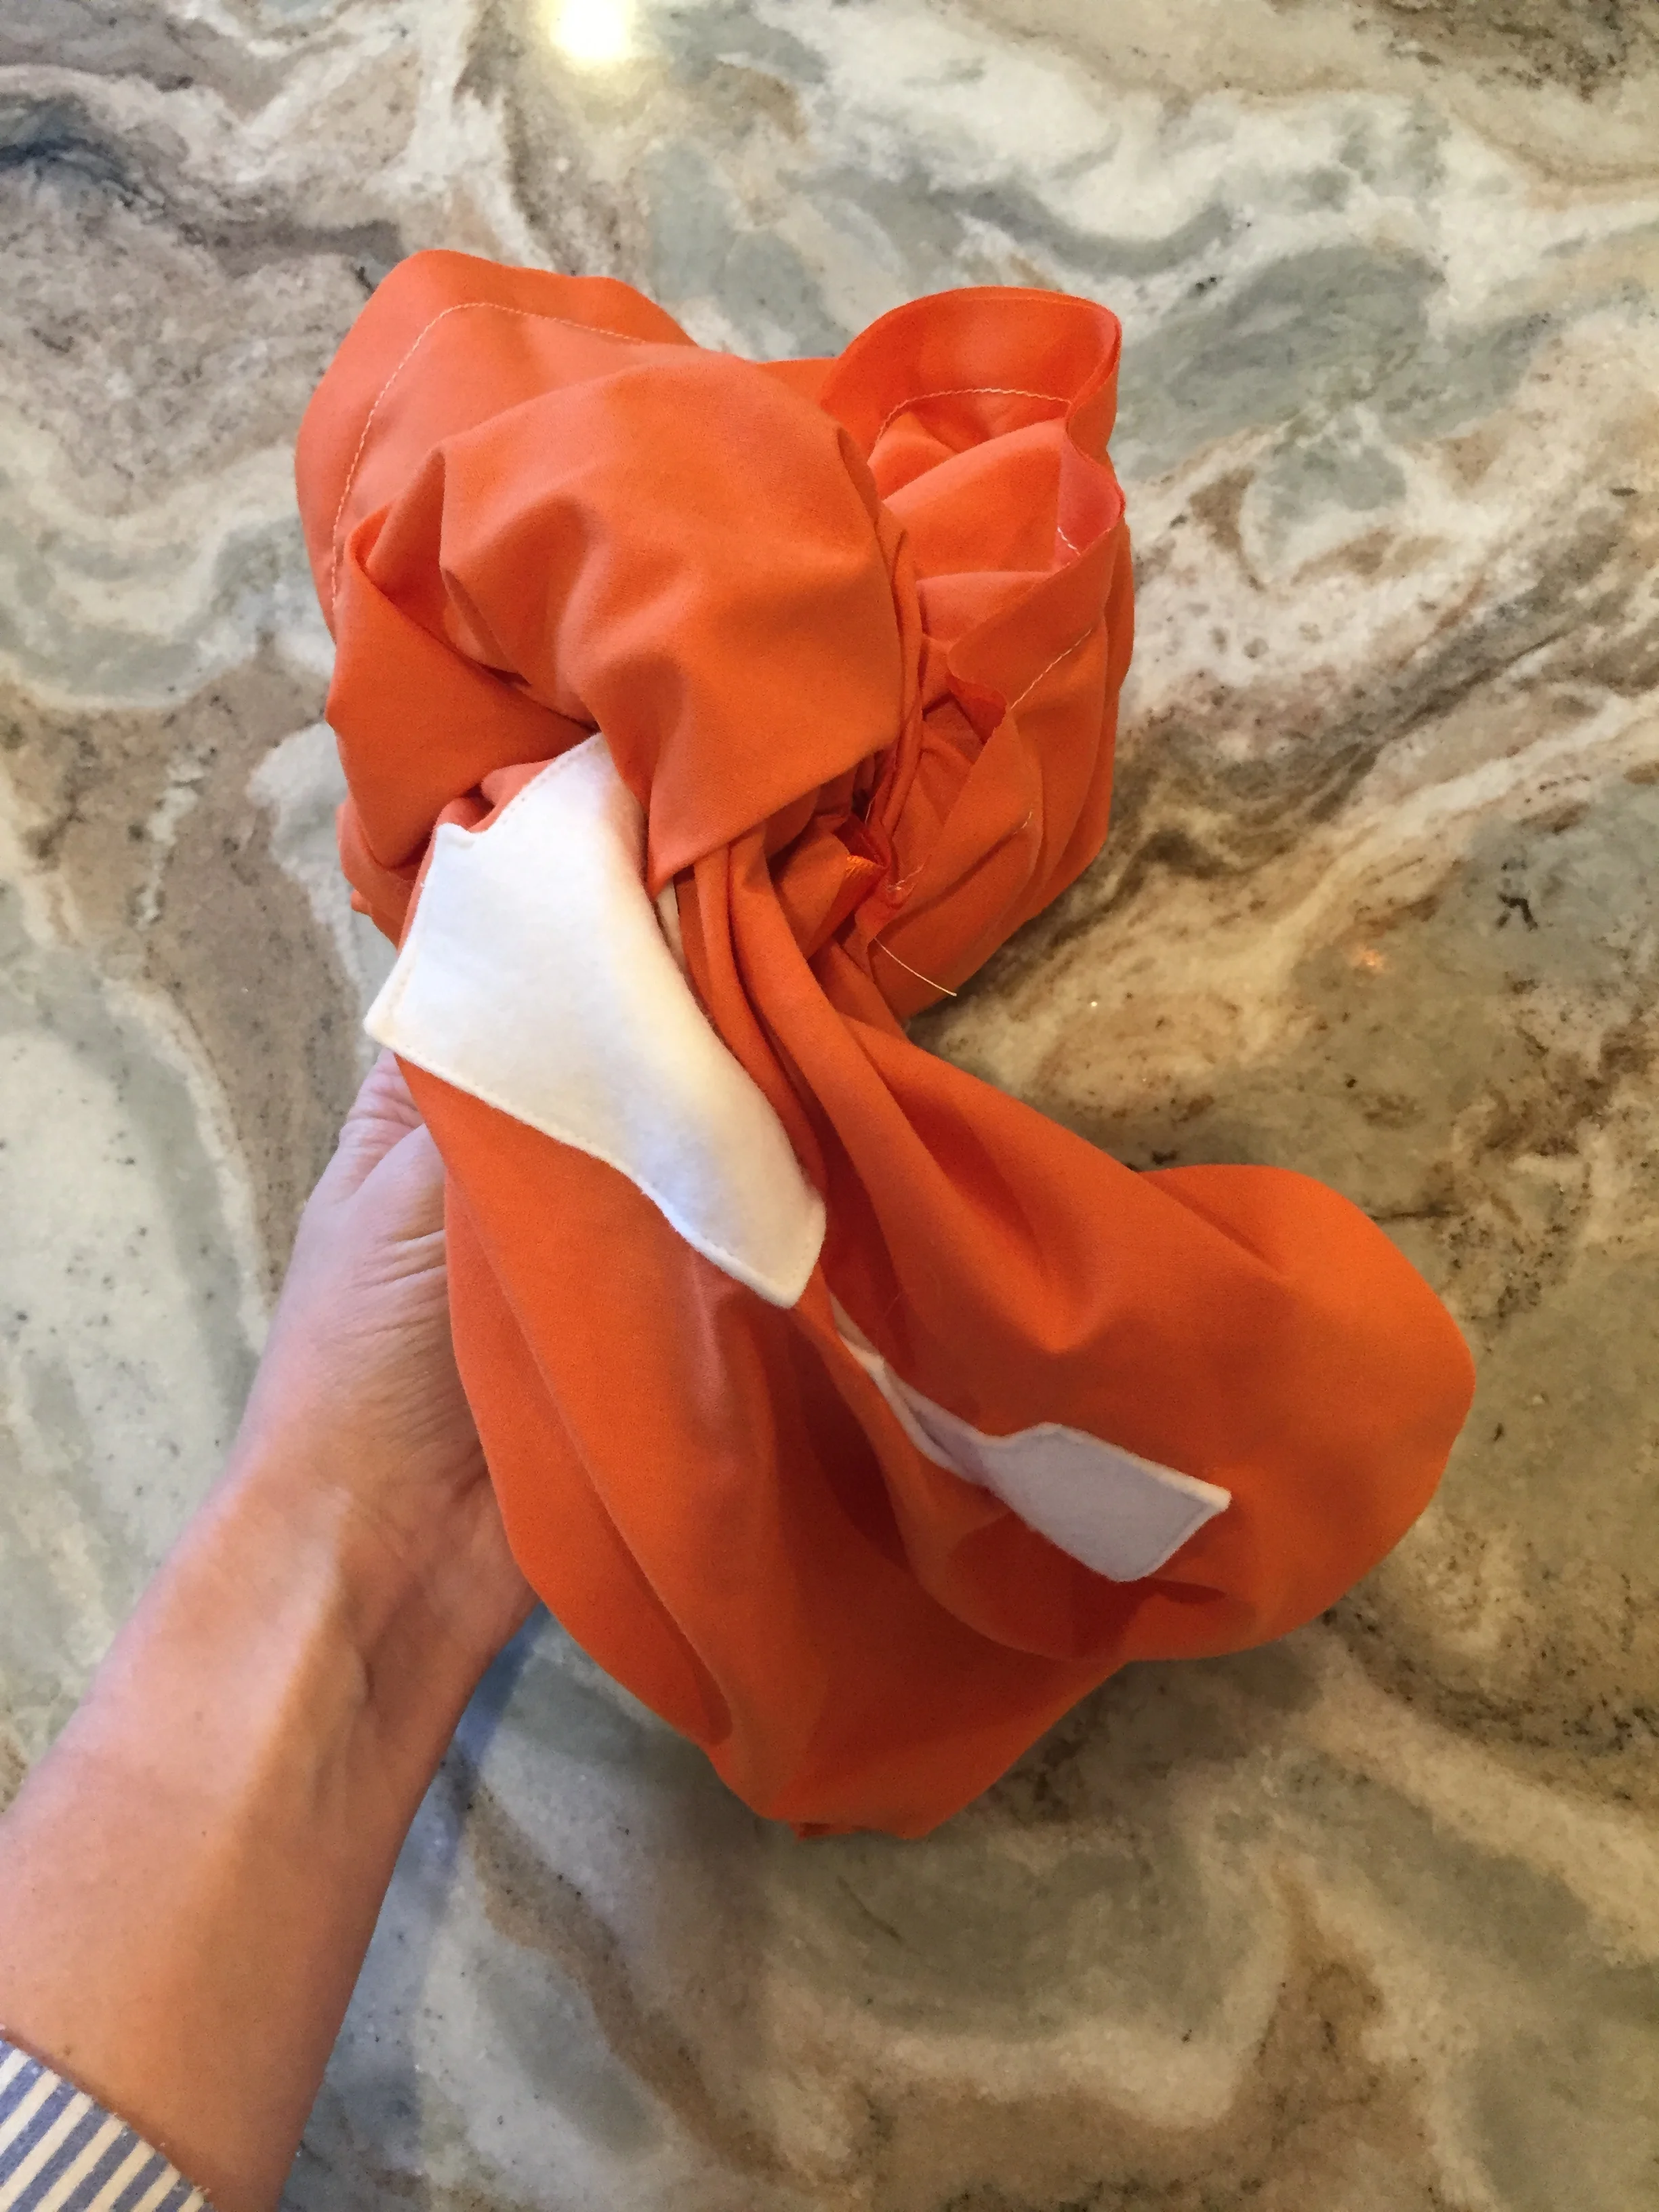
Step 3: Pin ‘m’ onto center of one of the circles. Using sewing machine and white thread, or needle and white thread, sew m onto circle.
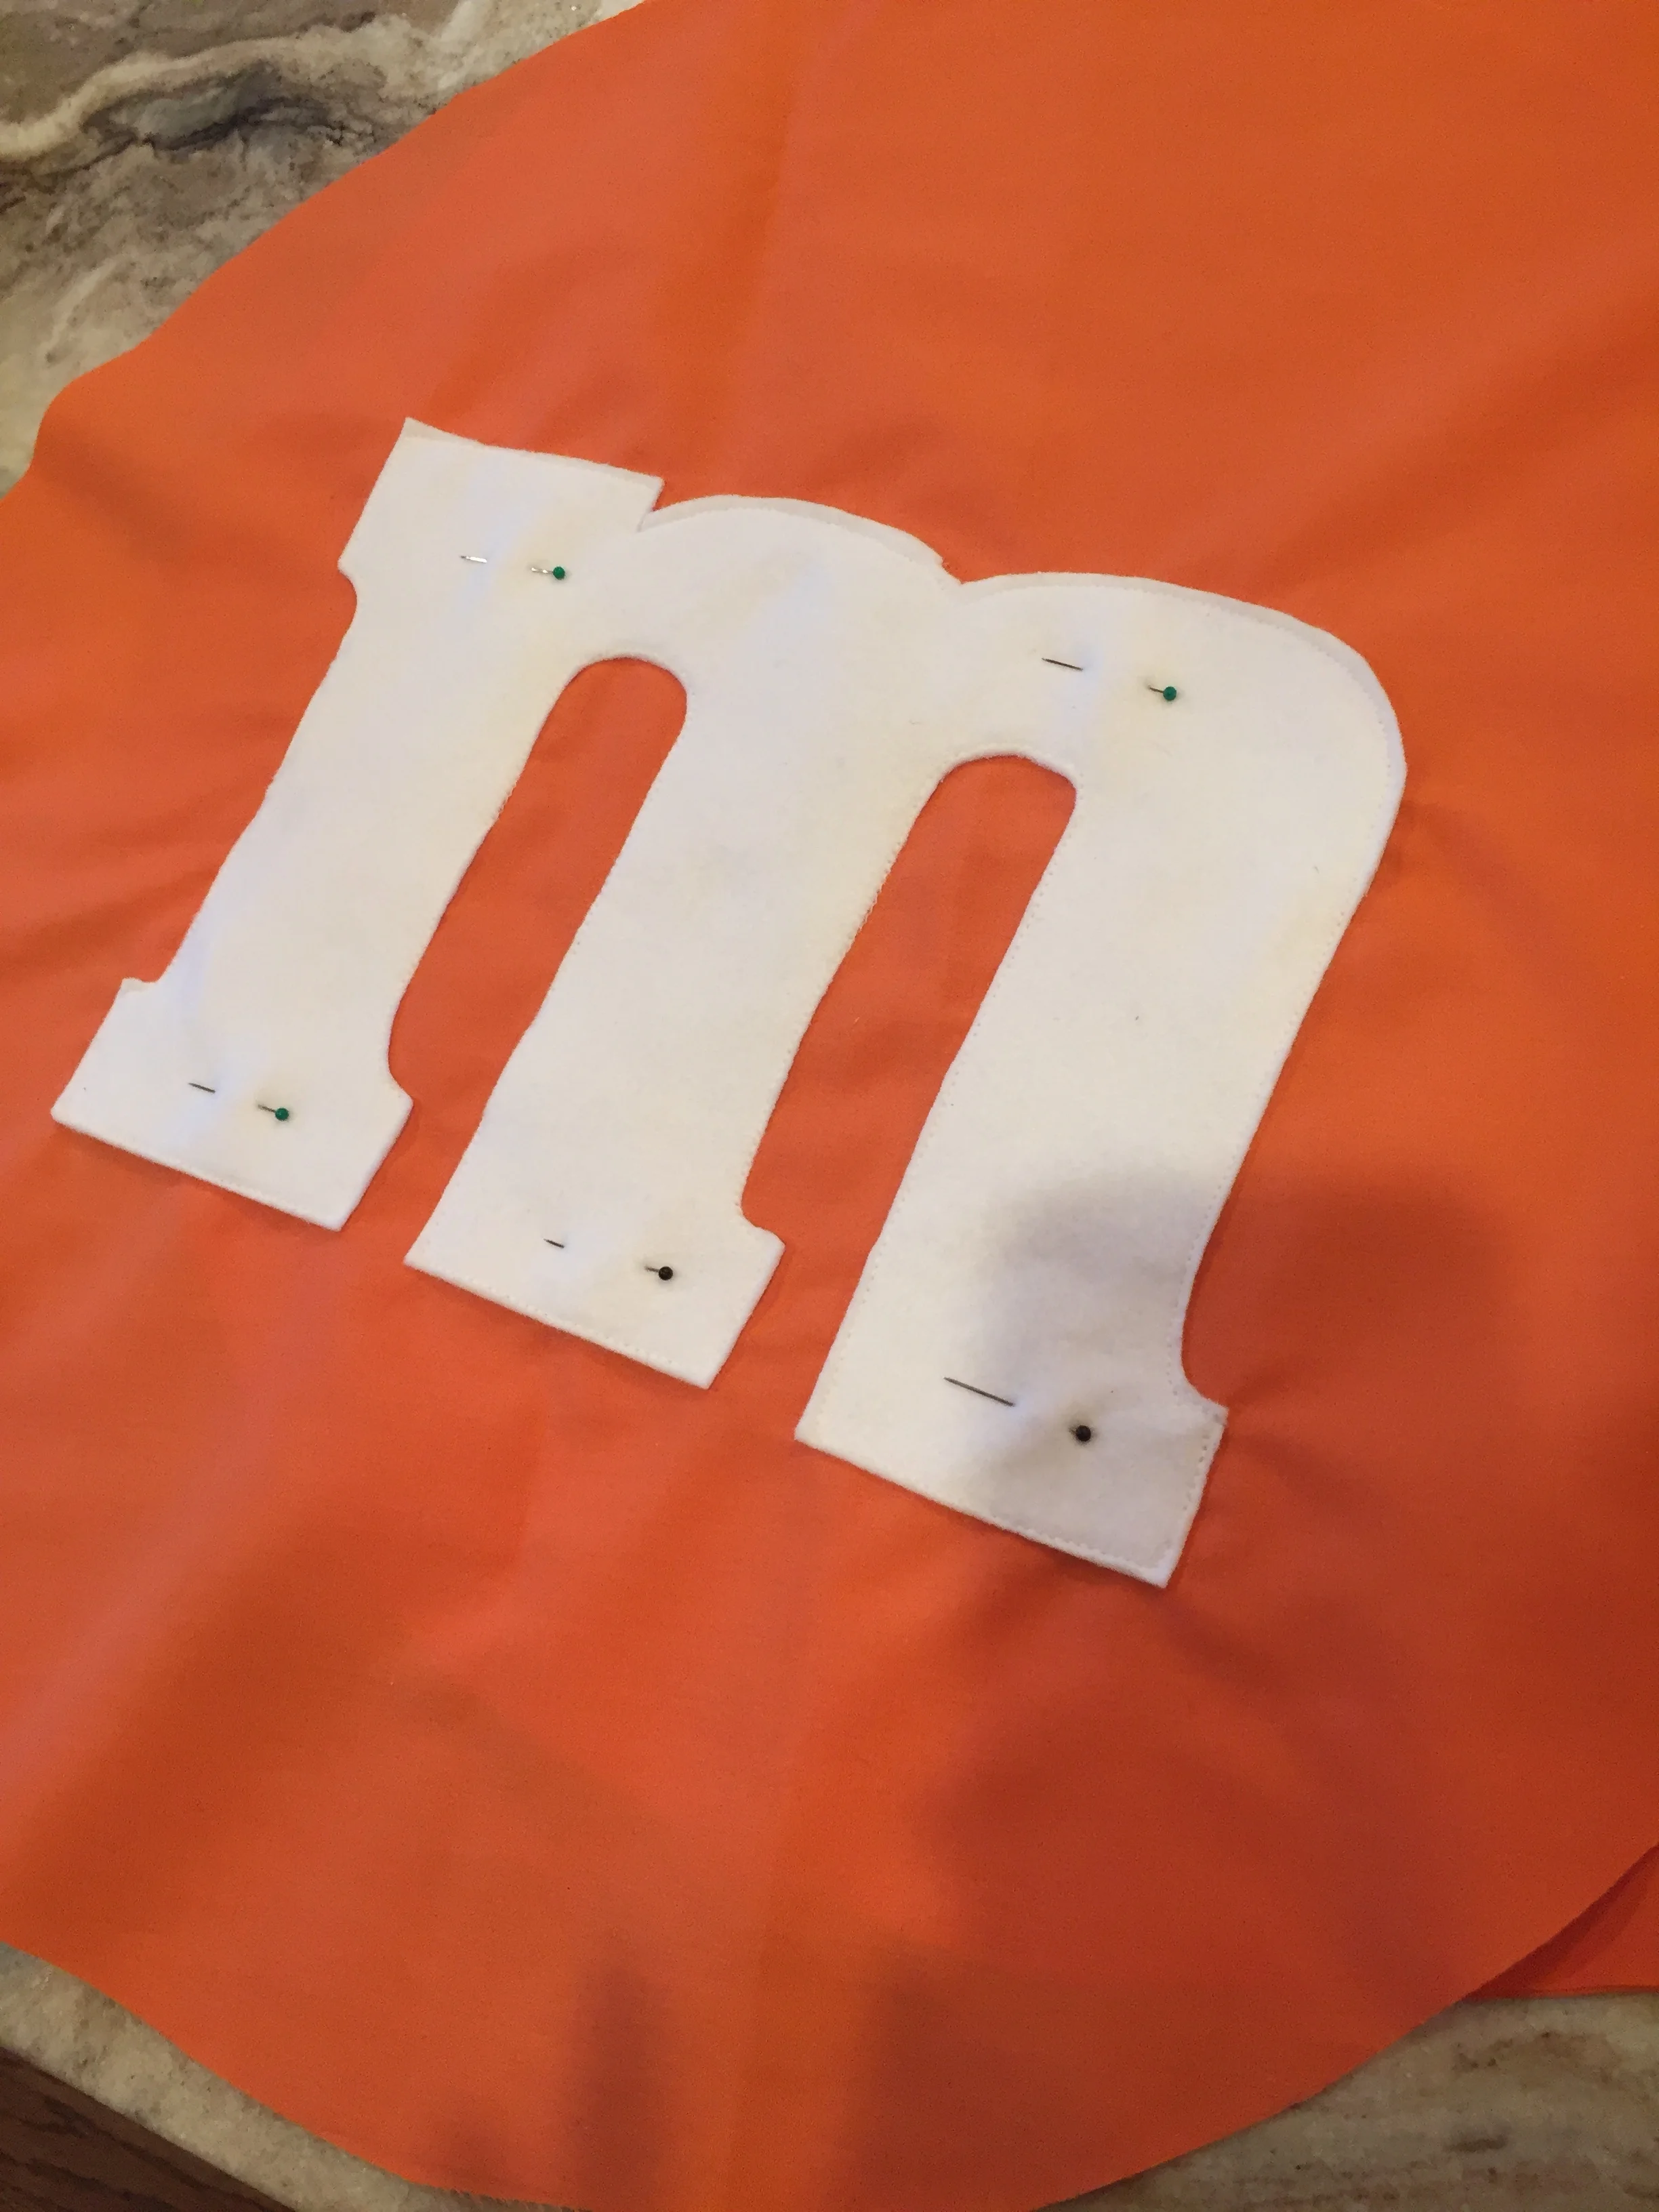
Step 3: Attach ‘m’
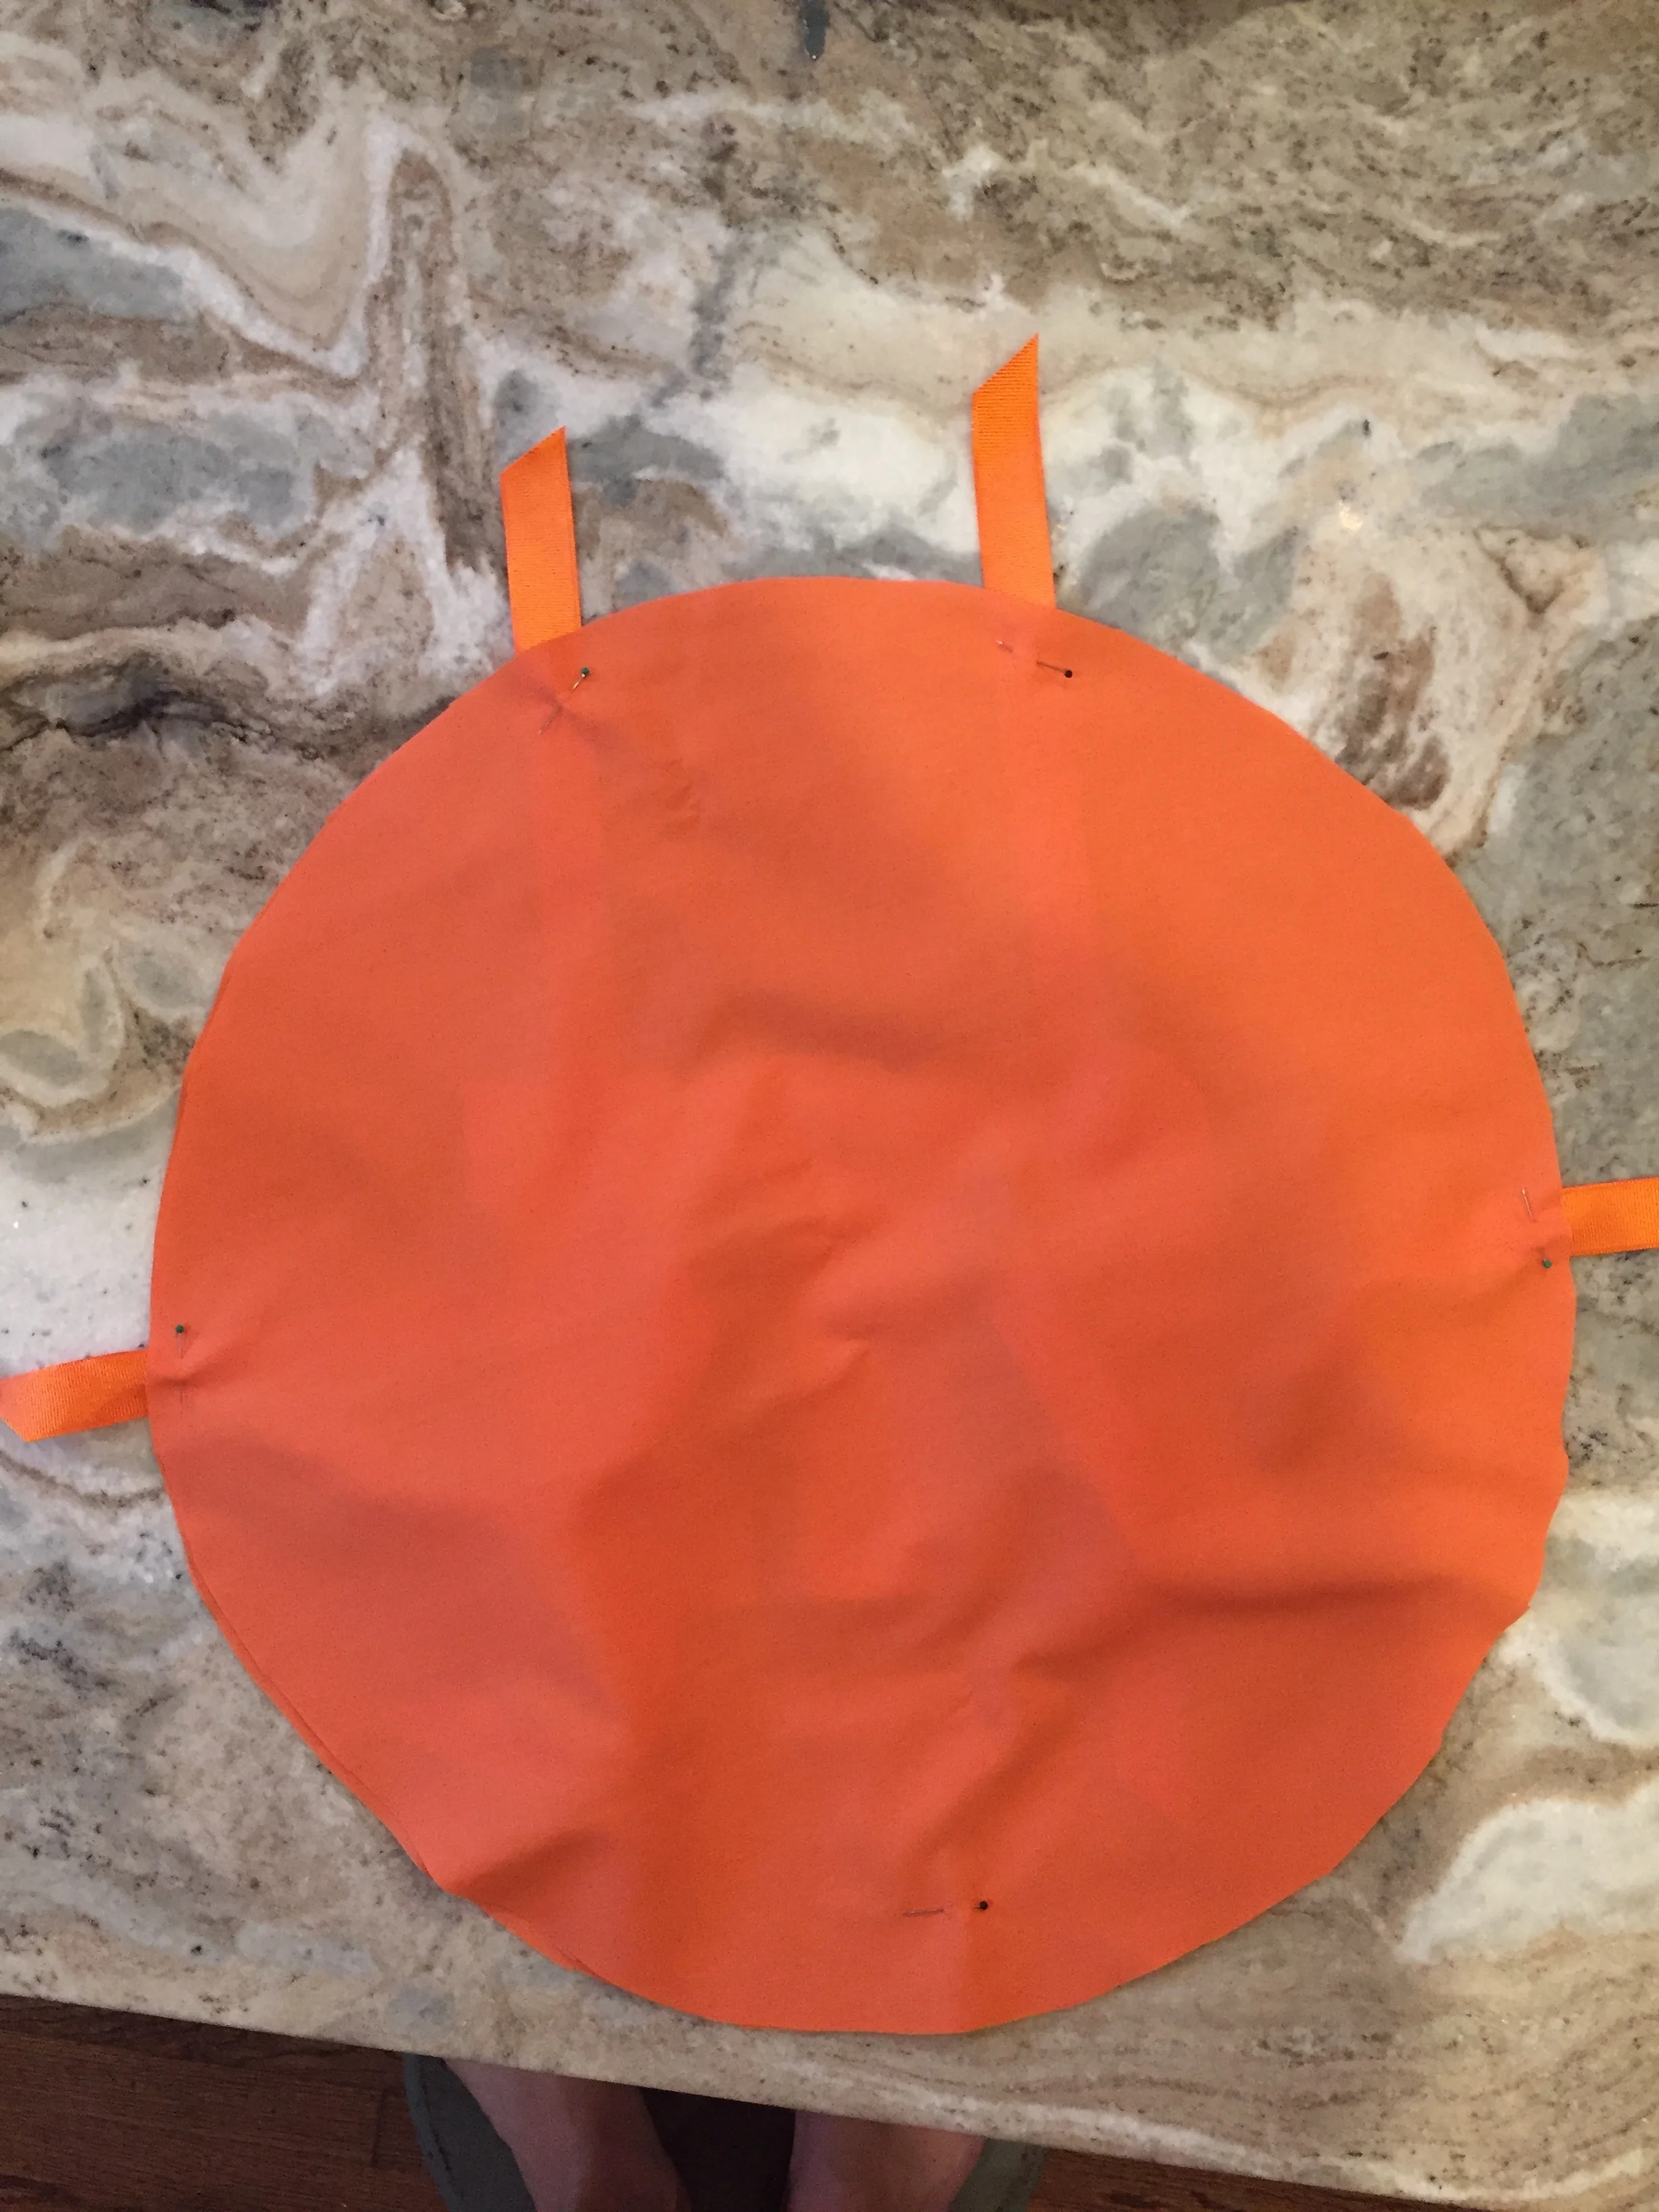
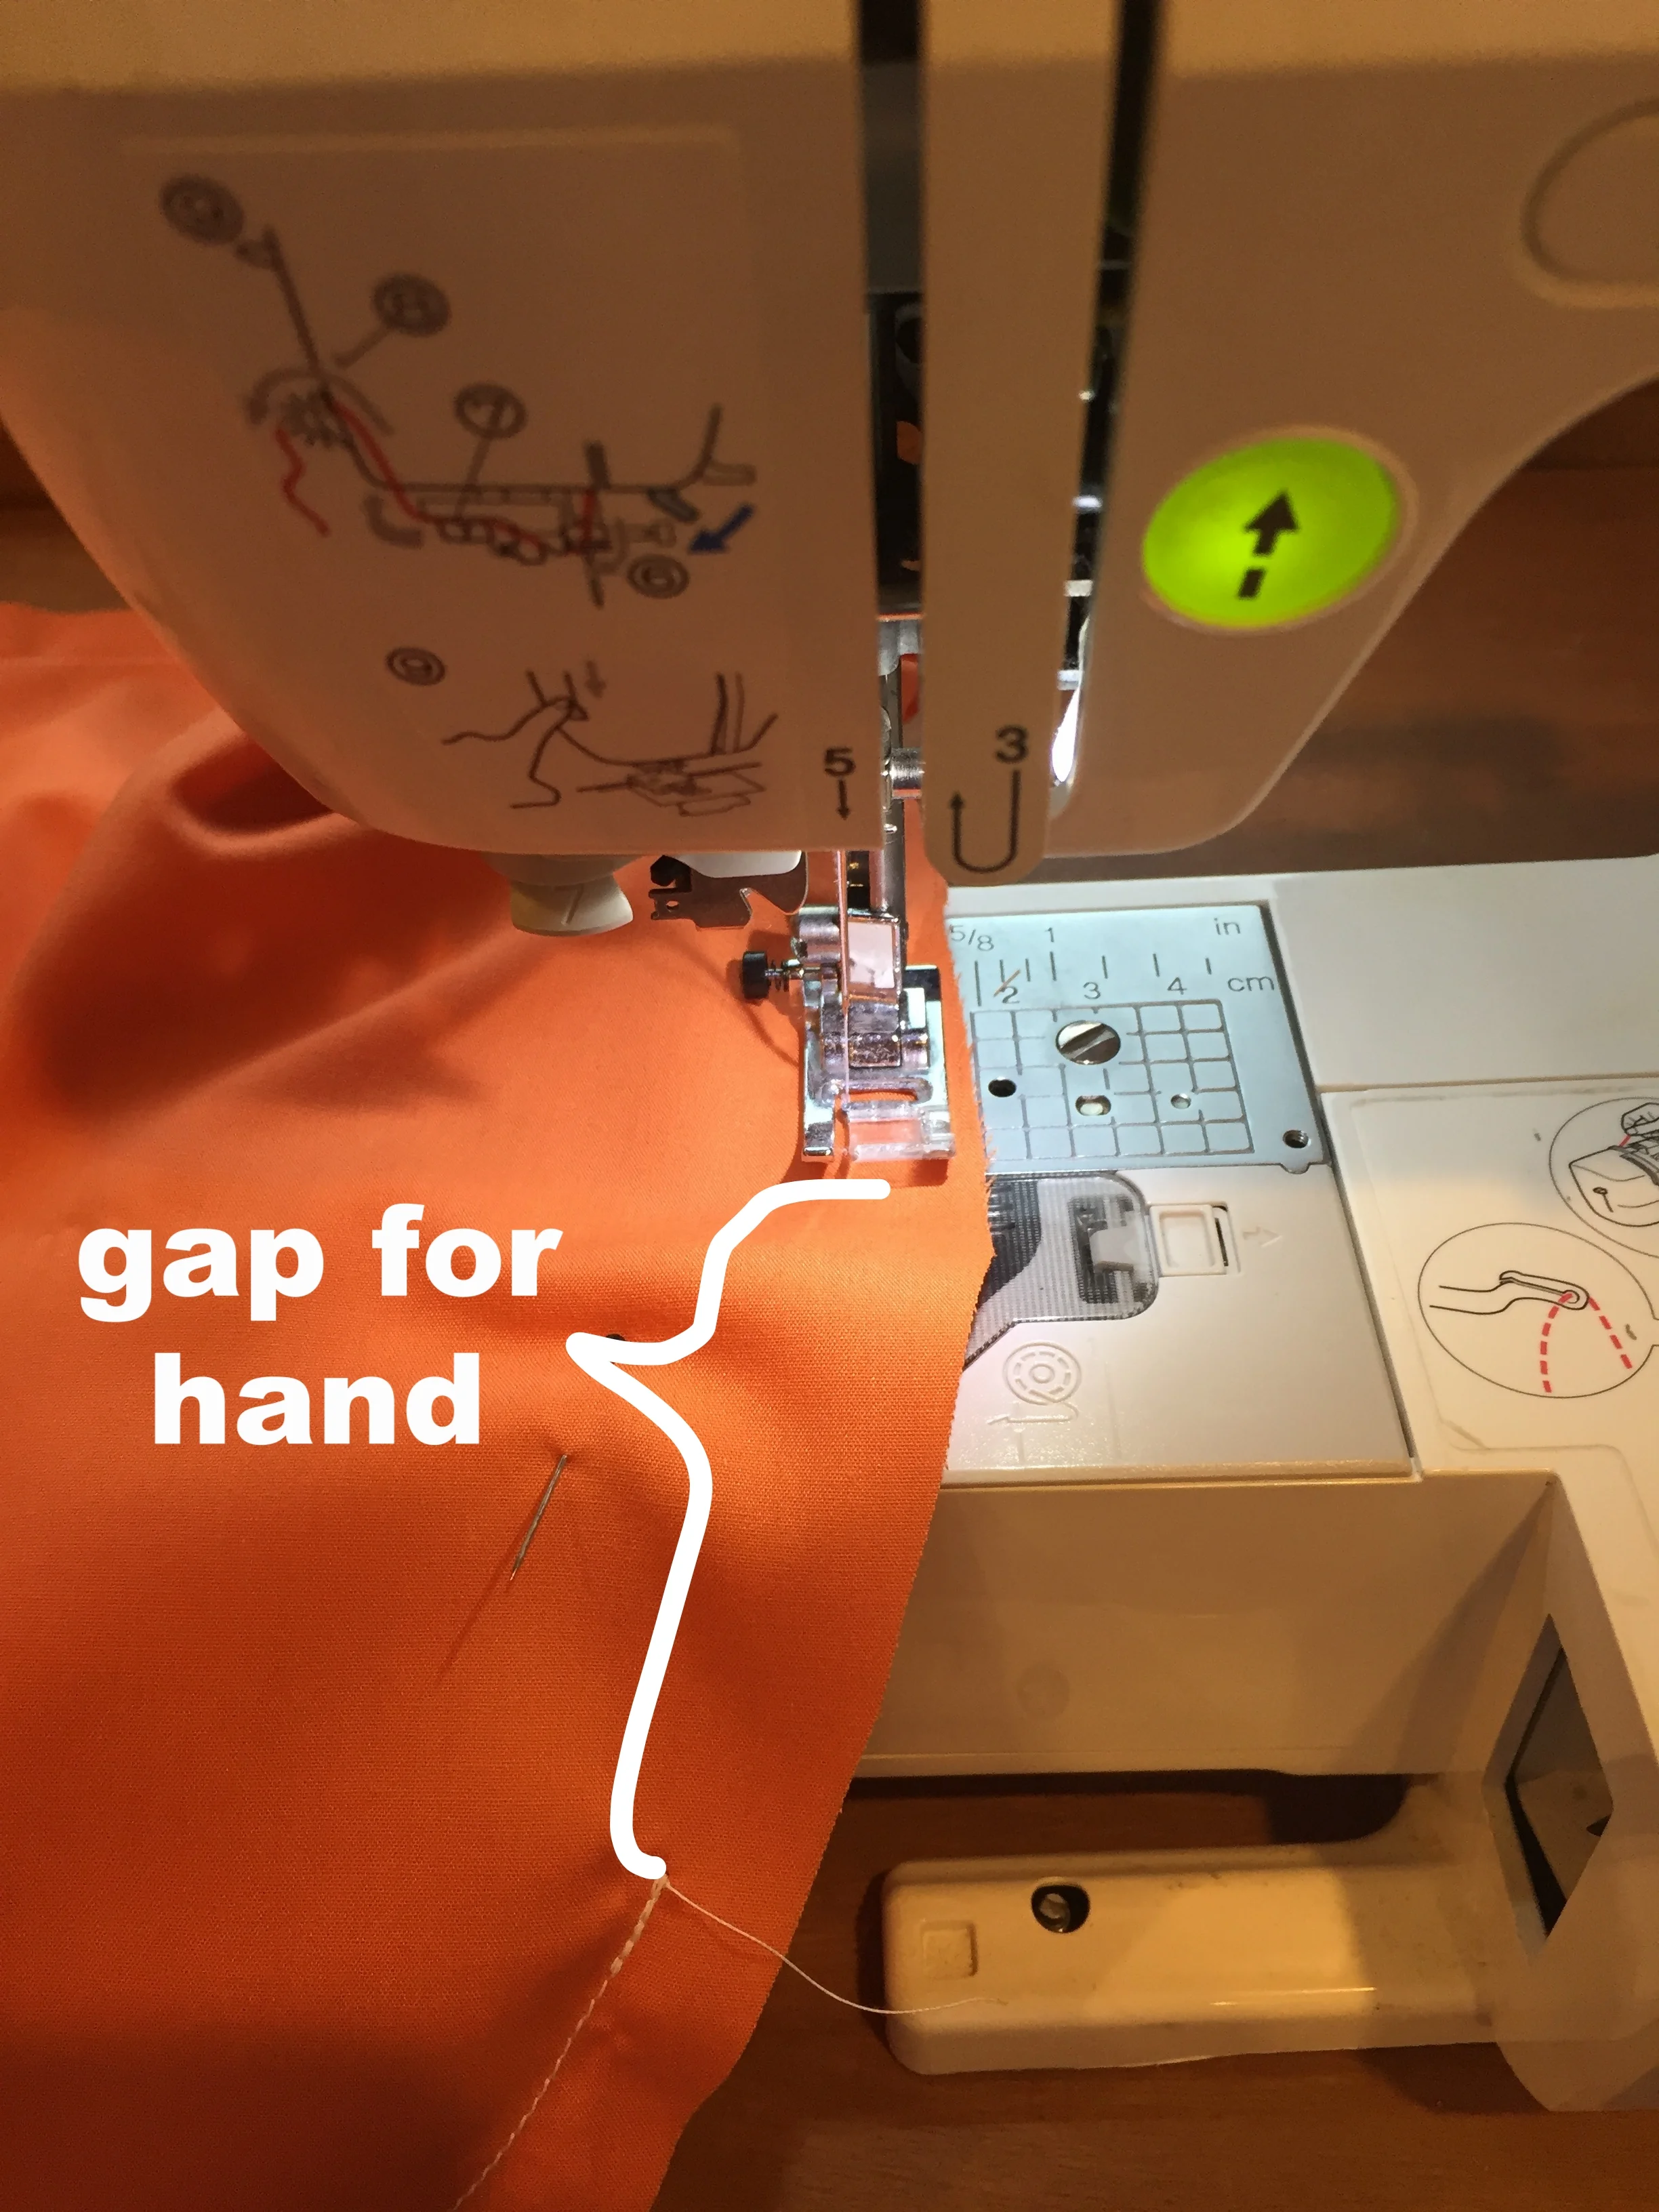
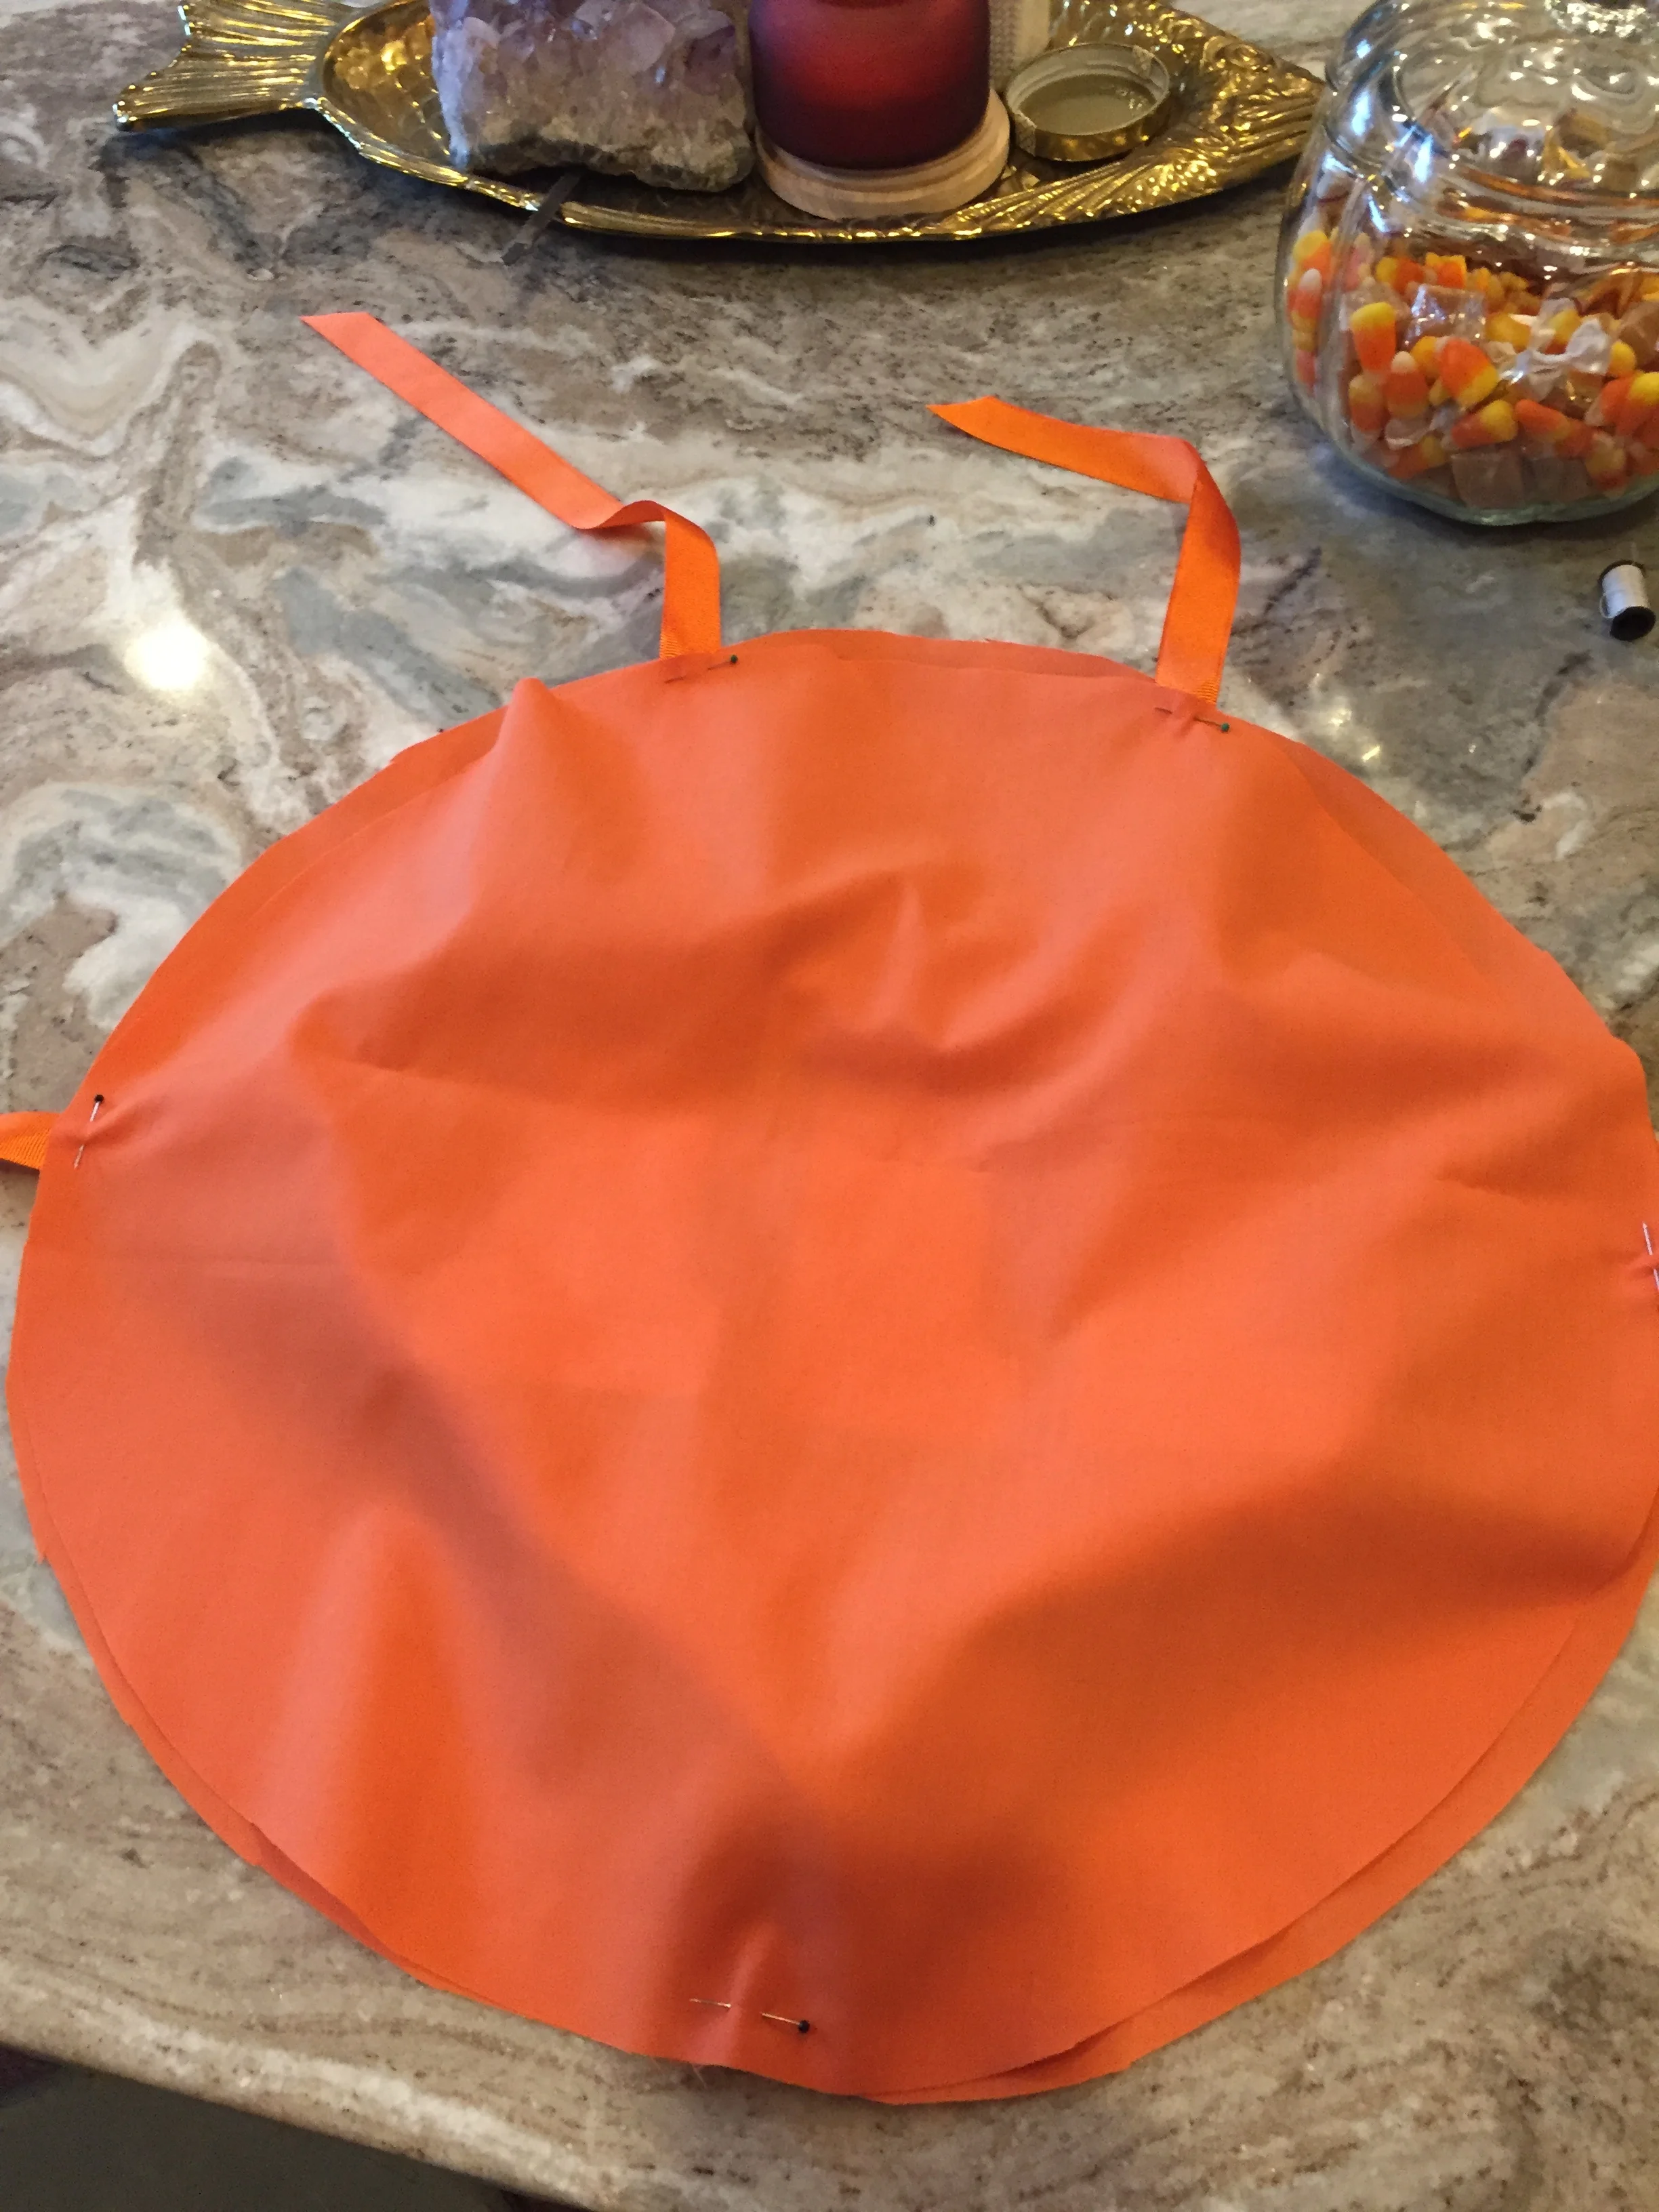
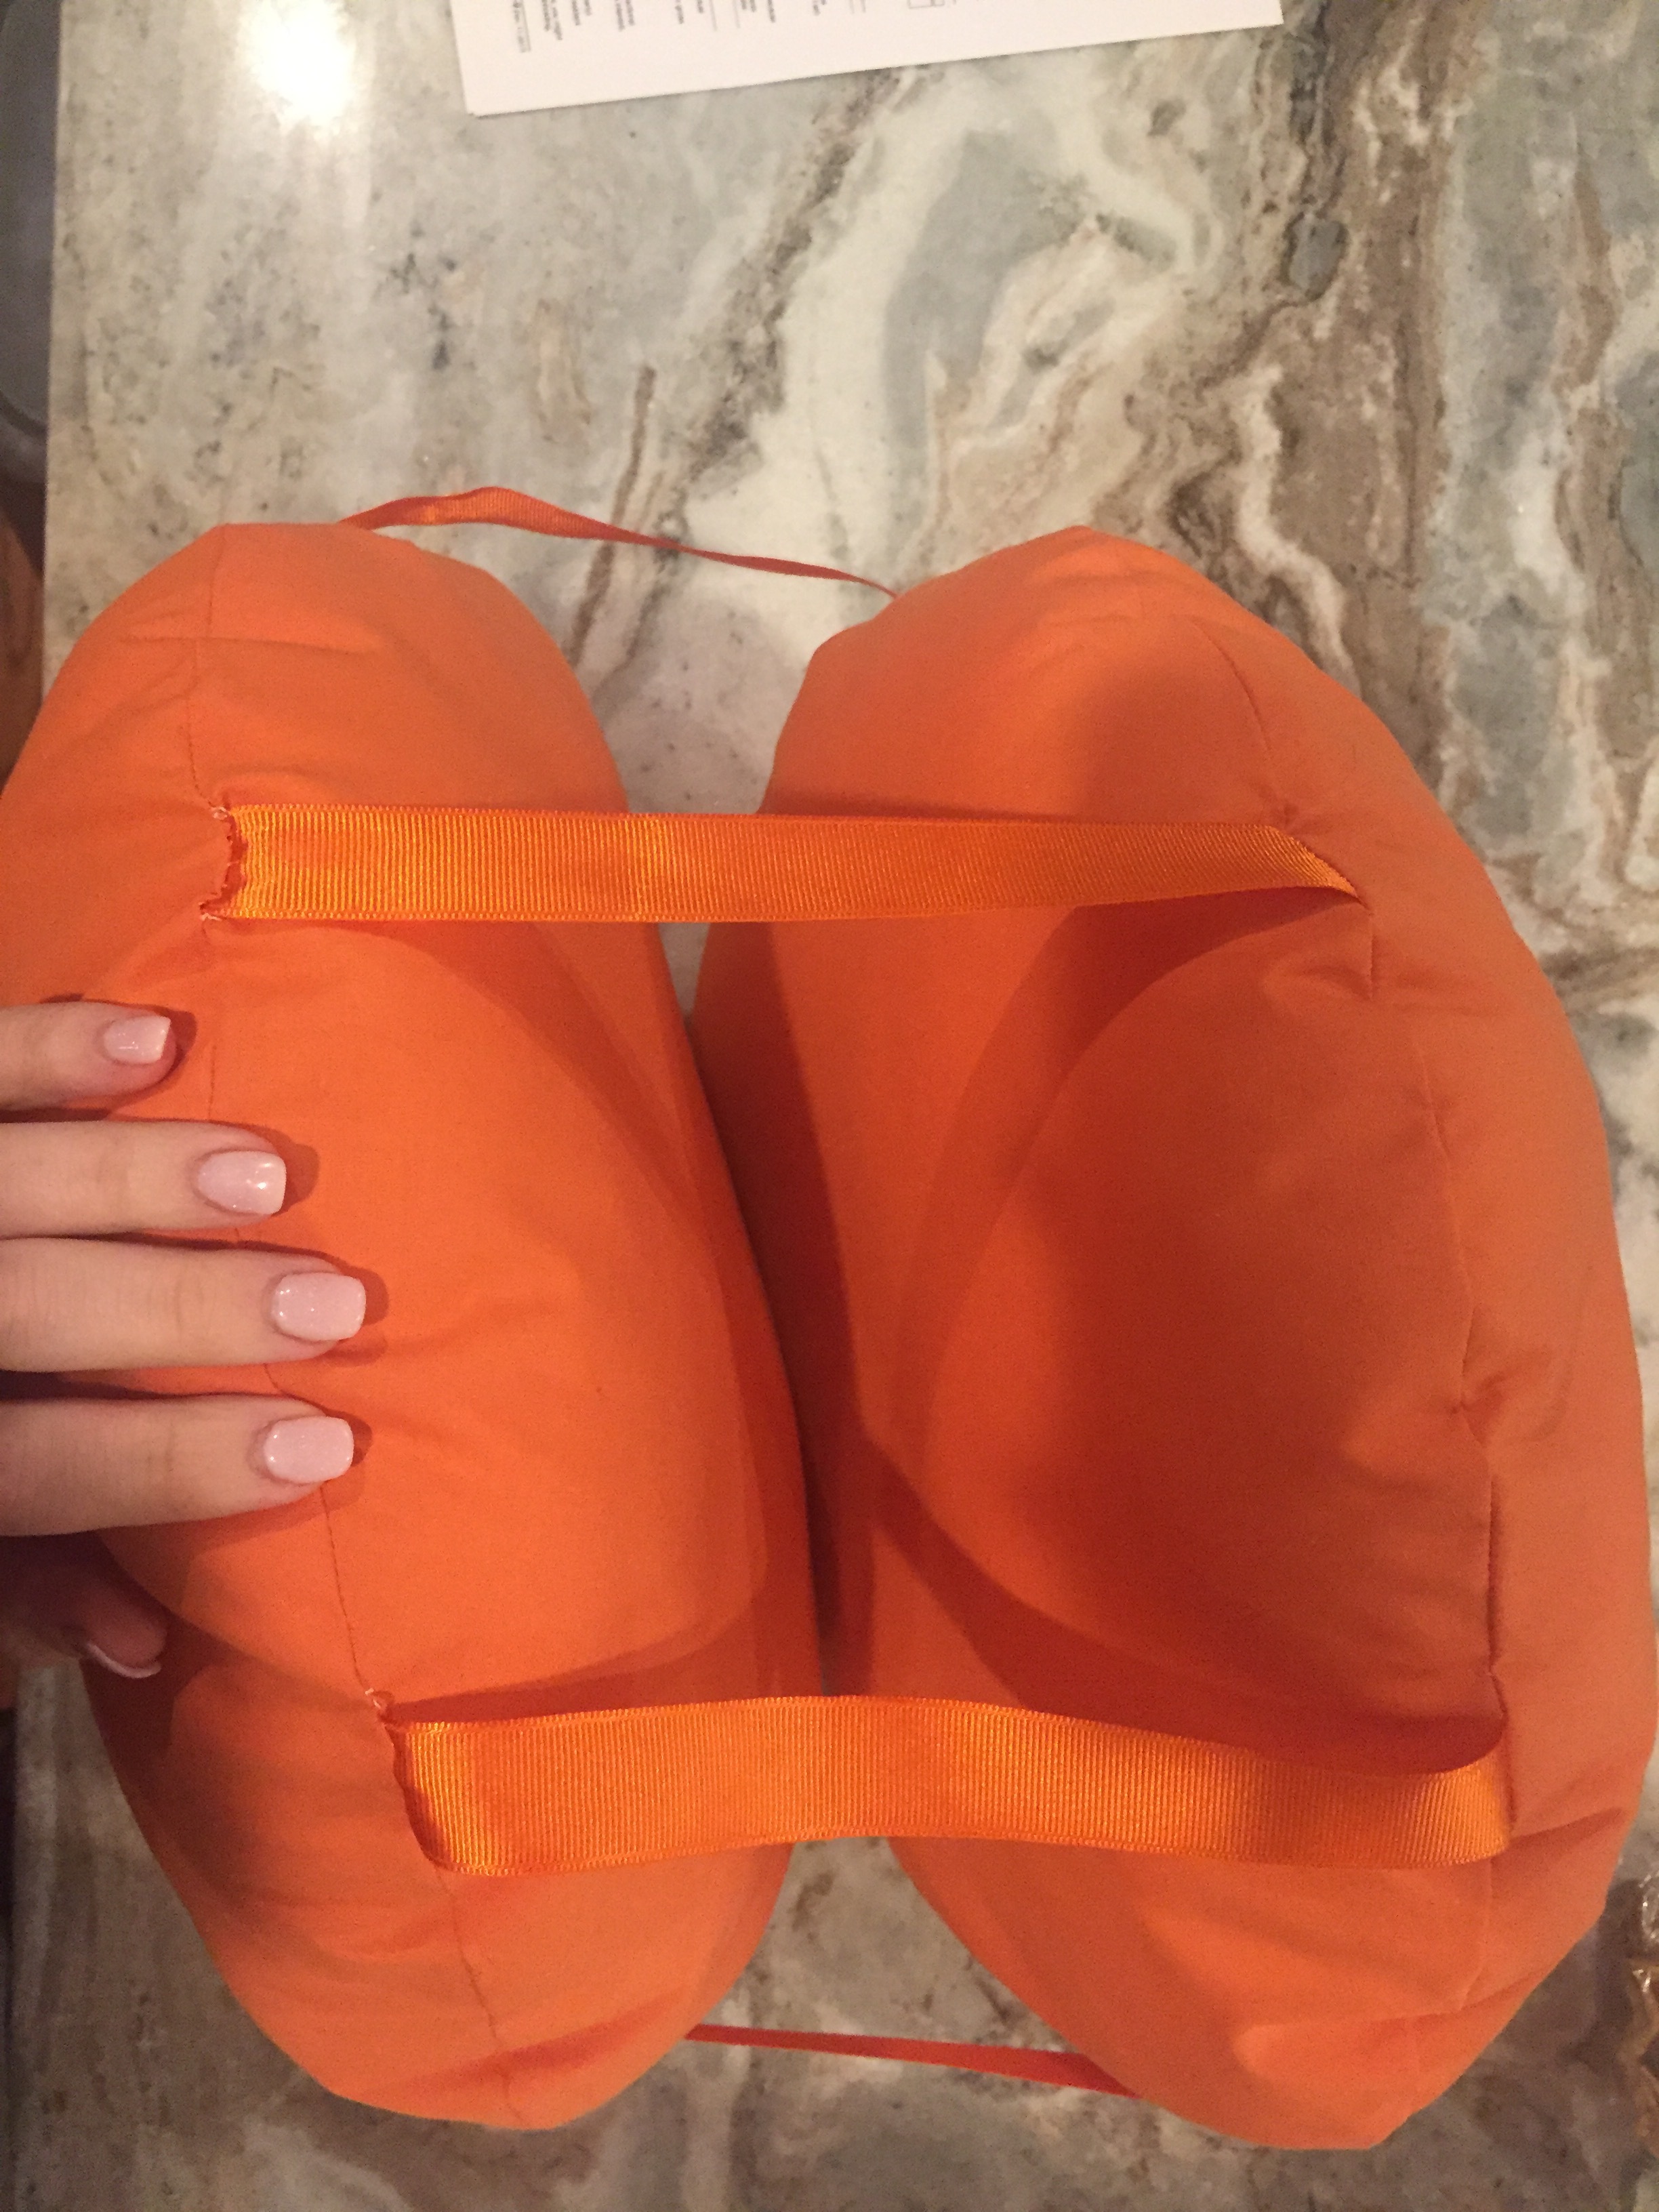
Step 4: Cut four 18” pieces of ribbon. Lay ribbons on FRONT side of circle with m on it. Most of ribbon should be on fabric with just a few inches hanging over the side. Align 2 pieces at top for shoulder straps and 2 pieces at sides for side straps (sides options). Lay another circle directly on top of m circle (right sides facing) and pin pieces together and ribbons in place. Sew around circle, leaving gap big enough to fit hand through (~5”).
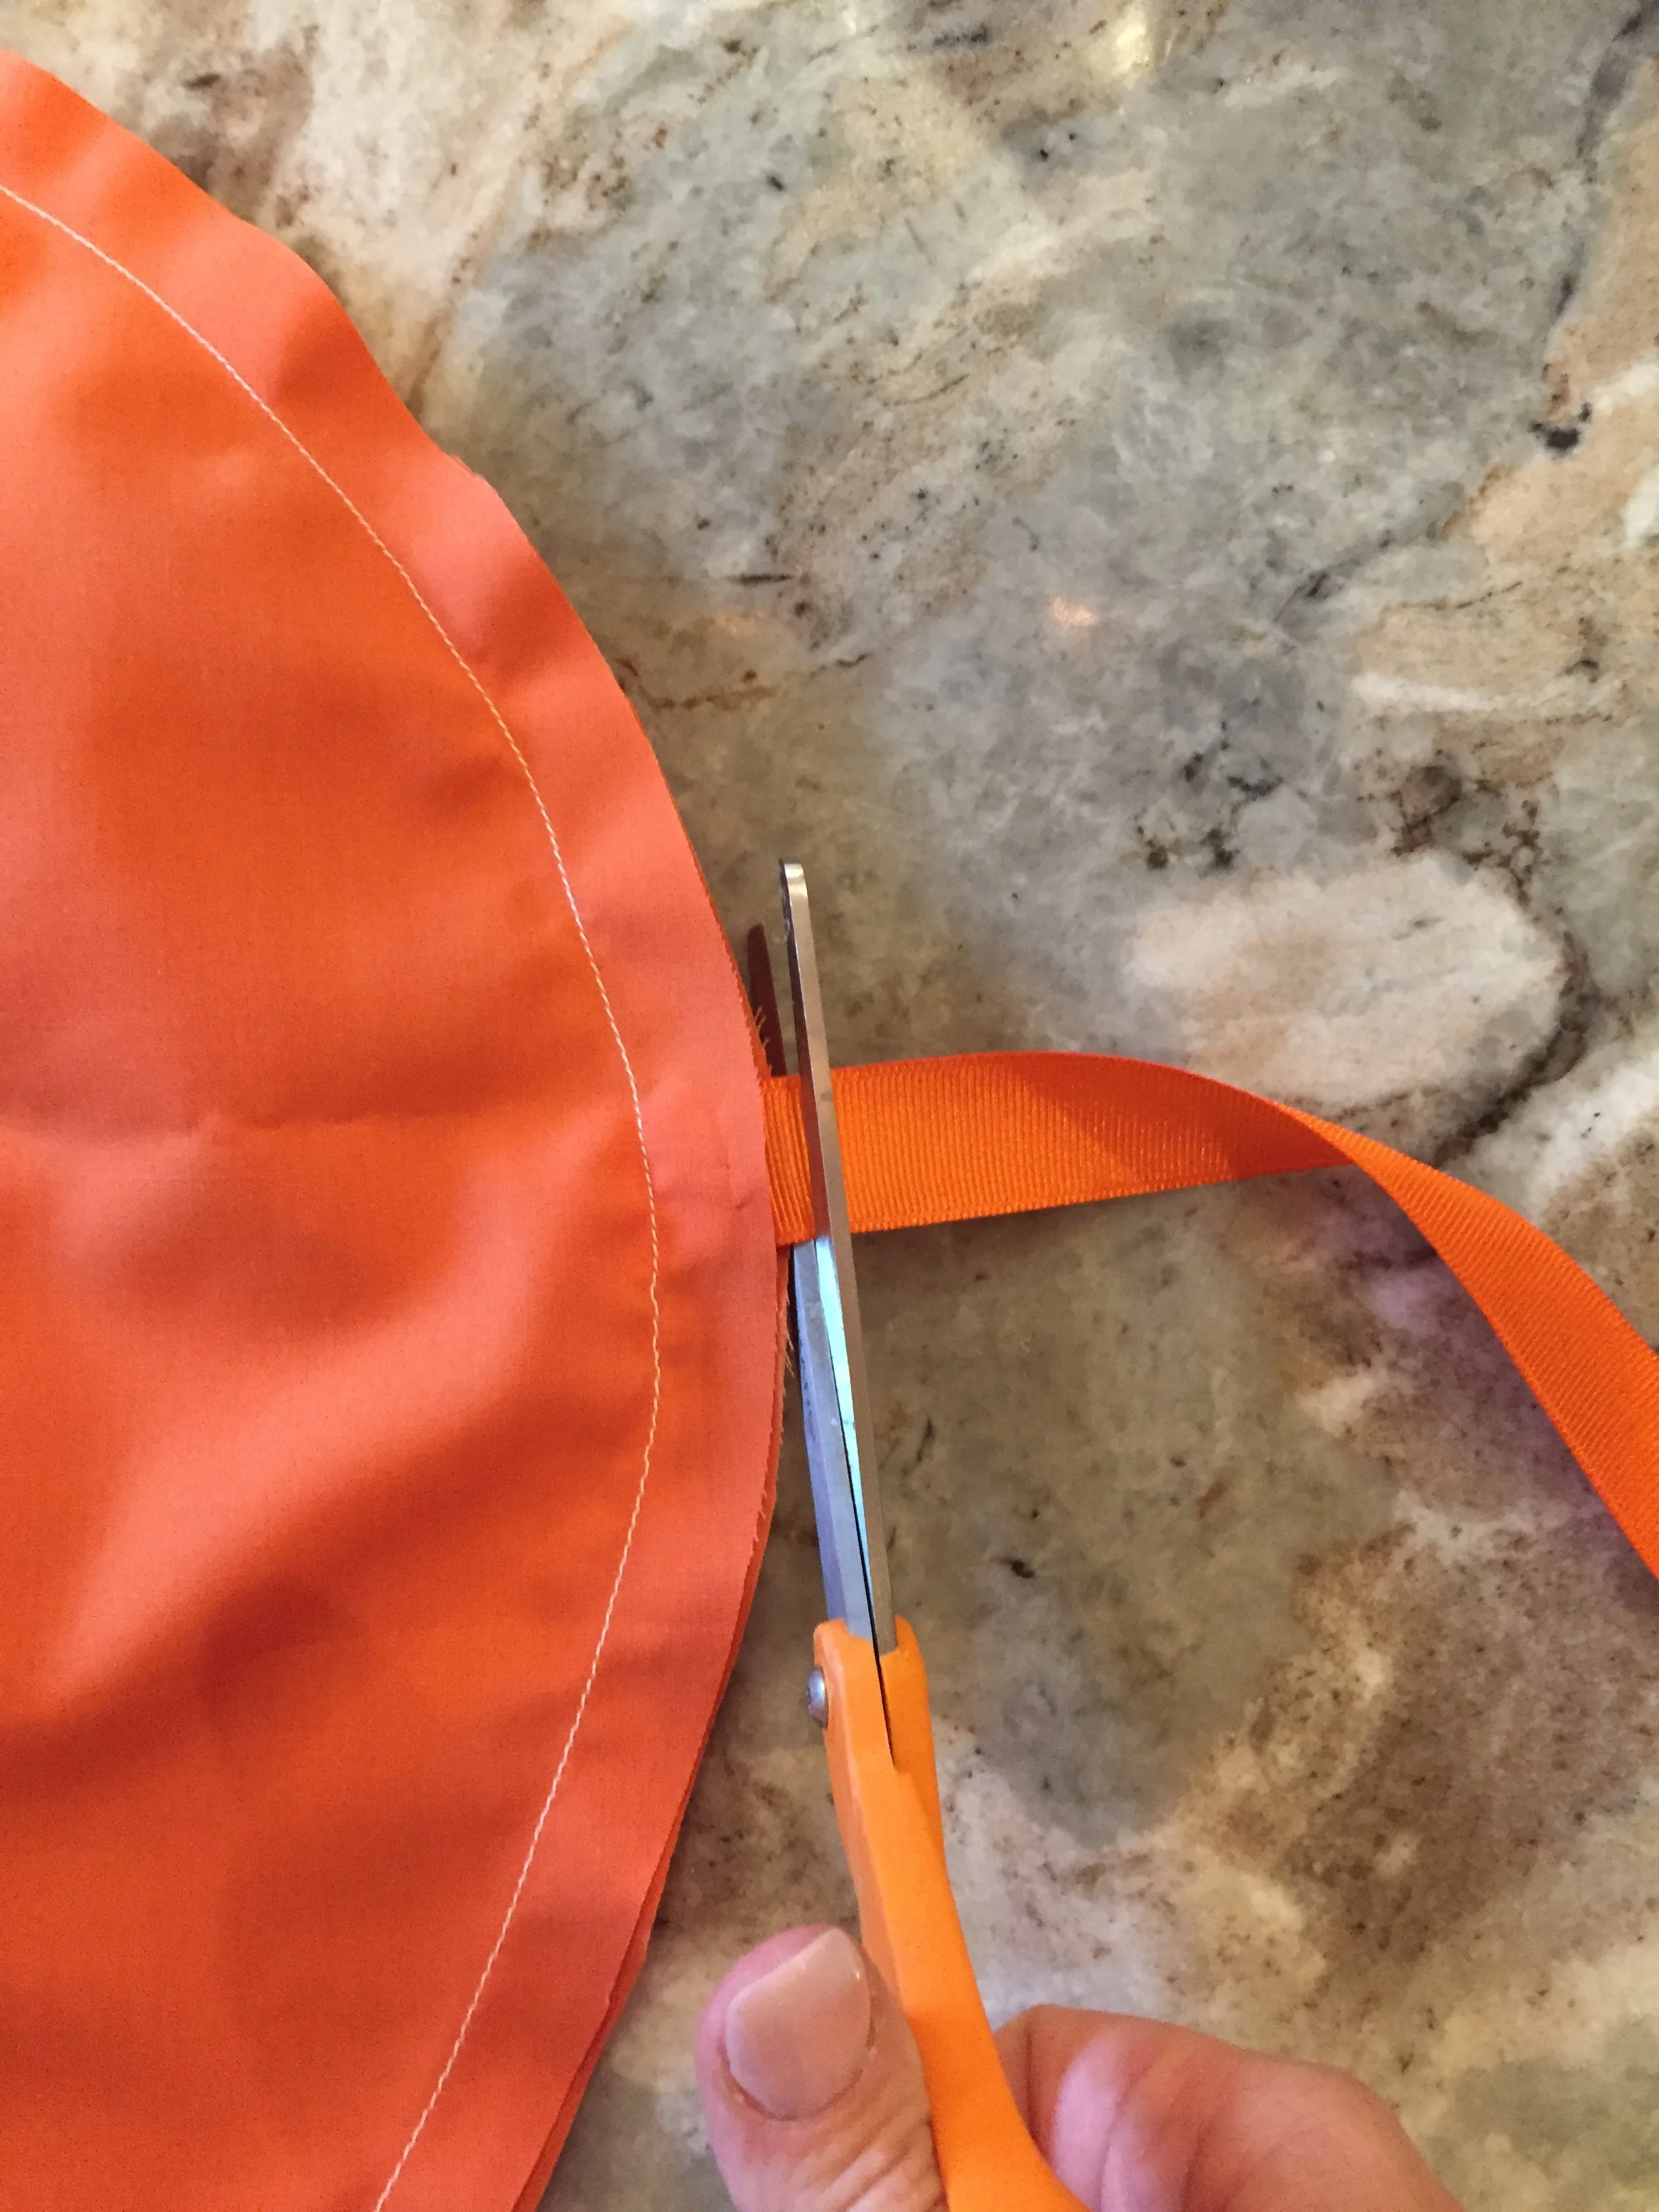
Step 5: Using gap, turn fabric right side out, revealing ribbons. This is the front. Lay face up on top of third fabric circle. You’ll want to ball up the front pair of circles (that you just sewed together) because you’re going to sew it INSIDE the second pair of circles and you don’t want to accidentally stitch through the front. Align the other end of all 4 ribbons in the appropriate position on the 3rd circle, ensuring that the length of ribbon between the front and back piece seams is 10” (for a toddler - this would increase for a larger costume, or if you want it looser). Lay 4th circle on top carefully and pin circles together, securing ribbon placement. Sew circles together, being careful not to sew through front circles which are wadded up inside back circles. Leave gap big enough to fit hand through (~5”). Trim excess ribbon.
Step 6: pull front out of back through gap and turn back right side out. Stuff front and back, closing gaps when done with needle and thread.

tlo pro-tip: To make this notably easier, simply ignore the ribbon stuff. Sew fronts together and backs together (with right sides facing each other), leave gap for hand, turn inside out, and then stuff and hem gap by hand. Do each piece (front and back) totally separately. Now you can attach the ribbons where you want them with a needle and thread. I like the look of the hidden seam, but if this proves to be tricky, try the simpler method!
Total cost: I strategically buy supplies when they’re 1/2 off at Hobby Lobby, so the fabric was $3, felt was $1, ribbon was $2, and stuffing was $4. Entire costume for $10? Holler.
Good luck, and happy Halloween!!
Toodles, tlo