DIY: Pom Pom Earrings
Show me a person who doesn’t experience joy and whimsy when they see a pom pom, and I’ll show you a LIAR. They are the most fun, festive little things and frankly I’ve always felt strongly that there is no inappropriate location for a pom pom. Hats? Clothes? Pillows? Pets? Children? Yes to all of those locations. Pom poms everywhere, forever.
Which brings me to this week’s DIY: easy pom pom earrings! How do I love these? Let me count the ways.
But really, I’d like to count them:
I love big earrings, but I have sad, weak little ear lobes. Just in case you think I’m exaggerating, I had to have reconstructive surgery on my ears because my piercings had stretched out (I lovingly refer to this as my lobe job). These adorbs pom pom earrings solve all of my lobe problems, because they’re so light but still serve as big statement pieces.
They are SO CHEAP and SO EASY to make. You’ll see. Keep reading.
You can make them quickly in any possible color combination you want. Got ears divided? Allow me to suggest you make one for each team and rock them at the same time on gameday.
Bam. Any other problems I can solve for you today?
They had me at hello pom pom. What other reason do I really need to love them?
So now that you’re sold, without further ado I give you:
DIY Pom Pom Earring Tutorial
You’ll Need:
Yarn in color or colors of your choice (2 pom poms require a fraction of a skein - 20 yards is probably more than enough for a pair)
Earring hooks (I like these from Hobby Lobby)
Pom pom maker (optional!)… I also think this inexpensive pom pom maker would work
Small needle nose pliers (or even tweezers would probably work)
Scissors
Required Skills:
Cutting
Wrapping
Tying
(In other words: you can do this!)
Instructions:
Here’s a full video tutorial:
I realize the hardware is really hard to see in the video so here are some close-ups:
Or, if you’re more into words than videos:
Make 2 pom poms in color and size of choice. You can make these by wrapping yarn around your hands, like I explain in my DIY pom pom post, or get high maintenance like me and buy the fancy pom pom maker kit. Either way, make 2 pom poms in desired color and size (I made mine 1-1/2” diameter for earrings, but you could certainly go bigger or smaller).
BUT WAIT: BEFORE YOU CUT ALL THE LOOPS, READ STEP 2!
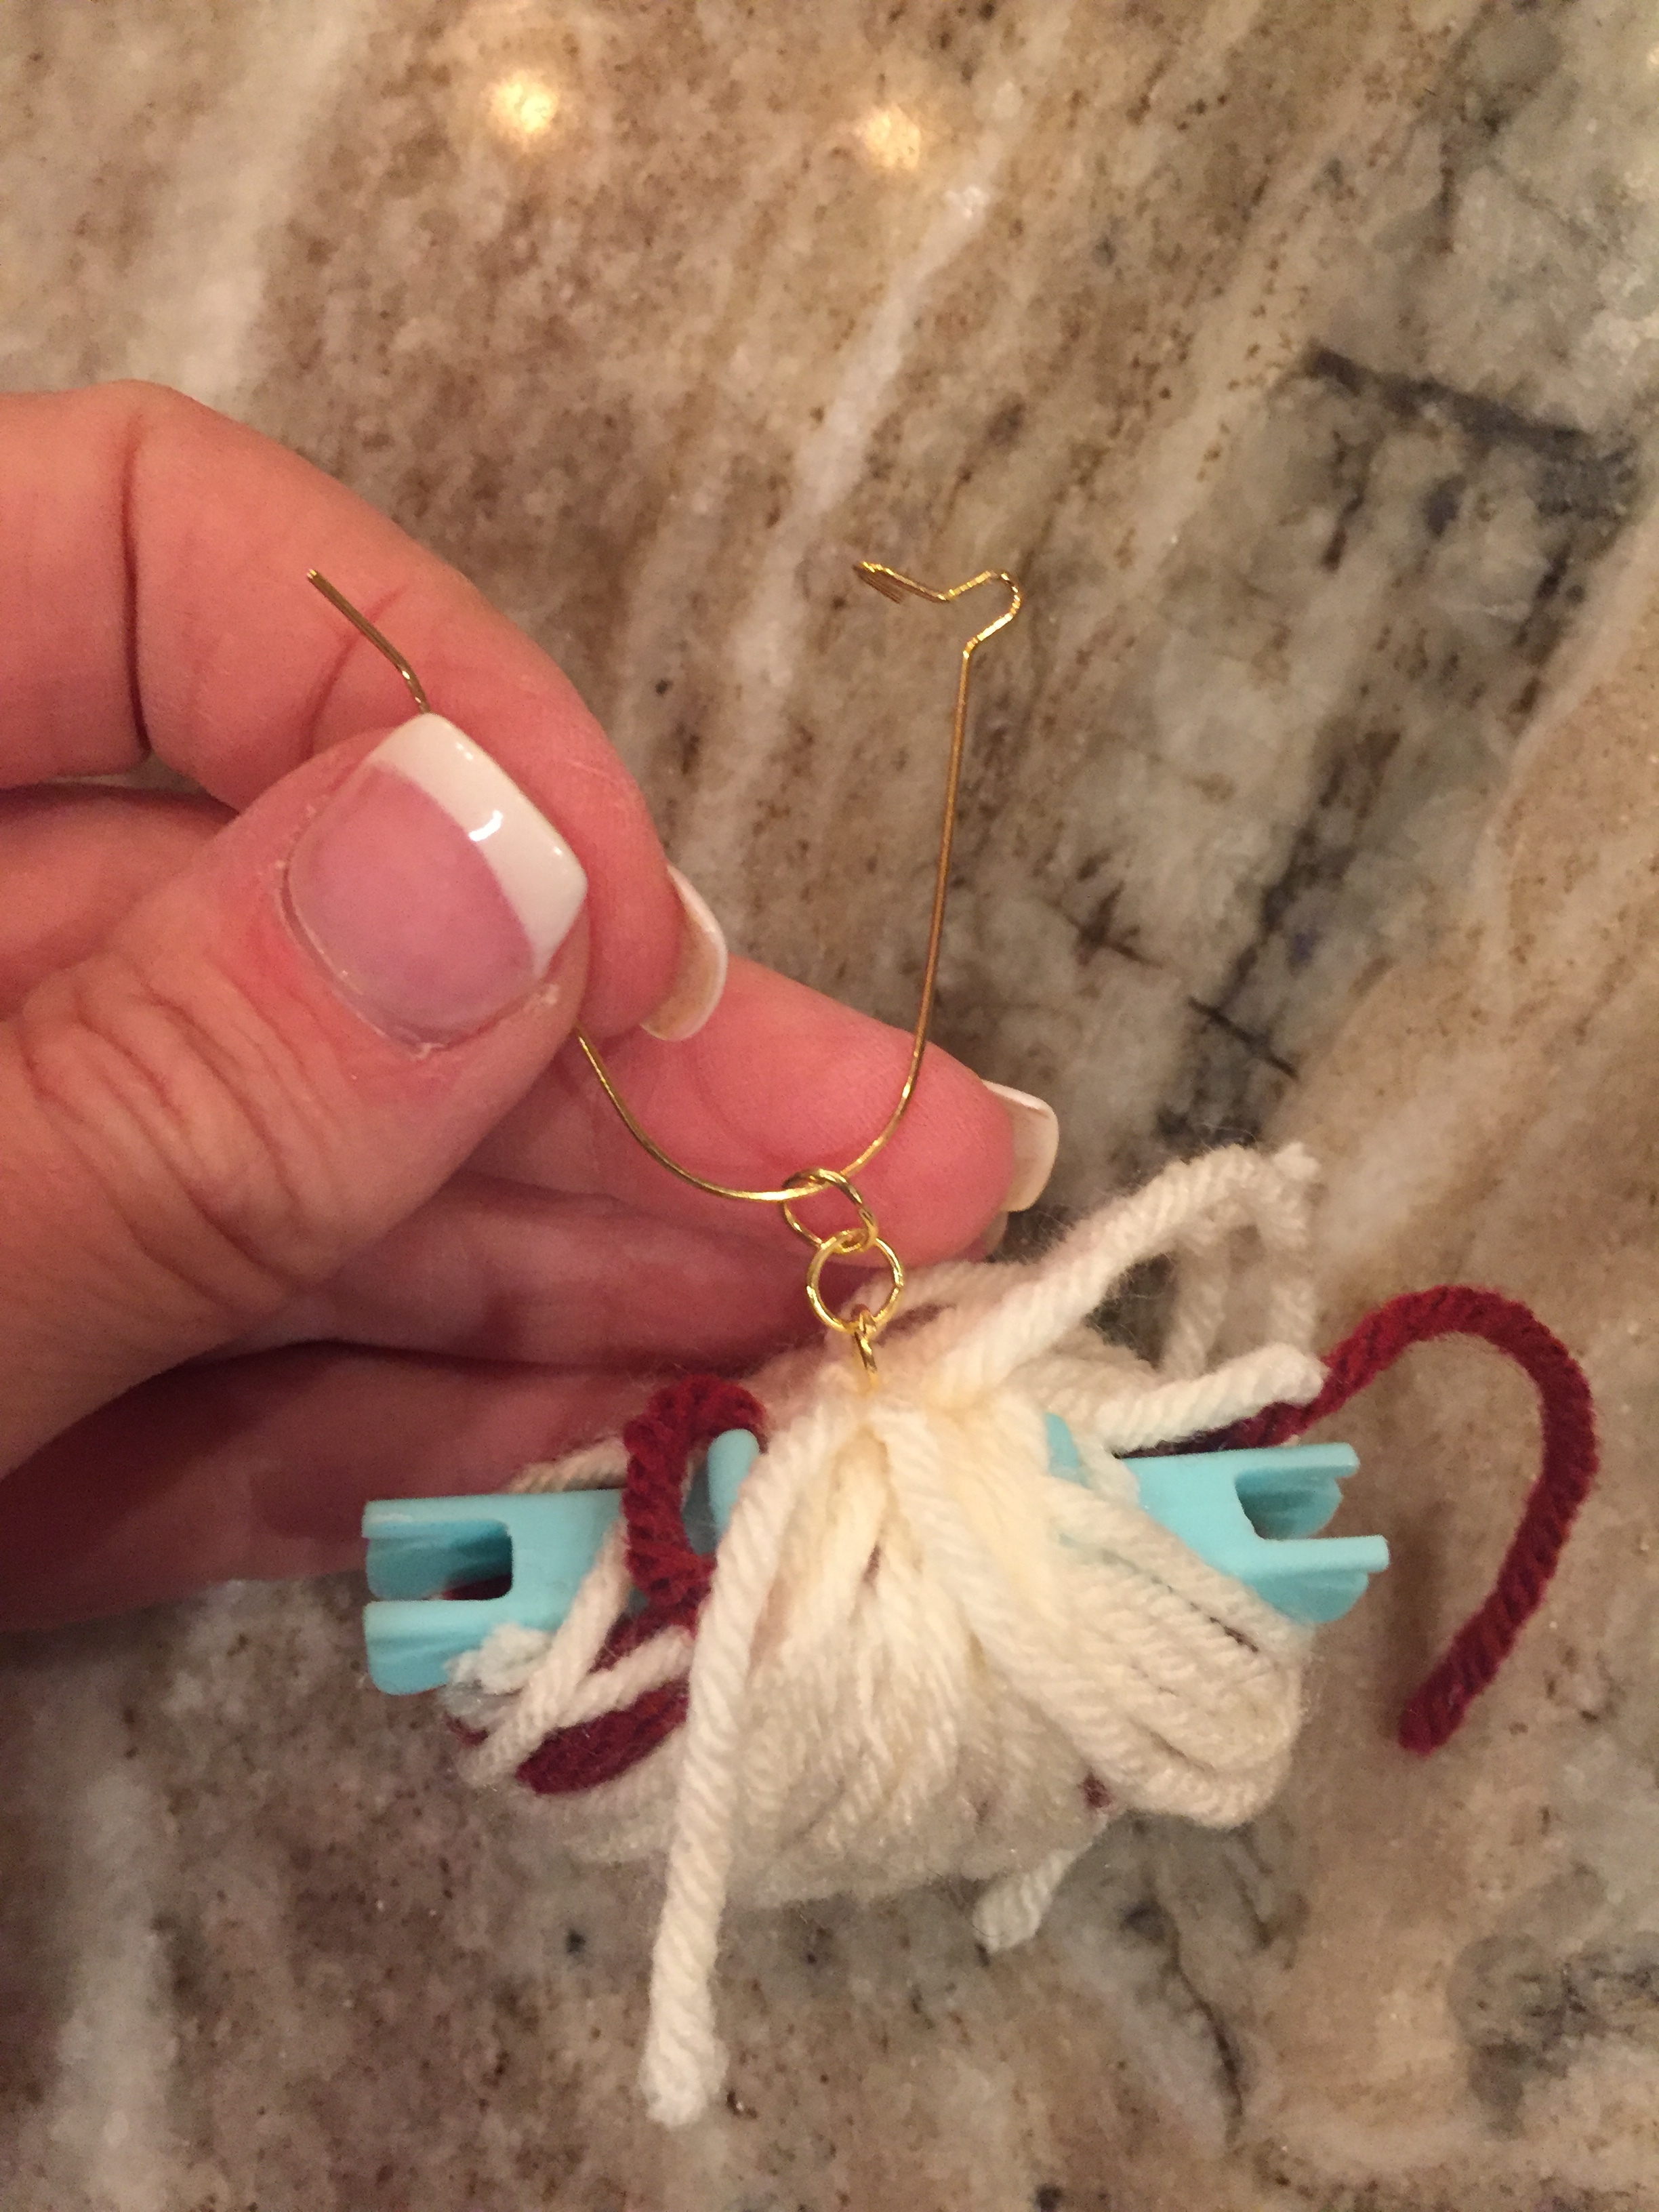
Chain together 3 of the little metal jump rings by opening and closing them around each other using needle nose pliers or tweezers. Leave one of the end hoops open and slide it around the yarn you tied tightly around your pom pom. Close hoop.
Slide earring hoop through top ring and squeeze the wire around top ring so earring doesn’t flop around in the hoop. I realize this makes no sense whatsoever, so here’s a photo:
4. NOW you can cut the loops and trim pom pom as needed (if you cut loops first, it’s fine- just makes it slightly harder to hook jump rings onto center yarn, but it’s no biggie).
That’s all there is to it! Got questions? Shoot me an e-mail, text, or message and I’ll see what I can do to help.
Toodles, tlo


![138776-0417[5].jpg](https://images.squarespace-cdn.com/content/v1/5a4da37ce45a7c4ded958053/1542517517824-2LDXX26IG20YJOTCQUFL/138776-0417%5B5%5D.jpg)

![1440437-0517[5].jpg](https://images.squarespace-cdn.com/content/v1/5a4da37ce45a7c4ded958053/1542517966559-KHTHZB08B234KPXITZLN/1440437-0517%5B5%5D.jpg)


