DIY: Pompom Pens
For Christmas this year I got a fun pompom pen in my stocking… from myself. Usually I just walk around the house at 10 PM on Christmas Eve chucking things I already own into my stocking so that my kids don’t drill me with questions about why Santa didn’t bring mommy presents and why not and was mommy not on the nice list and why not and can I have more candy now and oh yeah, why doesn’t mommy have any presents?
But THIS year, to compliment my pre-owned items, I found an adorable pompom pen at Target and splurged. I took it to work and love it for two reasons. First, and quite obviously, I love it because it’s adorable. Second, I like it because I can slide it in the spiral of my work notebook I carry everywhere and it won’t fall out because the giant pompom won’t fit through.
Rocking my favorite pen at a Society of Petroleum Engineers meeting. I used to try and suppress my quirkiness in the name of professionalism, but boo to that. I can be professional, technical, AND myself.
Target doesn’t seem to carry these anymore, but as I recall it cost somewhere in the $5-$7 range. This, in my book, is a lot for a single pen. So this week, I decided to DIY some fun pompom pens for much cheaper. Depending on the pompom prices vary, but each of these were made for less than $3 per pen, and most of them were under $1.50. They would make great gifts for teachers, co-workers, and friends who appreciate a little whimsy in their lives.
You’ll Need:
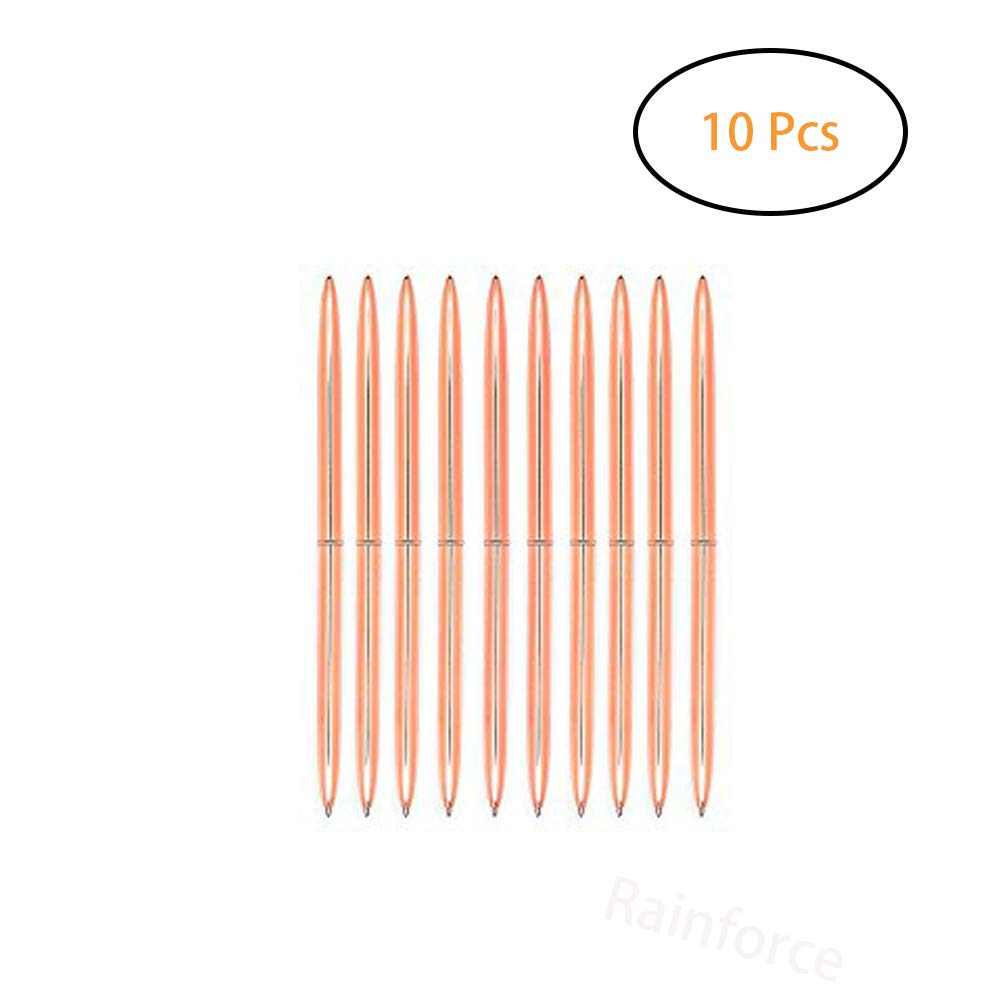
Pens- I ordered these pens in rose gold from Amazon for $11 for 10 pens. I expected at that price for them to feel cheap and be light and plastic, but they are actually really nice, heavy pens and look very glam even before you add a pompom.
Pompoms- I used a few different kinds
Large white pompoms- these are from Hobby Lobby and cost $3 for 2. I like them, but they’re pretty large and less ‘whispy’ than my Target pen
Assorted glitter pompoms- also from Hobby Lobby; they cost $6 for a bag of 100 assorted glittery pompoms. I used my 40% off coupon on these, and obviously have many left over for future projects. The largest pompoms in this set are smaller than the Target pen pom pom, but I like the more petite look. That said, these are definitely an eye catcher due to the glittery pieces, so if you’re looking for a subtler pom pom pen (ha), these may be a bit flashy for you.
Hand made yarn pompoms- I had a few pompoms laying around (as one does) from past projects and was surprised how much I loved the way these look. If you’ve never made a pom pom, here’s a tutorial. These are great because they’re free if you have some yarn laying around. If you don’t, you can get a cute skein of yarn for $5 or less and it will make many, many pompoms.
I really liked these on Amazon and they look just like the one on my Target pen, but they only come in large quantities and I didn’t really want to spend this much. But if you are making 10+ pens, it’s not a bad deal and these are more professional and glam looking than the ones I made.
Glue gun
Scissors or exacto knife
How to Make DIY Pom Pom Pens
Prepare pompom- depending on the pom pom you’re using, this process varies a bit. In essence, you need to either cut a small hole if you have a stiff pom pom (like the white pompoms listed above) or just find a spot to insert the pen in a softer pom (like the handmade and glitter pompoms listed above). Go ahead and actually poke the non-writing end of the pen into the hole or spot where you will glue it. This is easy with the pens I bought, because they’re pointy on the non-writing end. Remove pen from pom.
Generously squirt hot glue (or glue of choice- super glue is probably more reliable) into opening in pompom.
Insert pen into hole in pompom firmly and hold while glue dries.
Hope these bring whimsy and joy to your life like they have mine!
Toodles, tlo


![160218-a-0217[5].jpg](https://images.squarespace-cdn.com/content/v1/5a4da37ce45a7c4ded958053/1549201049911-0V1EKFFLGLTIZYNFUX83/160218-a-0217%5B5%5D.jpg)
![1405893-0417[5].jpg](https://images.squarespace-cdn.com/content/v1/5a4da37ce45a7c4ded958053/1549201049796-TKLA7QISSQUFN1QLMG8D/1405893-0417%5B5%5D.jpg)


