Home: Inexpensive Vintage Kitchen Hardware
I think that one of the most fun components of designing a kitchen is getting to pick hardware. Maybe it’s because hardware is a quick and easy way to add charm to a kitchen. Maybe it’s because hardware is one of the finishing touches and it means we’re almost done. Maybe it’s because hardware is all that stands between me and accessing the candy drawer. Who can know for sure? #itsthecandy
In our current home, we went with the same hardware we used in our last kitchen because we loved it so much, it worked well, and it was cheap. This is one of the things we get the most questions and compliments on, so I thought I’d share our source. Spoiler alert: it’s Home Depot.
Drawer Pulls
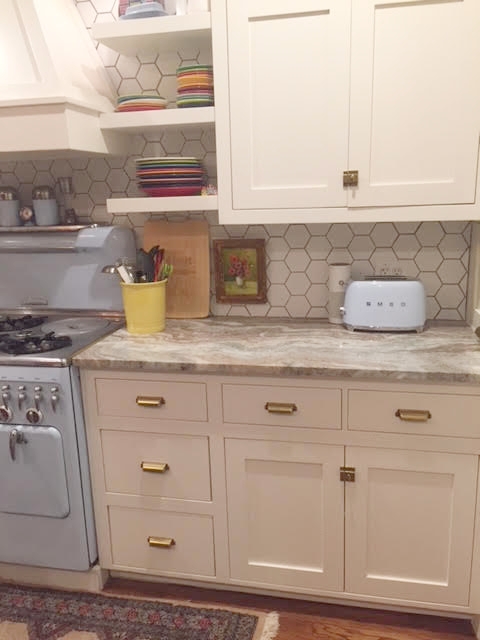
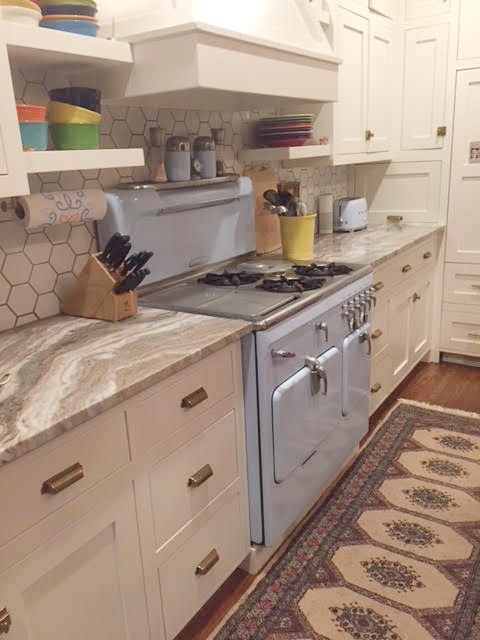
The cupped drawer pulls are a lovely vintage brass color and are part of the Martha Stewart line at Home Depot. They are $4.49 each, or using simple math, approximately 1/1,000 the cost of similar stuff at Restoration Hardware ($12-$20 each). These guys install easily with 2 pre-drilled holes and screw in from the inside of the drawer.
In our last home we had stainless steel appliances, which I was nervous would clash with the brass accents I chose. Ultimately, I think the two tones worked well together.
Cabinet Matchbook Latches
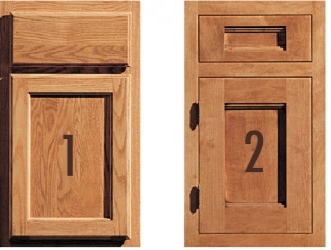
As I described in detail in my vintage stove post, I have a heart for vintage kitchens, and really love the look of a cabinet clasp on inset cabinet doors (when the door fits inside the hole, instead of hitting the cabinet box on the outside- that’s an overlay door).
This is a good time to publicly thank my father-in-law, who makes all of our cabinetry by hand in his garage and in some cases delivers it 8 hours away, for not disowning us every time we sell a house with his gorgeous work in it. Because I’m related to the cabinet maker, I am VERY aware how much more work is required to build inset cabinet doors and drawers than the standard overlay style. Inset doors have to fit perfectly or they won’t close. Or they’ll have a giant gap. Also, God fobid you have any settling once these puppies are perfect, or suddenly they won’t close. Or they’ll have a giant gap. Luckily we live in a brand new house with a rock solid foundation.
Kidding! It’s 103 years old and the basement is full of approximately 187 assorted beams and supports straining to keep it upright.
I like to live on the edge.
So, a quick recap if you’re still reading (hi, mom!):
Dream cabinets (for the second time…): check.
Father-in-law still likes me (pretty sure…): check.
Perfect little matchbox cabinet latches: let’s do this.
These little cuties were easy to install, though they do require 6 screws each. Because they're installed from the front, you don't have to worry about a stencil for screw placement- you can just hold it up where you want it and mark (or just put the screw in without marking if you like to live on the wild side).
When I first convinced Noah to install these,
he was
we were worried that the clasp would be annoying and make opening the doors more difficult. We really haven’t found that to be true, and they also kept our kiddos out of certain cabinets for a while when they were littler. I read some iffy reviews online saying that the clasps failed quickly (the knob spring would break and the knob would just spin and wouldn’t unlock the clasp) but we’ve used these for years and haven’t encountered one problem. They are one of my FAVORITE details of our kitchen.
Home Depot has other cute options, as well. I’m pretty fond of these pulls:
Happy hardware-ing!
Toodles, tlo
PS. Digging the stove? Read more about our vintage baby blue Chambers .


