

DIY: Bow Ear Warmer +Giveaway!
As many a photo of my childhood can attest, I have long been a major patron of the bow. This enthusiasm continued far longer than it should have, up through and including college. I’m sure I sent many a mixed signal to my predominantly male engineering class-mates as I demanded to be taken seriously in spite of my gender… and baseball-sized hair bows adorning each pigtail.
What can I say? I only know how to be me.
While I have… matured… a bit in terms of fashion choices (I now have what I suspect will be a lifelong aversion to bright pink), I still love a good bow. When in Tokyo years ago I actually found a hair bow that had tinier hair bows attached to it (#meta), and it filled a void in my soul I never knew was there.
With very few exceptions, I posit that anything can be improved by adding a bow, and I offer you as proof my very first pattern, the bow ear warmer. I have made no less than 30 of these in my life as they’re great gifts, require less than $5 in materials, and only take about 1 hour from start to finish. If you’ve ever wanted to try knitting, this is your project. I’ve even made videos to show you exactly how to do this.
Got more children than free time? Not a chance you’ll be caught dead with a pair of needles in your hand? No worries… just share this post on Facebook or tag 3 friends on Instagram and you’ll be entered to win this one. :)
DIY Bow Ear Wamer: Project Intro
You’ll need:
1 skein bulky yarn, any color
Large knitting needles (size 13 or so)
Darning needle
You can possibly get by without this if you have a crochet hook and/or tiny fingers. It’s used to sew the headband into a circle and hide the ends of the yarn.
Pattern:
Headband:
Cast on 9 stitches
Knit every row until strip will stretch comfortably around desired noggin comfortably and meet in the back
Bind off, leaving long tail (18” or so)
Using darning needle, stitch ends of headband to each other to make circle. Leave tail.
2. Bow:
Cast on 9 stitches
tlo pro-tip: for extra drama, you can cast make this slightly wider than the headband by casting on 11 stitches- or even more! YOLO.
Knit every row until bow is about the width of the headband when folded in half.
3. Attach bow:
Lay bow flat on top of headband
Using tail remaining on headband, wrap around bow and one layer of headband (3-5 times, or until secure), Lcinching bow in middle
Tie off and hide tail
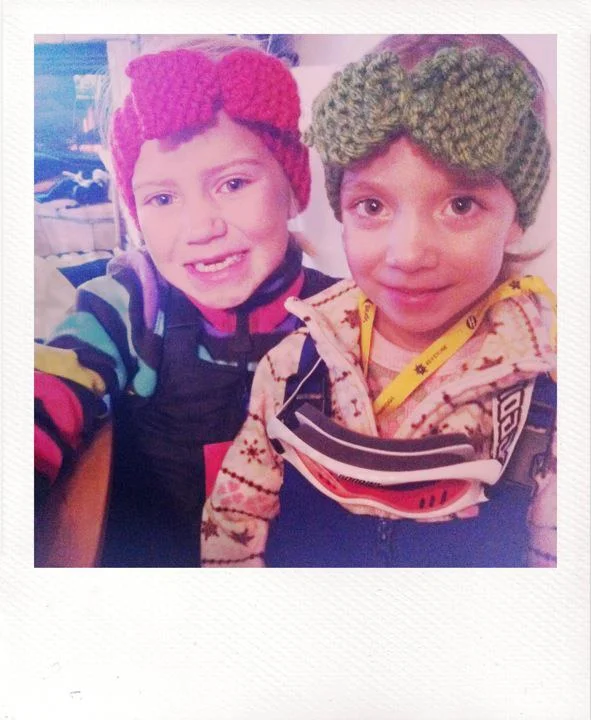
tlo pro-tip: If you want to make one of these for a kiddo, just reduce the width by casting on fewer stitches (probably 5-6 stitches for a toddler and 7-8 for an older child).


If you try to follow along and have ANY issues at all, please e-mail me or FaceTime me or comment here and I’ll do whatever I can to help. I know it’s daunting to take up knitting but small, quick, straight-forward projects like this with only ONE STITCH (the knit stitch) are the way to start.
I hope you’ll give it a try and fall in love with it like I did 26 years ago.
Toodles, tlo


